Are you tired of carrying your camera gear in a bag that doesn’t fit your needs? Imagine having a camera bag designed just for you—perfect size, pockets exactly where you want them, and style that matches your personality.
Making your own camera bag isn’t as hard as you might think. You’ll discover simple steps to create a custom bag that keeps your equipment safe and easy to access. Ready to take control of how you carry your camera?
Let’s dive in and make a bag that works exactly the way you need it to.
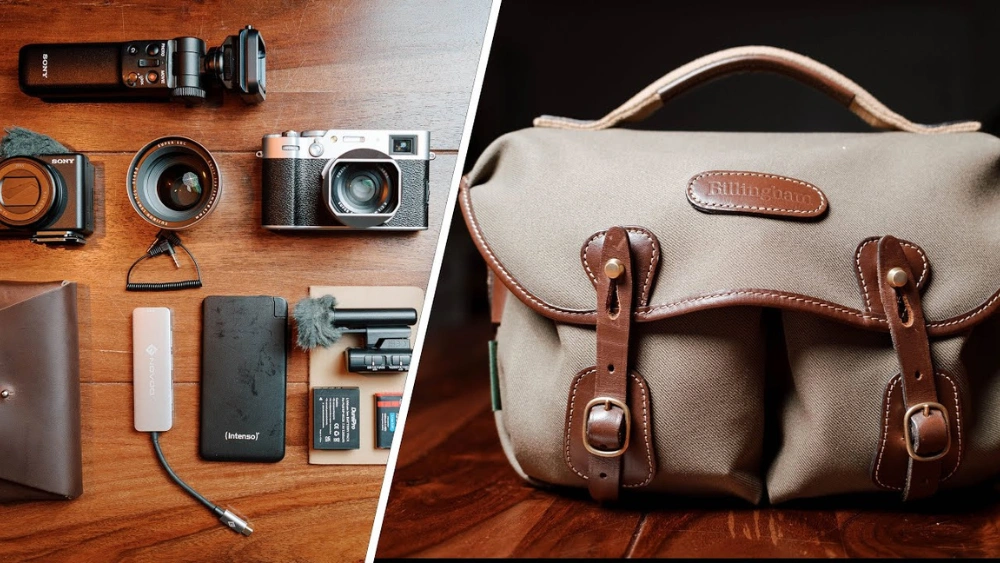
Credit: web.fitforsyth.com
Choosing The Right Materials
Choosing the right materials shapes the quality and durability of your camera bag. Each component plays a key role in protection and comfort. Select fabrics, padding, and hardware that suit your style and needs. The right choices keep your gear safe and make carrying easier.
Fabric Options
Pick a fabric that is strong and water-resistant. Canvas is tough and classic. Nylon offers lightweight and weather protection. Polyester works well for budget-friendly bags. Consider how the fabric handles wear and tear. Dark colors hide dirt better. Lighter colors show stains but look stylish.
Padding And Lining
Padding cushions your camera from shocks and drops. Foam padding absorbs impacts well. Choose thicker foam for heavy gear. Soft lining prevents scratches on lenses and screens. Fleece or microfiber fabrics work great inside. Make sure padding covers all sides of compartments. This keeps your equipment safe during movement.
Hardware Essentials
Hardware holds the bag together and supports carrying. Use sturdy zippers that glide smoothly. Metal or heavy-duty plastic buckles last longer. Adjustable straps improve comfort and fit. Reinforced stitching at stress points adds strength. Small details like D-rings allow extra attachments. Quality hardware ensures your bag stays reliable.
Designing Your Bag
Designing your own camera bag is the first step to creating a custom storage solution that fits your style and gear perfectly. It involves careful thought about your equipment, how you move, and what you need quick access to. Taking the time to plan will save you frustration and ensure your bag works exactly as you want it to.
Measuring Your Gear
Start by gathering all your camera gear—body, lenses, flashes, batteries, and any accessories you often carry. Use a ruler or tape measure to get the exact dimensions of each item, including height, width, and depth.
Don’t forget to add a little extra space for protective padding around each piece. This prevents your gear from getting scratched or damaged while you’re on the go. Have you ever struggled with a bag that was just a little too tight? Measuring carefully stops that problem before it starts.
Sketching The Layout
Grab a piece of paper and sketch a rough outline of your bag’s interior. Draw boxes representing your gear using the measurements you took earlier. This visual helps you see how everything fits together.
Think about your shooting style—do you need quick access to your camera body or lenses? Position those items where you can grab them easily. Sketching also lets you experiment with different arrangements without wasting materials.
Deciding On Compartments
Decide how many compartments you want and their sizes. Some photographers prefer adjustable dividers to customize the space, while others like fixed pockets for smaller items like memory cards and cables.
- Use padded dividers to keep gear from bumping into each other.
- Consider adding zippered pockets for valuables such as your phone or wallet.
- Think about external compartments for quick access to things like lens caps or cleaning cloths.
What compartments would make your shooting days easier? Tailoring these details means your bag becomes more than just a carrier—it becomes a tool that supports your creativity.
Cutting And Preparing Pieces
Cutting and preparing the pieces for your camera bag is where your project starts to take shape. This stage requires precision and attention to detail because every cut impacts the final fit and function of your bag. Taking your time here saves you from frustration during assembly and ensures your bag looks professional.
Marking The Fabric
Begin by laying out your fabric on a flat surface with enough room to work comfortably. Use a fabric chalk or a washable marker to outline your pattern pieces clearly. Make sure to mark any seam allowances and notches, which will guide you during sewing.
Double-check your measurements before marking. Have you ever cut a piece only to realize it was an inch too short? Marking carefully helps avoid this common mistake. Pin your pattern to the fabric to keep it from shifting as you mark.
Cutting Techniques
Choose sharp fabric scissors or a rotary cutter for clean edges. Cut slowly along the markings to maintain accuracy. Avoid lifting the fabric too much while cutting; this prevents distortion of the material.
Keep your hands steady and follow the lines precisely. If you’re working with thick or multiple layers, consider cutting one layer at a time to ensure accuracy. Remember, clean cuts make sewing easier and improve the bag’s overall appearance.
Preparing Pockets
Cut your pocket pieces with the same care as the main fabric. If your design includes padded or lined pockets, cut those layers separately and assemble them before attaching to the bag. This step ensures your pockets are sturdy and well-shaped.
Think about how you want to use each pocket—will you need quick access or extra protection? Adding small reinforcements at pocket openings can prevent wear over time. Preparing pockets thoughtfully adds both function and durability to your camera bag.
Sewing The Bag Together
Sew the pieces carefully to join the bag’s body and lining. Strong, even stitches keep your camera safe and secure inside. Take your time to create neat seams for a durable finish.
Sewing your own camera bag can be a rewarding project. It allows you to customize the size, shape, and features to fit your gear perfectly. The sewing process brings everything together, transforming fabric pieces into a functional bag. Let’s dive into the essential steps of sewing the bag.Assembling Main Panels
Start by laying out the fabric pieces for the main panels. Align the edges carefully to ensure a neat look. Use pins to hold them in place as you prepare to sew. A straight stitch works best for joining these panels. Keep your seams even and consistent. This forms the base structure of your camera bag.Adding Padding And Lining
Padding protects your equipment from bumps and scratches. Cut the padding to match the size of your assembled panels. Attach the padding to the inner side of the fabric. Next, add a lining for a polished interior. The lining hides seams and gives a clean finish. Secure it with pins and sew along the edges.Sewing Pockets And Dividers
Pockets and dividers keep your gear organized. Plan their layout on the inside of the bag. Use small fabric pieces to create pockets for accessories. For dividers, choose a sturdy material. Sew them securely into the lining. This helps separate different items, making them easy to access.Installing Closures And Straps
Installing closures and straps is a crucial step in making your own camera bag. These elements not only secure your gear but also add to the bag’s overall usability and style. Choosing the right type of closure and attaching straps correctly will keep your camera safe and make carrying comfortable.
Choosing Zippers Or Velcro
Zippers offer a strong and reliable closure that protects your camera from dust and accidental falls. They come in various sizes and waterproof options, which can be a lifesaver in bad weather.
Velcro, on the other hand, is quick and easy to open. It’s perfect if you need fast access to your camera during a shoot. However, Velcro can wear out over time and may not be as secure for heavy items.
Think about how you use your camera bag. Do you need quick access or maximum protection? This choice will shape the overall design of your bag.
Attaching Straps
Straps must be sturdy and comfortable, especially if you carry heavy camera equipment. Use heavy-duty thread and double stitching to attach straps securely to your bag.
Consider padding the straps for extra comfort during long shoots. Adjustable straps are also a good idea, allowing you to carry the bag at your preferred length.
Have you tested the strap attachment by loading the bag? This simple check can prevent surprises when you’re out in the field.
Adding Buckles And Clips
Buckles and clips add functionality and style to your camera bag. They make it easy to open and close compartments or adjust strap lengths on the go.
Select metal or high-quality plastic buckles for durability. Snap hooks can also be added for attaching extra gear like lens caps or small pouches.
Think about the weight and size of your camera gear when choosing buckles and clips. Will they hold up under pressure? This small detail can make a big difference in your bag’s lifespan.

Credit: sewverycrafty.com
Finishing Touches
Finishing touches give your camera bag strength and style. These small details improve its look and function. Focus on making seams strong, adding some decoration, and protecting the bag from water. This makes your bag last longer and stand out.
Reinforcing Seams
Strong seams keep the bag from falling apart. Use double stitching on all main seams. Sew with thick, durable thread for extra strength. Adding fabric tape inside the seams can stop fraying. Check corners and strap areas carefully. These spots hold the most weight and need extra care.
Adding Decorative Elements
Decorations make your camera bag unique. Use patches, embroidery, or fabric paint to add personality. Choose designs that match your style or photography theme. Attach buttons or metal studs for a rugged look. Keep decorations light so they do not add bulk. Place elements where they do not block pockets or zippers.
Waterproofing Tips
Waterproofing protects your gear from rain and spills. Use a waterproof spray on the bag’s outer fabric. Test spray on a small area first to avoid color changes. Add a waterproof lining inside for extra protection. Sealing zippers with waterproof tape helps keep water out. Regularly reapply waterproof spray to maintain protection.
Maintaining Your Camera Bag
Maintaining your camera bag is essential to keep your gear safe and your bag looking fresh. A well-cared-for bag lasts longer and protects your valuable equipment better. Small efforts in cleaning, repairing, and storing can make a big difference over time.
Cleaning Instructions
Regular cleaning prevents dirt and dust from damaging your bag’s fabric and padding. Use a soft brush or cloth to remove surface dust and debris. For deeper cleaning, spot clean stains with a mild soap and warm water solution, but avoid soaking the bag completely.
If your bag has removable inserts, take them out and clean separately. Always air dry your bag in a well-ventilated area to avoid mold or unpleasant smells. Have you noticed how a clean bag makes your photography trips more enjoyable?
Repair Tips
Small tears or broken zippers can quickly become bigger problems if left unattended. Use fabric glue or patches to fix minor rips before they grow. For zippers, lubricate them with a bit of wax or a zipper-specific lubricant to keep them running smoothly.
If a strap or buckle breaks, consider replacing the part instead of throwing the bag away. Repairing your bag yourself can save money and gives you a sense of satisfaction. What repairs have you done that saved your gear in a pinch?
Storage Suggestions
Proper storage keeps your camera bag in shape when not in use. Store it in a cool, dry place away from direct sunlight to prevent fading and material breakdown. Avoid stacking heavy items on top of the bag to maintain its structure.
Consider stuffing the bag with soft cloth or bubble wrap to help it keep its form. If you use your bag seasonally, check it for pests or moisture before packing your camera gear back inside. How do you keep your gear-ready bag fresh during long breaks?

Credit: m.youtube.com
Frequently Asked Questions
What Materials Do I Need To Make A Camera Bag?
You need durable fabric, foam padding, sewing tools, thread, and zippers. Choose water-resistant materials for protection. Quality padding ensures your camera stays safe from shocks and scratches.
How Do I Customize The Camera Bag Size?
Measure your camera and accessories first. Add extra space for padding and compartments. Adjust dimensions based on your gear and preferred bag style for a perfect fit.
What Is The Best Padding For Camera Protection?
Closed-cell foam is ideal as it absorbs shocks well. Use at least 1 inch thickness to protect your camera from bumps and drops during travel or daily use.
How Can I Organize Compartments Inside The Bag?
Use adjustable dividers to separate lenses and accessories. Velcro dividers offer flexibility. Label compartments for easy access and keep gear secure and organized.
Conclusion
Making your own camera bag saves money and fits your needs. You control the size, pockets, and style. It protects your gear well and looks great. Plus, crafting it can be fun and rewarding. Use strong materials for durability and comfort.
Take your time and follow each step carefully. Soon, you will have a unique bag that suits you perfectly. Give it a try and enjoy your new, custom camera bag every day.