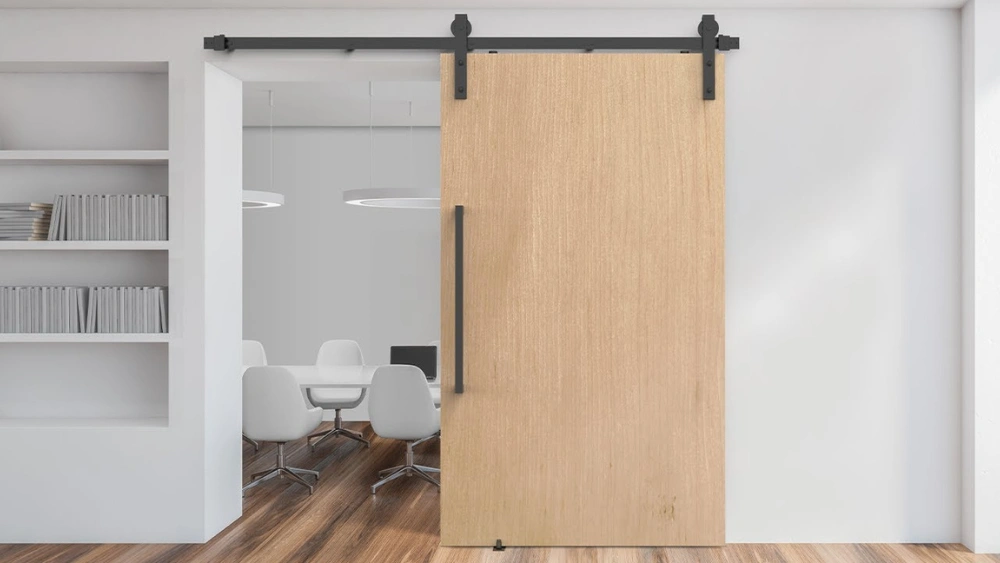
Are you ready to upgrade your space with a sleek sliding door but unsure how to fit the track perfectly? Installing a sliding door track might seem tricky, but with the right steps, you can do it yourself and enjoy smooth, stylish doors in no time.
In this guide, you’ll discover simple, clear instructions that anyone can follow—no special skills needed. Keep reading, and by the end, you’ll have the confidence to fit your sliding door track like a pro.
Tools And Materials Needed
Fitting a sliding door track requires the right tools and materials to ensure a smooth installation. Using proper equipment makes the process safer and faster. The quality of materials affects the door’s performance and durability.
Gathering everything before starting helps avoid interruptions. Below are the key tools and materials needed for the job.
Essential Tools
- Measuring tape – for precise measurements
- Spirit level – to check the track’s alignment
- Electric drill – for making holes and fixing screws
- Screwdriver – to tighten or loosen screws
- Hammer – useful for light tapping or adjustments
- Pencil – to mark positions and measurements
- Step ladder – to reach higher areas safely
- Safety goggles – to protect your eyes during drilling
Recommended Materials
- Sliding door track kit – includes rails and rollers
- Wall anchors – for secure fixing into walls
- Screws – appropriate size for track and wall type
- Door stops – to limit sliding range
- Soft floor guide – to keep the door steady
- Silicone lubricant – to ease door movement

Credit: www.jacksonville.com
Preparing The Door And Frame
Preparing the door and frame is key to fitting a sliding door track properly. This phase ensures the door fits smoothly and operates without issues. Precise measurements and checking the frame are essential steps.
Measuring Door Dimensions
Start by measuring the door’s height and width accurately. Use a tape measure and note down the exact dimensions. Measure the door at several points to check for any warps or uneven edges. Record the smallest width and height to ensure the door fits within the frame. Double-check measurements before cutting or drilling.
Checking Frame Alignment
Inspect the door frame for straightness and level. Use a spirit level to check both vertical and horizontal alignment. Look for any gaps, cracks, or damage that may affect installation. Ensure the frame is sturdy and can support the sliding track system. Adjust or repair the frame before fitting the track to avoid future problems.
Marking The Track Position
Marking the track position is a key step in fitting a sliding door track. It ensures the track is straight and aligned for smooth door movement. Precise marking prevents issues like door jamming or uneven sliding. Take time to measure and mark carefully before drilling or fixing the track.
Determining Track Height
Start by measuring the door height and adding space for clearance. This space helps the door slide without scraping the floor. Use a pencil to mark the height on the wall or frame. Check the level with a spirit level to keep the track straight. Mark both ends of the track line clearly.
Marking Drill Points
Place the track along the height line marked earlier. Use a pencil to mark drill points through the track holes. Ensure marks are spaced evenly for strong support. Double-check the marks before drilling to avoid mistakes. Clear any dust or debris from the marks to make drilling easier.
Installing The Track
Installing the track for your sliding door is a crucial step that sets the foundation for smooth operation. Precision and patience are key here, as any misalignment can cause the door to stick or derail. Let’s break down the process into manageable tasks that you can confidently handle.
Drilling Holes
Start by marking the exact spots where the track will be attached. Use a pencil to draw light guide marks on the wall or ceiling, depending on your track placement. Double-check your measurements—once the holes are drilled, you can’t easily move them.
Choose a drill bit that matches the size of your wall plugs or anchors. If you’re drilling into drywall, use wall anchors to provide extra grip. For concrete or brick, a masonry bit is essential to penetrate the hard surface without damage.
Keep the drill steady and perpendicular to the surface. Drilling at an angle can cause the track to sit unevenly. Have you ever noticed a door that swings or sticks? That often starts here, with poorly drilled holes.
Securing The Track
Once the holes are ready, align the track with your guide marks. Hold it firmly in place and insert the screws into the drilled holes. Use a screwdriver or drill to tighten each screw, ensuring the track is secure but avoid overtightening, which can strip the holes or damage the track.
Pay attention to the track’s level. Even a slight tilt can affect the door’s movement. Use a spirit level to check alignment before fully tightening all screws. Adjust as needed—this step is worth extra time to avoid frustration later.
Think about the weight of your door. Heavier doors require more anchors or stronger fixings to prevent sagging. Are you using the right hardware for your door’s size? If unsure, consult the manufacturer’s recommendations to avoid costly mistakes.
Hanging The Sliding Door
Hanging a sliding door might seem daunting, but it can be a satisfying project that adds a modern touch to your living space. Imagine the seamless glide of a well-installed door, offering privacy without eating up too much floor space. If you’re ready to take on the challenge, keep reading for practical insights into making your sliding door a success. This section will guide you through the crucial steps of attaching rollers and placing the door on the track. Ready to transform your room?
Attaching Rollers To The Door
First, lay your door flat on a clean surface. This prevents any damage while you’re attaching the hardware. Check the manufacturer’s instructions for specific roller placement—these can vary depending on the design.
Once you’ve located the right spots, secure the rollers using the screws provided. Double-check that they are tightly fastened. Loose rollers can lead to a shaky door that won’t slide smoothly.
Remember, precision is key. An uneven roller can mean a door that doesn’t align properly. Are you seeing the value in taking your time with this step?
Placing Door On Track
Now it’s time to bring your door to life. Carefully lift the door, ensuring you have someone to help if it’s heavy. Align the rollers with the track at a slight angle. This helps the rollers settle into place smoothly.
Once aligned, gently lower the door onto the track. Give it a test slide to ensure everything is working correctly. Does it glide effortlessly? If not, check the roller alignment or track straightness.
Adjust as necessary until your door slides with ease. A perfectly hung door not only functions well but adds a stylish touch to your room. Are you ready to enjoy your new space?
Credit: www.wardrobedoorsdirect.co.uk
Adjusting The Door Alignment
Adjusting the door alignment is crucial to ensure your sliding door works perfectly without sticking or wobbling. A misaligned door can cause frustration, damage the track, or even lead to safety issues. Taking time to fine-tune the alignment helps your door glide smoothly and extends its lifespan.
Leveling The Door
Start by checking if the door is perfectly level. Use a spirit level along the top edge of the door to spot any tilt. Even a slight angle can cause the door to slide unevenly or get stuck.
If you find the door isn’t level, adjust the height by loosening the screws on the rollers or the track brackets. Raise or lower the door incrementally, then recheck with the spirit level. Small tweaks can make a big difference in performance.
Have you noticed a door that seems to drag on one side? That’s often a sign it’s not level. Fixing this early prevents wear on your door and track.
Ensuring Smooth Sliding
Once the door is level, test its sliding motion. Push the door gently along the track and listen for any unusual sounds or resistance. Smooth sliding should feel effortless with no jerks or catches.
If the door isn’t sliding smoothly, inspect the rollers and track for dirt, damage, or misalignment. Clean the track with a soft cloth and check if the rollers spin freely. Lubricate the rollers with a silicone-based spray to reduce friction without attracting dust.
Sometimes, the door may need slight horizontal adjustments. Use the adjustment screws on the rollers to move the door closer or away from the wall. This helps prevent rubbing against the frame or wall, which can slow down the sliding.
Have you ever ignored a sticky door only to deal with bigger repairs later? Adjusting your door alignment now saves time and money in the long run.
Adding Door Stops And Guides
Adding door stops and guides is essential to ensure your sliding door operates smoothly and safely. These components prevent the door from sliding off the track or swinging wildly, which can cause damage or injury. Properly fitting these parts adds stability and extends the life of your sliding door system.
Installing Door Stops
Door stops limit how far your sliding door can move along the track. Without them, the door might slide too far and fall off, risking damage. Choose stops that match your track’s size and material for a secure fit.
To install, slide the door stops onto the track ends before hanging your door. Tighten the screws or bolts to hold them firmly in place. Test the door’s movement to ensure it stops exactly where you want.
Have you checked if your stops are adjustable? Some models allow fine-tuning, which can be a lifesaver if your door tends to drift past the stops slightly. This flexibility helps you customize the door’s range perfectly.
Fitting Floor Guides
Floor guides keep the bottom of your sliding door aligned, preventing it from swinging sideways. They are especially important for wider or heavier doors. Without floor guides, your door could wobble or jam during use.
Start by marking the guide’s position on the floor, directly below the door’s path. Make sure the guide is centered and aligned with the door edge. Drill holes as needed and secure the guide with screws.
Choosing the right type of floor guide depends on your floor surface and door style. Some guides have rollers or smooth channels to reduce friction. Think about how often you use the door and the environment—it might make a difference in your guide choice.
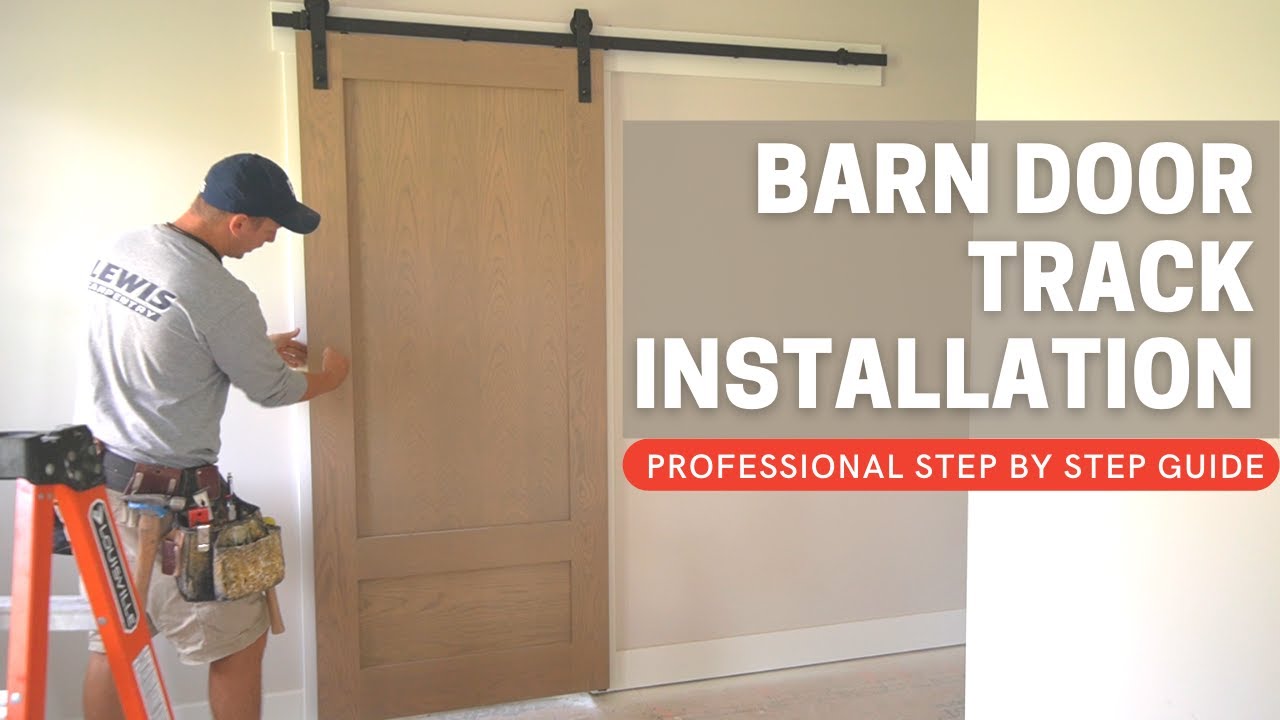
Credit: www.youtube.com
Final Checks And Maintenance Tips
Sliding doors offer elegance and space-saving functionality. Once installed, ensuring they operate smoothly is crucial. Final checks and maintenance tips help you keep them in perfect condition.
Testing Door Operation
Check the door’s movement. Slide it back and forth gently. Ensure the door doesn’t stick or wobble. Listen for unusual sounds. These might indicate issues with alignment or track. Confirm the door locks securely. Safety is a priority.
Maintaining Track And Rollers
Keep the track clean. Dust and debris can affect operation. Use a vacuum or brush to clear the track. Lubricate the rollers occasionally. This reduces friction and ensures smooth movement. Choose a lubricant suitable for metal or plastic rollers.
Inspect rollers regularly. Look for signs of wear or damage. Replace them if necessary. Check for any loose screws or bolts. Tighten them to keep the structure stable.
Frequently Asked Questions
How Do I Measure For A Sliding Door Track?
Measure the door width and height accurately. Add extra length for track overhang. Confirm wall or ceiling mount space before buying materials.
What Tools Are Needed To Fit A Sliding Door Track?
You need a drill, measuring tape, level, screwdriver, pencil, and screws. A stud finder helps locate wall supports. Safety glasses are recommended.
Can I Install A Sliding Door Track On Drywall?
Yes, but ensure you mount the track into wall studs. Use anchors if studs are unavailable. Proper support prevents door misalignment and damage.
How High Should A Sliding Door Track Be Installed?
Install the track about 1-2 inches above the door frame. This allows smooth door movement and clearance for rollers. Check manufacturer guidelines for exact height.
Conclusion
Fitting a sliding door track can be simple with the right steps. Measure carefully and use the correct tools for best results. Take your time to ensure the track is level and secure. This helps the door slide smoothly without trouble.
Regular checks keep the door working well over time. With patience and care, you can complete this project successfully. Now, enjoy the neat look and easy access your sliding door provides.