Are your projector headlights not lighting the road the way they should? If you’ve ever felt like your night drives are less clear or noticed glare bothering other drivers, it might be time to adjust your headlights.
You don’t need to be a mechanic or spend a fortune to fix this. With a few simple steps, you can improve your visibility and drive safer at night. Keep reading, and you’ll learn exactly how to adjust your projector headlights quickly and easily.
Tools Needed
Adjusting projector headlights requires specific tools for accurate and safe results. Having the right equipment ensures the job is done smoothly and correctly. Prepare these tools before you start to save time and avoid frustration.
Basic Equipment
- Screwdriver set – Phillips and flathead for various screws
- Socket wrench – for bolts securing the headlight assembly
- Measuring tape – to check headlight height and alignment
- Masking tape – to mark adjustment points on the wall or garage door
- Level surface – a flat area like a garage floor or driveway
- Wall or garage door – a flat surface to project the light beam
Safety Gear
- Gloves – protect your hands from sharp parts and dirt
- Safety glasses – shield your eyes from debris or dust
- Work clothes – wear comfortable, durable clothing for protection
- Flashlight – to see clearly inside the engine bay or under the vehicle
Preparing Your Vehicle
Before you start adjusting your projector headlights, it’s crucial to prepare your vehicle properly. Small details in preparation can make a big difference in how accurate your headlight alignment will be. Taking the time to set up the right conditions ensures your adjustments are precise and effective.
Park On Level Ground
Find a flat, level surface to park your vehicle. Uneven ground can throw off the alignment measurements and lead to improper headlight aim. If you park on a slope, your headlights might point too high or too low, reducing nighttime visibility and causing glare for other drivers.
Ask yourself: Is your driveway or parking spot truly flat? If not, look for a nearby empty parking lot or garage with a level floor.
Check Tire Pressure
Make sure all your tires are inflated to the manufacturer’s recommended pressure. Uneven tire pressure can tilt your vehicle slightly, affecting the headlight beam direction. I once adjusted my headlights only to find they were off the next day because my front left tire was underinflated.
Use a reliable tire gauge and inflate any tires that are low. This small step helps keep your vehicle’s stance balanced for accurate headlight aiming.
Clean Headlight Lenses
Dirty or cloudy headlight lenses can distort the light output and make your adjustments less effective. Take a moment to wash off dirt, bugs, and grime. If the lenses are foggy, consider using a headlight restoration kit for clearer light projection.
Have you noticed your headlights dimmer after a rain or long drive? Cleaning them before adjusting ensures the light you see during the process matches what you get on the road.
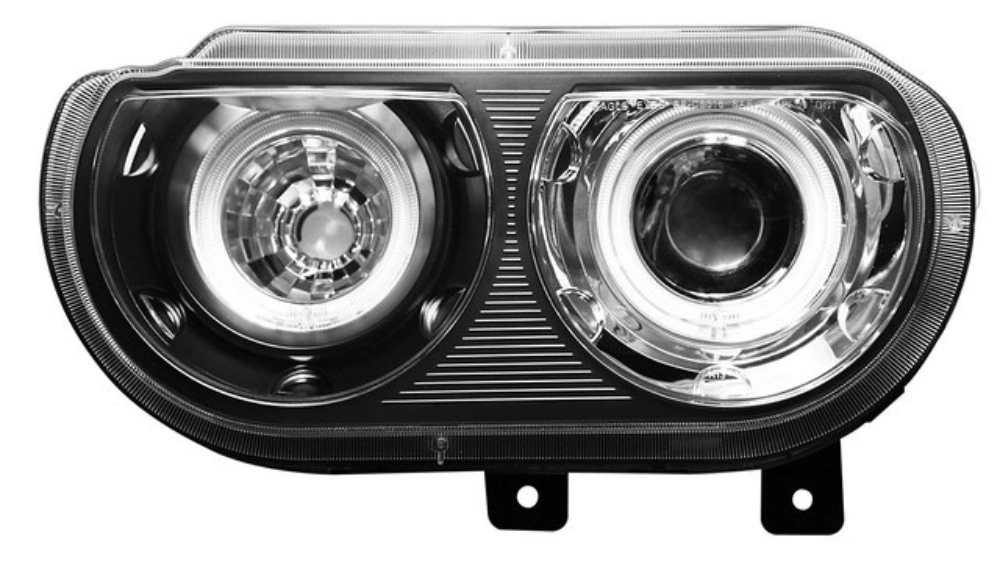
Locate Adjustment Screws
Locating the adjustment screws on projector headlights is key to proper alignment. These screws control the light beam direction. Knowing their exact location makes the adjustment process easier. Each projector headlight usually has two main screws. One controls the horizontal angle. The other adjusts the vertical angle.
Identify Horizontal Screws
Horizontal screws move the headlight beam left or right. They are often found on the top or side of the headlight housing. These screws may be marked with arrows or symbols. Turning the screw clockwise or counterclockwise shifts the beam sideways. Adjusting these screws helps center the light on the road.
Identify Vertical Screws
Vertical screws control the up-and-down movement of the beam. Usually, these are placed near the horizontal screws but slightly lower or higher. Turning the vertical screw raises or lowers the light beam. Proper vertical adjustment prevents blinding other drivers. It also improves your night driving visibility.
Credit: hawkglow.com
Marking The Wall
Marking the wall is a key step in adjusting projector headlights. It helps align the light beams correctly. This process sets reference points to compare the headlight position with the wall. Clear and accurate markings ensure the headlights shine at the right angle and height. Follow these simple steps to mark the wall properly before adjusting your projector headlights.
Measure Distance From Ground
Measure the distance from the ground to the center of each headlight. Use a tape measure for accuracy. Write down these measurements. This ensures the marks on the wall match the headlight height exactly. Keep the vehicle on a level surface for precise results.
Mark Headlight Height
Stand the car facing a flat wall about 10 to 15 feet away. Use a pencil or masking tape to mark the wall at the height of each headlight. Make a small horizontal line for each side. These lines will guide the vertical alignment of the headlights later.
Draw Vertical Centerlines
Find the center point between the two headlights on the wall. Use a ruler or straight edge to draw a vertical line through this point. This line acts as the centerline for headlight adjustment. It helps keep the beams symmetrical and properly spaced.
Adjusting Horizontal Aim
Adjusting the horizontal aim of projector headlights ensures the light beam points straight ahead. Use the adjustment screws to move the beam left or right until it aligns with the road. Proper aim improves visibility and reduces glare for other drivers.
Adjusting projector headlights involves precise steps to ensure optimal illumination. Horizontal aim is crucial for balanced lighting on the road. Proper alignment reduces glare and enhances safety. This guide helps you adjust the horizontal aim effectively. Follow these steps to ensure your projector headlights are perfectly aligned.Turn Screws For Side-to-side Alignment
Locate the adjustment screws on your projector headlights. Use a screwdriver to turn these screws. Turning them will shift the headlights left or right. Adjust the screws slowly to achieve the desired alignment. Ensure both headlights are aligned evenly.Check Beam Position On Wall
Park your vehicle facing a flat wall. Ensure a distance of about 25 feet. Turn on the headlights and observe the beam pattern. The beams should align horizontally on the wall. Make necessary adjustments using the screws. Adjust until both beams are at equal height. This ensures balanced illumination on the road.Adjusting Vertical Aim
Adjusting the vertical aim of your projector headlights is crucial for safe and effective nighttime driving. If the beams are too high, they can blind oncoming drivers, while beams set too low reduce your visibility. Proper vertical alignment ensures you see clearly without causing discomfort to others on the road.
Turn Screws For Up-and-down Alignment
Locate the vertical adjustment screws on your projector headlights. These are usually found on the top or side of the headlight housing. Use a screwdriver or the appropriate tool to turn the screws slowly.
Turning the screw clockwise typically raises the beam, while turning it counterclockwise lowers it. Make small adjustments and check the beam’s position after each turn. It’s easier to fine-tune the alignment with gradual movements than to fix large misalignments.
Ensure Proper Beam Height
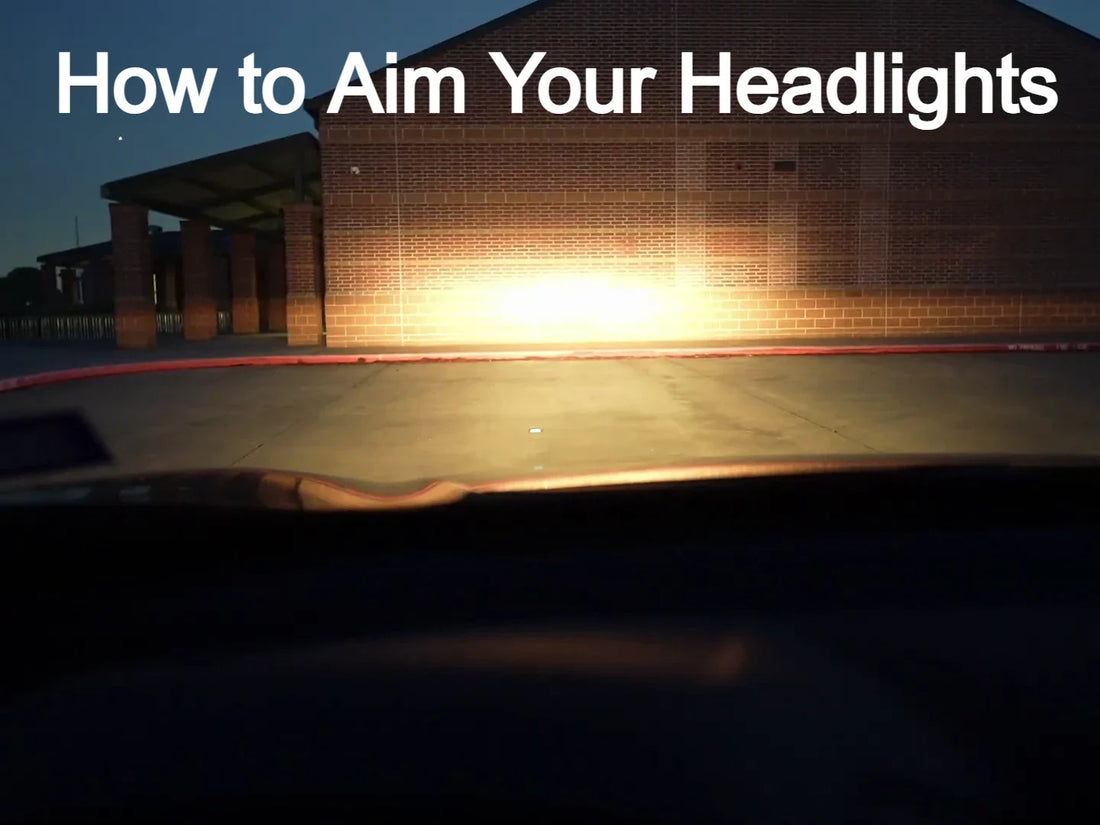
To check the beam height, park your car on a level surface facing a wall about 25 feet away. Turn on the low beams and observe the light pattern on the wall.
The top edge of the brightest part of the beam should be just below the height of your headlights. If the beam is too high, it can dazzle other drivers; too low, and your visibility suffers.
Try marking the beam height with tape to guide your adjustments. This simple step can save you from guesswork and make sure your lights are perfectly aligned for safe driving. Have you ever driven with misaligned headlights? How did it affect your night driving experience?
Testing Adjustments
After adjusting your projector headlights, it’s crucial to test your work to ensure proper alignment and safety. Testing adjustments helps you see the real-world impact of your changes, especially under low-light conditions. This step confirms that your headlights illuminate the road correctly without blinding other drivers.
Test Drive At Night
Taking your vehicle for a night drive is the best way to evaluate your headlight adjustments. Pay attention to the beam pattern on the road and nearby objects. Are you able to see clearly without glare affecting oncoming traffic?
Choose a quiet road with minimal streetlights to get a true sense of your headlights’ effectiveness. Notice how far and wide the light spreads. If the beam seems too high, low, or uneven, it’s time to make more tweaks.
Fine-tune As Needed
After your test drive, return to your adjustment setup to refine the aim. Small changes can make a big difference in visibility and safety. Use the adjustment screws to raise, lower, or shift the beam left or right.
Don’t rush this step. It might take several rounds of testing and adjusting to get it just right. Have you considered how your headlights perform in different weather conditions? A slight tweak can improve visibility in fog or rain.

Credit: www.facebook.com
Common Mistakes To Avoid
Avoid shining headlights too high, as it can blind other drivers. Don’t skip checking your adjustments in a dark area. Over-tightening screws may damage the projector or misalign the beam.
Adjusting projector headlights can improve visibility and safety. Yet, many drivers make mistakes during adjustment. These errors can lead to improper alignment. This section explores common mistakes to avoid.Overadjusting
Overadjusting headlights is a frequent issue. It can cause glare for oncoming drivers. This creates unsafe driving conditions. Aim for a balanced beam spread. Avoid pointing the beams too high or low. Test the alignment after each adjustment. This ensures optimal visibility without causing problems.Ignoring Manufacturer Specs
Manufacturer specs are essential for proper adjustment. They provide guidance specific to each vehicle. Ignoring these can lead to incorrect settings. This affects the effectiveness of your headlights. Always check your vehicle manual. Follow the recommended procedures for best results. Use the correct tools for adjustment. This ensures precision and prevents damage.
Credit: www.youtube.com
Frequently Asked Questions
How Do I Know If My Projector Headlights Need Adjustment?
Check if your headlights are misaligned or causing glare. Uneven light patterns, dimming, or poor road visibility indicate adjustment is necessary.
What Tools Are Required To Adjust Projector Headlights?
You need a screwdriver, tape measure, masking tape, and a flat surface. These tools help precisely align and secure your projector headlights.
Can I Adjust Projector Headlights Myself Safely?
Yes, with proper instructions and tools, you can adjust them safely. Ensure your vehicle is on level ground and follow step-by-step guidelines.
How Often Should Projector Headlights Be Adjusted?
Adjust headlights whenever you replace bulbs or notice misalignment. Regular checks every 6-12 months help maintain optimal visibility and safety.
Conclusion
Adjusting projector headlights keeps your road safe and clear. Properly aimed lights help you see better at night. They also prevent blinding other drivers. The process is simple and does not need special tools. Regular checks ensure your headlights stay in the right position.
Take time to adjust your lights after changes or repairs. Bright and focused headlights improve your driving confidence. Try these easy steps to keep your headlights working well. Safe driving starts with good visibility.