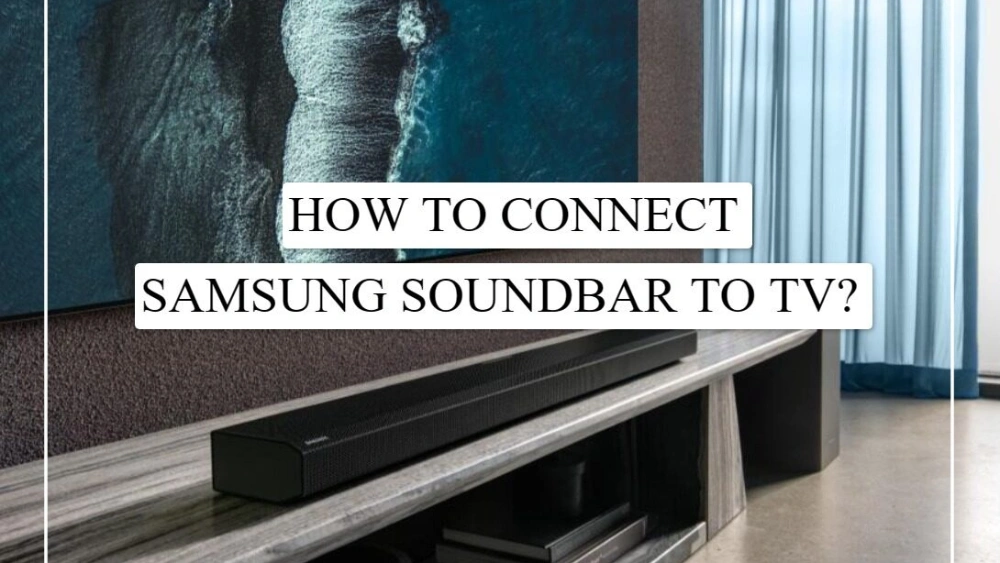
Are you ready to take your home entertainment to the next level? Connecting your Samsung soundbar to your Samsung TV can transform your viewing experience with crystal-clear sound and powerful bass.
But if you’re unsure where to start or worried about complicated setups, don’t worry. In this guide, you’ll discover simple, step-by-step instructions to get your soundbar and TV working perfectly together. By the end, you’ll enjoy immersive audio without the hassle.
Keep reading, and let’s make your favorite shows and movies sound amazing!

Credit: manuals.plus
Choosing The Right Connection
Choosing the right connection to link your Samsung soundbar with your Samsung TV is crucial for getting the best audio experience. The connection type affects sound quality, ease of use, and compatibility. Understanding your options helps you avoid frustration and ensures your setup works smoothly.
Hdmi Arc
HDMI ARC (Audio Return Channel) is the most recommended way to connect your Samsung soundbar to your TV. It lets audio travel both ways through a single HDMI cable, simplifying your setup. Plus, it supports high-quality sound formats and allows you to control the soundbar volume using your TV remote.
If your TV and soundbar both have an HDMI ARC port, this is usually the best choice. I once switched from optical to HDMI ARC and immediately noticed clearer sound and less cable clutter. Have you checked if your devices support HDMI ARC yet?
Optical Cable
Optical cables transmit digital audio signals using light, providing excellent sound quality without interference. This connection is common if your TV or soundbar lacks HDMI ARC ports. It supports surround sound formats but doesn’t carry video signals or allow remote control integration.
Using an optical cable is straightforward and reliable. However, you’ll need to manage volume control separately, as the TV remote won’t adjust the soundbar. Does your sound system feel complicated to control with optical? This might be why.
Bluetooth Pairing
Bluetooth offers a wireless connection option, freeing you from cables entirely. It’s convenient for casual listening but may introduce slight audio delay, which can affect syncing with on-screen action. Sound quality varies depending on the Bluetooth version and codec support.
Bluetooth is perfect if you want a clean setup or move your soundbar around. However, if you watch a lot of fast-paced content, you might notice lag or dropouts. Have you ever experienced sound that’s out of sync during a game or movie?
Auxiliary Cable
The auxiliary (AUX) cable uses a standard 3.5mm jack to transmit analog audio signals. It’s the simplest and most universal connection but offers lower sound quality compared to digital options. AUX is useful if your TV or soundbar lacks digital ports or Bluetooth capability.
While AUX is easy to use, it won’t deliver immersive surround sound or deep bass. If you value high-fidelity audio, this might not meet your expectations. Are you willing to trade convenience for sound quality in your setup?
Preparing Your Devices
Getting your Samsung soundbar and TV ready before connecting them saves time and hassle. Preparing your devices properly ensures a smooth setup and better sound experience right from the start. Let’s focus on the key steps you should take before making the connection.
Check Compatibility
Not every Samsung soundbar works seamlessly with every Samsung TV model. Check the user manuals or Samsung’s website for compatibility details specific to your soundbar and TV. This helps you avoid frustration and wasted effort with connections that won’t function well together.
Look for supported connection types like HDMI ARC, optical, or Bluetooth. Knowing which options are available lets you choose the best way to connect your devices.
Power On Devices
Before connecting cables, turn on both your TV and soundbar. This step may seem simple, but powering on helps the devices recognize each other during setup. It also allows you to test connections immediately without guessing if the problem is due to power issues.
Have you ever plugged everything in only to realize the soundbar was off? Avoid that confusion by starting with both devices powered up.
Locate Ports
Next, find the right ports on both your TV and soundbar. On your TV, look for HDMI ARC (Audio Return Channel) or optical audio output ports. On the soundbar, locate the corresponding HDMI or optical input ports.
- HDMI ARC ports usually have “ARC” labeled near them.
- Optical ports often have a small square shape with a plastic cover.
- Bluetooth connections require no physical ports but check your TV’s settings to enable pairing.
Knowing exactly where these ports are saves you from fumbling around your devices later. It also helps you pick the best cable for a stable and high-quality connection.
Connecting Via Hdmi Arc
Connecting your Samsung soundbar to your Samsung TV via HDMI ARC is one of the most efficient ways to enhance your audio experience. It provides high-quality sound and allows your TV remote to control the soundbar’s volume seamlessly. Whether you’re watching your favorite movie or binge-watching a series, this connection ensures you get the best auditory experience without the hassle of juggling multiple remotes. Let’s dive into the specifics of setting this up.
Find Hdmi Arc Port
Start by locating the HDMI ARC port on both your TV and soundbar. This port is usually marked with “ARC” to distinguish it from regular HDMI ports. If you’re not sure where it’s located, check the user manual or the back panel of your devices. The ARC port allows audio to travel both ways, enabling your TV and soundbar to communicate effectively. Have you ever wondered why some soundbars sound better than others? Often, the secret lies in proper connections like ARC.
Use High-speed Hdmi Cable
Once you’ve identified the ARC ports, grab a high-speed HDMI cable. This type of cable is crucial because it can handle the two-way audio signals needed for ARC. Plug one end into the soundbar’s ARC port and the other into the TV’s ARC port. Avoid using outdated cables that might not support ARC capabilities. A reliable HDMI cable can make all the difference in the sound quality you experience. It’s a small investment for a big payoff in audio performance.
Enable Anynet+ On Tv
With your devices physically connected, it’s time to tweak some settings. Navigate to your TV’s settings menu and enable Anynet+ (HDMI-CEC). This feature allows your TV to control connected devices like your soundbar, simplifying your setup. Have you ever been frustrated by needing multiple remotes just to adjust the volume? Enabling Anynet+ solves this issue. It’s a game-changer that streamlines your entertainment system, making it easier for you to enjoy your favorite shows without interruptions.
Using Optical Cable Connection
Using an optical cable to connect your Samsung soundbar to your Samsung TV is a reliable way to enjoy crisp, high-quality audio. Optical cables transmit digital audio signals through light, which means less interference and clearer sound compared to traditional analog connections. If you’re looking for a straightforward setup that enhances your viewing experience, this connection method is worth considering.
Locate Optical Ports
Start by finding the optical ports on both your TV and soundbar. On your Samsung TV, the optical output is usually labeled as “Digital Audio Out (Optical).” It’s a small, square-shaped port covered by a protective flap that you may need to gently open.
Your Samsung soundbar will have a matching optical input, often labeled “Optical In” or “Digital Audio In.” Take a moment to check both devices carefully—it can save you time and frustration later.
Connect Cable Securely
Take your optical cable and insert one end into the TV’s optical output port. You should feel a slight click when the connector is properly seated. Repeat this step by plugging the other end into the soundbar’s optical input.
A loose connection can cause audio dropouts or no sound at all, so make sure the cable clicks into place firmly. Avoid bending the cable sharply; optical cables use delicate fiber optics that can break if twisted or pinched.
Adjust Tv Audio Settings
After connecting the cable, turn on your TV and soundbar. Access the TV’s audio settings menu—usually found under “Sound” or “Audio.” Change the audio output option to “Optical” or “External Speaker” to route sound through the optical cable.
Some Samsung TVs may require you to disable the TV speakers manually to avoid echo or sound from both devices. Test by playing your favorite show or movie and adjust the soundbar volume accordingly.
Have you noticed how much clearer dialogue and effects sound after switching to optical? This simple step often makes a big difference without any complicated setup.
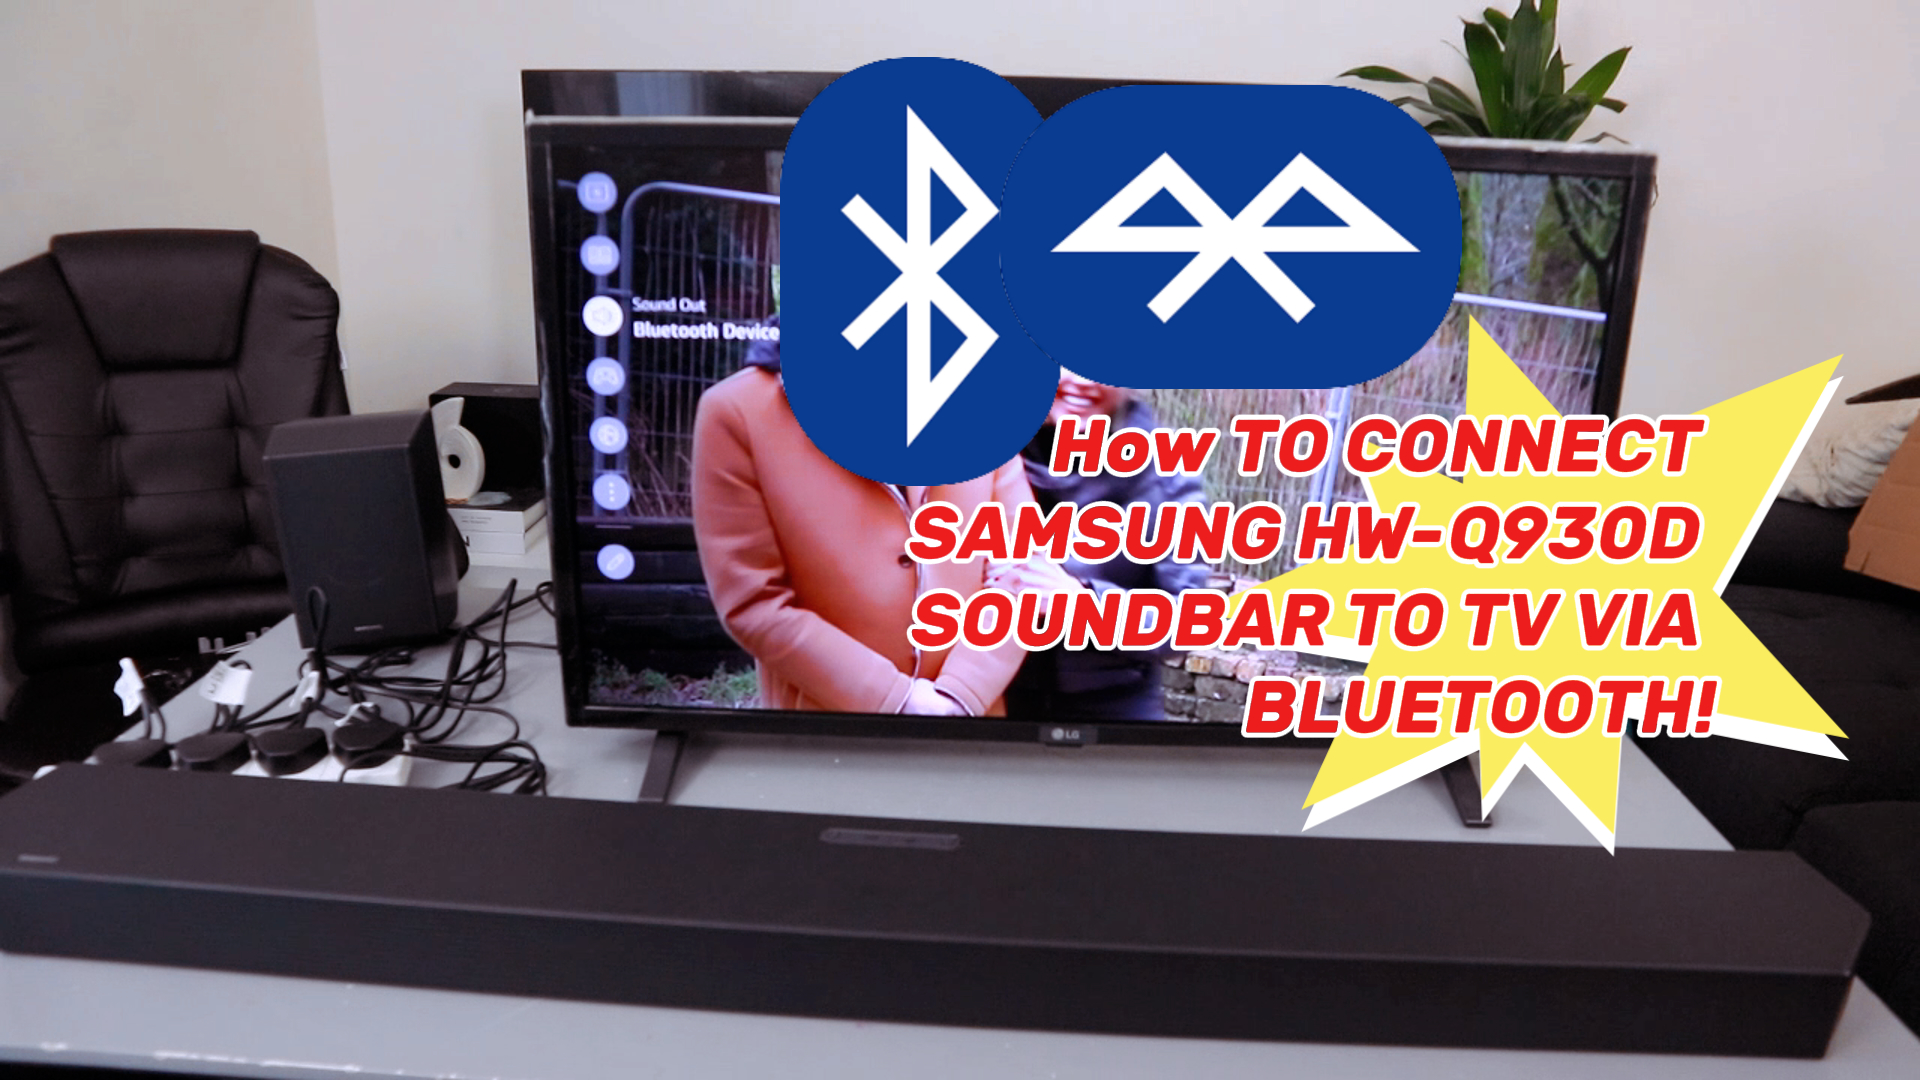
Pairing Through Bluetooth
Pairing your Samsung soundbar with your Samsung TV through Bluetooth offers a wireless, clutter-free setup. It lets you enjoy clear, powerful audio without the hassle of cables. If you want a quick and easy connection, Bluetooth is a great choice.
Activate Bluetooth On Soundbar
Start by turning on your Samsung soundbar and making sure it’s in Bluetooth pairing mode. Usually, you can do this by pressing the Bluetooth button on the remote or the soundbar itself. A blinking blue light often indicates that the soundbar is ready to pair.
Enable Tv Bluetooth
Next, access your Samsung TV’s settings menu. Navigate to the “Sound” or “Connections” section and find the Bluetooth settings. Turn on Bluetooth to allow your TV to search for nearby devices.
Select Soundbar From Tv List
Once your TV scans for devices, you’ll see a list of available Bluetooth devices. Look for your soundbar’s name and select it. If asked, confirm the connection or enter a pairing code, usually “0000” or “1234.”
Have you ever noticed how some devices connect instantly while others take multiple tries? Patience and ensuring both devices are close can make a big difference. Once paired, test the sound by playing your favorite show or music.
Credit: us.amazon.com
Connecting With Auxiliary Cable
Connecting your Samsung soundbar to your Samsung TV using an auxiliary cable is a straightforward option that delivers clear audio without the need for wireless setup. This method is especially handy if you want a simple, direct connection without fussing over Bluetooth pairing or HDMI settings. Let’s walk through how to get this connection up and running quickly.
Identify Aux Ports
First, locate the auxiliary (AUX) ports on both your Samsung TV and soundbar. These ports are typically labeled as “AUX” or “Audio In/Out” and look like a small 3.5mm headphone jack or RCA connectors.
On most Samsung TVs, the AUX port is on the back or side panel. Check your user manual if you’re unsure—it’s often near other audio outputs.
Plug In Auxiliary Cable
Once you find the ports, take your auxiliary cable and firmly plug one end into the TV’s AUX output. Then, connect the other end into the AUX input on your soundbar.
Make sure the cable is fully inserted to avoid static or poor sound quality. If you only have RCA cables (red and white connectors), you may need an RCA to 3.5mm adapter.
Set Tv Audio To External Speakers
After connecting the cable, turn on your TV and soundbar. Navigate to your TV’s settings menu, then find the audio or sound section.
Change the audio output setting from “TV Speaker” to “External Speaker” or “Audio Out.” This tells your TV to send sound through the AUX cable to your soundbar instead of the built-in speakers.
Do you notice a big difference in sound quality after switching? This simple change often transforms your viewing experience without any complex tech setup.
Troubleshooting Connection Issues
Connection problems can stop your Samsung soundbar from working right with your TV. Troubleshooting helps find the cause and fix it fast. Follow these tips to solve common issues and enjoy clear sound again.
No Sound From Soundbar
Check the volume on both TV and soundbar. Make sure the soundbar is not muted. Select the correct audio output on your TV settings. Confirm the soundbar is set to the right input mode. Try playing different content to test the sound.
Bluetooth Pairing Problems
Ensure the soundbar and TV are close to each other. Remove old Bluetooth devices from the soundbar’s list. Restart Bluetooth on both devices before pairing. Check if other devices can connect to the soundbar. Use the TV’s Bluetooth menu to connect manually.
Check Cable And Port Damage
Look for visible damage on HDMI, optical, or audio cables. Swap cables with known working ones to test. Inspect the TV and soundbar ports for dust or bent pins. Clean ports gently with a dry cloth if dirty. Avoid forcing cables into ports to prevent damage.
Reset Soundbar And Tv
Turn off both soundbar and TV. Unplug them from power for about one minute. Plug them back in and turn on. Reset soundbar to factory settings using the manual. Reset TV audio settings to default. This can clear glitches causing connection issues.

Credit: www.youtube.com
Optimizing Soundbar Settings
Optimizing your Samsung soundbar settings can dramatically improve your TV’s audio experience. Just connecting the devices isn’t enough; tweaking the soundbar’s features brings out richer, clearer sound tailored to your room and content. Let’s look at how you can fine-tune these settings easily.
Adjust Volume Levels
Balancing the volume between your TV and soundbar is key. Sometimes the soundbar may be too loud or too soft compared to the TV speakers. You can use the soundbar remote or the Samsung SmartThings app to adjust the volume precisely.
Try lowering the TV’s internal speaker volume and increasing the soundbar’s output until the audio feels natural. This prevents overlapping sounds and keeps dialogues clear. Have you noticed how small volume tweaks can change your movie nights?
Select Sound Modes
Samsung soundbars come with multiple sound modes designed for different types of content. Modes like “Standard,” “Surround,” “Game,” and “Adaptive Sound” each optimize audio differently. You can switch between these modes using the remote or app.
For example, “Game” mode enhances sound effects while minimizing delay, perfect for gamers. “Adaptive Sound” automatically adjusts audio based on what you watch. Which mode fits your viewing habits best?
Update Firmware
Firmware updates keep your soundbar running smoothly and often add new features or fix bugs. Check for updates regularly through the Samsung SmartThings app or the soundbar’s settings menu. It’s a quick step that ensures your device performs at its best.
Sometimes an update can improve connectivity or sound quality without any other changes. Have you ever skipped an update and later found your device missing out on useful improvements?
Frequently Asked Questions
How Do I Connect My Samsung Soundbar To Samsung Tv?
Use an HDMI ARC or optical cable to connect your soundbar to the TV. Turn on both devices, then select the soundbar as the audio output in TV settings. This setup ensures high-quality sound transmission and easy control with one remote.
Can I Use Bluetooth To Connect Samsung Soundbar And Tv?
Yes, if both devices support Bluetooth, enable pairing mode on the soundbar. On your Samsung TV, go to Bluetooth settings and select the soundbar. This wireless option offers convenience but may have slight audio delay compared to wired connections.
What Is The Best Cable For Samsung Soundbar Connection?
HDMI ARC is the best cable choice as it supports high-quality audio and control signals. Optical cables work well too but lack control features. HDMI ARC also simplifies connections by using a single cable for audio and remote control.
How To Troubleshoot Soundbar Connection Issues With Samsung Tv?
Check cable connections and ensure the soundbar is powered on. Verify the TV audio output is set to the soundbar. Restart both devices if no sound occurs. Updating firmware on both devices can also resolve compatibility problems.
Conclusion
Connecting your Samsung soundbar to your Samsung TV is simple and quick. Follow the steps carefully for the best sound experience. Use the right cables or Bluetooth settings to avoid issues. Check your TV and soundbar settings to ensure proper connection.
Enjoy clearer and richer audio while watching your favorite shows. This small setup change makes a big difference in sound quality. Feel free to try different connection options to find what works best. Now, your home entertainment sounds better than ever.