
Do you need to type in different languages on your Chromebook but don’t know how to switch to an international keyboard? You’re not alone.
Many users struggle to find the right settings and end up frustrated with limited characters and symbols. But don’t worry—turning on the international keyboard is easier than you think. In this guide, you’ll learn simple steps that make typing in multiple languages smooth and fast.
Keep reading, and you’ll unlock a whole new level of convenience for your Chromebook!
Credit: learning.oreilly.com
Access Chromebook Settings
Accessing the settings on your Chromebook is the first step to turn on the international keyboard. The settings menu holds all the options you need to customize your device. This section guides you on how to open and navigate the settings easily.
Finding the settings is simple and quick. You can adjust language, keyboard, and input methods from one place. Knowing how to access this menu helps you change your keyboard layout without trouble.
Open The Chromebook Menu
Click the clock or battery icon at the bottom-right corner of your screen. This action opens a quick settings panel. From here, find the gear-shaped icon representing the settings.
Navigate To The Settings Icon
Click the gear icon to open the main settings window. This window contains all the device’s preferences. It lets you control your keyboard and language options.
Use The Search Bar In Settings
At the top of the settings window, find the search bar. Type “keyboard” or “language” to find related settings fast. This saves time and helps you reach the right section quickly.
Navigate To Language And Input
Finding the Language and Input settings on your Chromebook is key to using an international keyboard. This section guides you through accessing these settings simply and quickly.
The Language and Input menu controls how your Chromebook handles different languages and keyboard layouts. Changing these settings allows you to type in various languages easily.
Open Chromebook Settings
Start by clicking the clock at the bottom-right corner of your screen. Then, select the gear icon to open the Settings menu.
Locate The Language Section
Scroll down in the Settings menu until you find the “Advanced” option. Click it to expand more settings, then look for “Languages and inputs”.
Access Input Methods
Within “Languages and inputs,” click on “Input method.” This area lets you add or change keyboard layouts and input methods.
Select Your International Keyboard
Click “Add input methods” to see the list of available keyboards. Choose the international keyboard you want, then click “Add”.
Add An International Keyboard
Changing your Chromebook settings lets you type in different languages easily. Enable the international keyboard to access special characters and symbols. This helps communicate better across languages and regions.
Adding an international keyboard on your Chromebook is simple. This feature can enhance your typing experience. It allows you to communicate in different languages easily. Follow these steps to add an international keyboard.Open Settings
First, click the time at the bottom right. This will open a menu. Select the gear icon to access settings.Navigate To Languages And Input
In settings, find the “Languages and Input” section. This is where you can manage keyboard settings.Select Input Method
Click on “Input Method.” You will see a list of available keyboards. Choose the international keyboard you need.Add Your Desired Keyboard
Once you find the right keyboard, click “Add.” This will add it to your list of keyboards. To switch keyboards, press “Ctrl + Space.” This lets you toggle between keyboards quickly.Customize Keyboard Settings
You can customize your keyboard settings. Go back to “Languages and Input” for options. Adjust settings to fit your preferences.Test Your New Keyboard
Finally, test your new keyboard. Open a text document. Try typing in the new language.
Credit: www.perkins.org
Switch Between Keyboards
Switching between keyboards on a Chromebook is a handy skill, especially if you often type in different languages or need special characters. It lets you move seamlessly from one keyboard layout to another without interrupting your workflow. This flexibility can save you time and reduce typing errors.
Using The Keyboard Shortcut To Switch Keyboards
You can quickly change your keyboard input by using a simple keyboard shortcut. Press Ctrl + Spaceto toggle between your enabled keyboard layouts. This shortcut works instantly, so you don’t have to dig through settings every time.
Imagine typing an email in English and then needing to insert a phrase in French with accented letters. Instead of searching for those characters, just switch keyboards and type naturally.
Switching Keyboards Via The Status Area
The status area is located at the bottom-right corner of your Chromebook screen. It displays the current keyboard language or layout. Click on this icon to see a list of all your active keyboards.
From there, you can select the keyboard you want to use. This method is very visual and useful if you forget the shortcut or want to confirm which keyboard is active.
Managing Keyboard Settings For Better Switching
To make switching smoother, add all the keyboards you need in advance. Go to Settings > Advanced > Languages and inputs > Input method. Here, you can add international keyboards like Spanish, French, or Japanese.
By organizing your input methods, you avoid confusion and speed up switching. Do you often find yourself switching keyboards multiple times a day? Setting this up can make a big difference.
Customize Keyboard Shortcuts
Customizing keyboard shortcuts on your Chromebook can make switching to an international keyboard layout faster and more intuitive. Instead of navigating through multiple menus every time you want to change input methods, you can set up shortcuts that fit your workflow. This small tweak can save you plenty of time, especially if you frequently type in different languages.
Accessing The Keyboard Shortcut Settings
Start by opening your Chromebook’s settings menu. Look for the “Device” section, then click on “Keyboard.” Here, you’ll find options to modify how your keyboard behaves. This is where you can customize shortcuts for input methods, including international keyboards.
Setting A Shortcut For International Keyboard Layouts
Within the keyboard settings, find the option labeled “Keyboard shortcuts” or “Input method shortcuts.” You can assign a specific key combination to toggle between your default and international keyboards. Choosing a shortcut that’s easy to remember, like Ctrl + Space or Alt + Shift, helps you switch effortlessly.
Testing And Adjusting Your Shortcuts
After setting your shortcuts, test them out by switching between keyboard layouts while typing. If the shortcut feels awkward or conflicts with other commands, don’t hesitate to change it. The goal is to have a shortcut that feels natural and enhances your typing speed.
Troubleshoot Keyboard Issues
Sometimes the international keyboard on a Chromebook may not work as expected. Troubleshooting keyboard issues helps ensure smooth typing. It saves time and prevents frustration.
Start by checking basic settings and connections. Small fixes often solve the problem quickly. Keep calm and follow these simple steps.
Check Keyboard Layout Settings
Verify the keyboard layout matches the language you want. Go to Settings > Advanced > Languages and inputs. Make sure the correct international keyboard is selected.
Remove any extra layouts that may cause confusion. This prevents conflicts between different keyboard types.
Restart Your Chromebook
Restarting can clear minor software glitches. A simple reboot often restores keyboard function. Save your work before restarting.
Update Chrome Os
Outdated software can cause keyboard errors. Check for updates in Settings > About Chrome OS. Install any available updates and restart the device.
Test With External Keyboard
Connect a USB or Bluetooth keyboard to your Chromebook. This helps identify if the issue is with the internal keyboard. If the external keyboard works, the internal one may need repair.
Reset Keyboard Settings
Resetting keyboard settings can fix configuration problems. Open Settings > Advanced > Reset settings. Choose to reset keyboard and input methods only.
Check For Hardware Damage
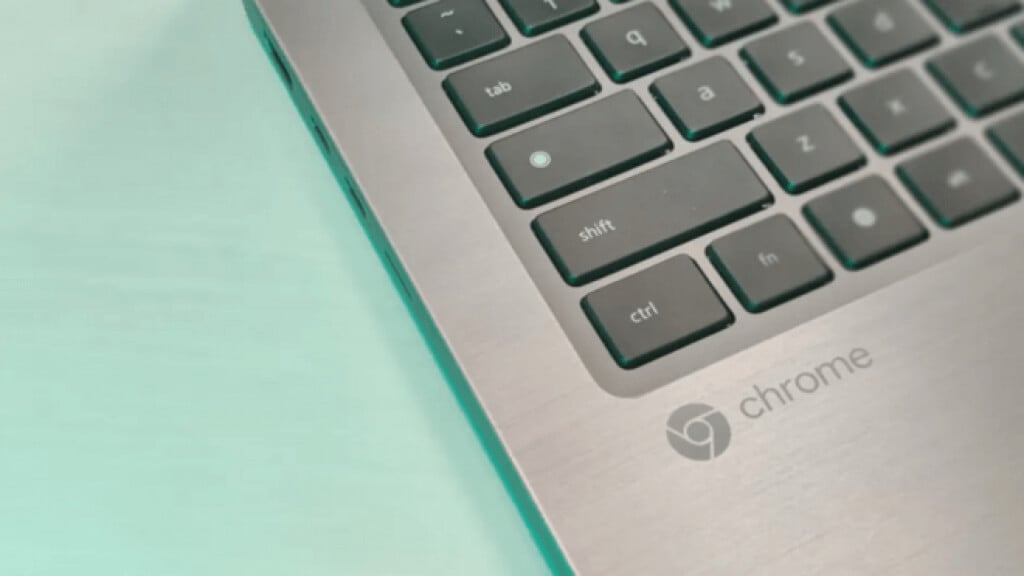
Inspect your keyboard for dirt, liquid spills, or stuck keys. Clean gently with compressed air or a soft cloth. Hardware damage might require professional help.
Credit: helpdeskgeek.com
Frequently Asked Questions
How Do I Enable International Keyboard On Chromebook?
Go to Settings > Advanced > Languages and input. Click “Input Method,” then “Add Input Methods. ” Choose your international keyboard and enable it.
Can I Switch Between Multiple Keyboards On Chromebook?
Yes, you can switch keyboards using the keyboard shortcut Ctrl + Space or by clicking the input method icon on the shelf.
Does Chromebook Support All International Keyboard Layouts?
Chromebooks support a wide range of international keyboard layouts, including QWERTY, AZERTY, and more, covering most languages.
How To Customize Keyboard Settings For International Use?
In Settings, go to Keyboard settings. Here, you can adjust input methods, key mapping, and enable features like auto-correct for international typing.
Conclusion
Turning on the international keyboard on your Chromebook is simple and quick. You just need to follow a few easy steps. This lets you type in many languages without trouble. Changing keyboard settings helps you work or chat with people worldwide.
Keep your Chromebook updated for smooth performance. Try different keyboard layouts to find what suits you best. Now, you can enjoy typing in your preferred language anytime. No stress, no confusion. Just a few clicks, and you are ready to go.