
Are you struggling to get the perfect sound from your amplifier? Tuning an amplifier might seem tricky, but with the right tools and simple steps, you can do it yourself.
Using a multimeter, you can fine-tune your amplifier to deliver clear, powerful audio without distortion or damage. In this guide, you’ll discover how to use your multimeter effectively, avoid common mistakes, and get the best performance from your gear. Keep reading, and by the end, you’ll feel confident adjusting your amplifier like a pro.
Tools Needed
Tuning an amplifier requires the right set of tools. Having these tools ready makes the process smooth and accurate. The main tool is a multimeter, but some extra equipment helps too. Choosing tools carefully saves time and avoids mistakes.
Choosing The Right Multimeter
Select a multimeter that measures voltage, current, and resistance. A digital multimeter offers clear, easy-to-read displays. Look for one with an auto-ranging feature. It adjusts measurements automatically for convenience.
Check the multimeter’s accuracy and resolution. Higher accuracy gives better tuning results. Choose a multimeter with a durable build. This ensures it lasts through multiple uses. Compact size helps in tight spaces near the amplifier.
Additional Equipment
Besides the multimeter, use a few other tools. A small screwdriver set helps adjust amplifier controls. Needle-nose pliers assist with fine wiring tasks. Use alligator clip leads for secure connections.
Keep a clean cloth or brush handy. It removes dust from amplifier parts. A notepad and pen are useful for recording measurements and settings. Having a stable power supply is also important. It prevents voltage drops during tuning.
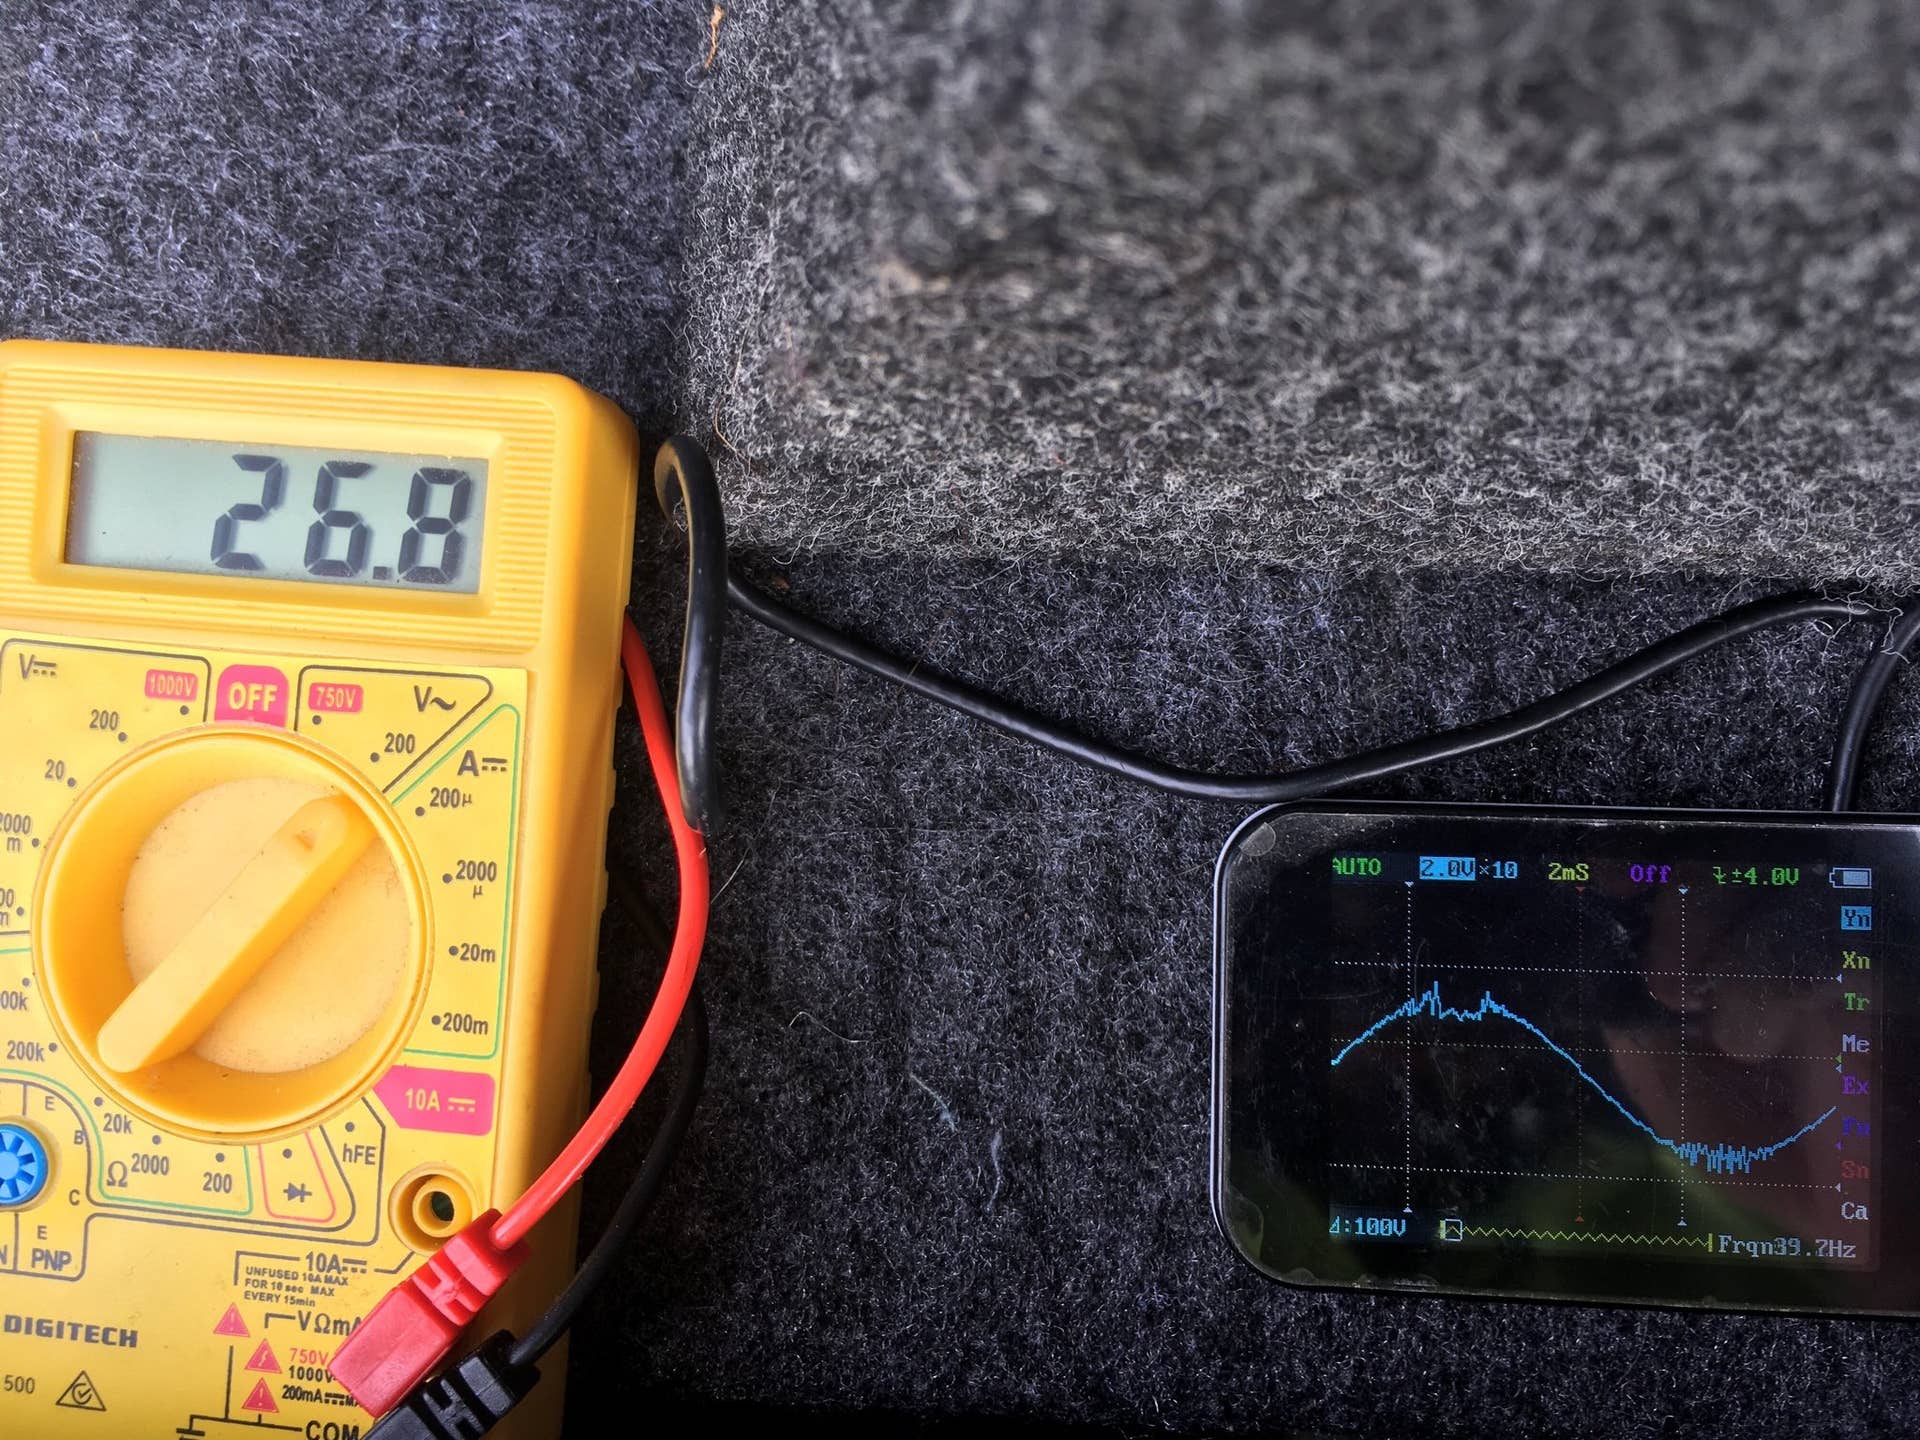
Credit: www.diymobileaudio.com
Preparing The Amplifier
Preparing the amplifier is a key part of tuning it with a multimeter. This stage sets the foundation for accurate adjustments and safe handling. Careful preparation helps avoid errors and damage to the equipment.
Before tuning, the amplifier must be properly set up. This includes checking connections and ensuring the device is ready for measurement. Taking time to prepare also protects both the user and the amplifier.
Safety Precautions
- Unplug the amplifier from power before opening it.
- Wear insulated gloves to prevent electric shock.
- Work in a dry area to avoid moisture hazards.
- Keep metal tools away from circuit boards.
- Discharge any capacitors before touching internal parts.
- Use a well-lit workspace for clear visibility.
Initial Settings
- Set the amplifier volume to the lowest level.
- Turn off all tone controls like bass and treble.
- Set the multimeter to the correct measurement mode.
- Connect the multimeter probes to the test points carefully.
- Ensure all cables are firmly connected to avoid false readings.
Measuring Voltage
Measuring voltage is a key step when tuning an amplifier with a multimeter. Accurate voltage readings help ensure the amplifier works correctly and safely. It shows if the amplifier receives the right power and signals. This process avoids damage and improves sound quality.
Locating Test Points
Test points are spots on the amplifier to check voltage. These points give direct access to important circuit parts. Look for labeled points on the circuit board or in the amplifier manual.
Common test points include:
- Power supply terminals
- Input and output connectors
- Transistor pins
- Voltage regulator outputs
Clean the test points gently to get good contact. Use the multimeter probes carefully to avoid short circuits.
Setting Multimeter For Voltage
Turn the multimeter dial to the correct voltage type. Amplifiers use DC voltage mainly, so select DC volts (V with a straight line). For audio signals, AC voltage (V with a wavy line) might be needed.
Choose the right voltage range. Pick a range higher than the expected voltage. For example, use 20V if you expect around 12V. Auto-ranging meters select the range automatically.
Connect the black probe to the multimeter’s ground or COM port. Connect the red probe to the voltage port. Test the multimeter on a known source to confirm it works.
Credit: www.tiktok.com
Adjusting Bias Current
Adjusting the bias current is a crucial step in tuning your amplifier. It sets the operating point of the transistors, ensuring smooth sound without distortion or overheating. Getting this right improves sound quality and extends your amplifier’s life.
Identifying Bias Controls
Before you start, locate the bias controls on your amplifier’s circuit board. These are usually small screws or potentiometers labeled “Bias” or “Ib.”
Sometimes, the controls are hidden under protective covers, so you might need a screwdriver to access them. Your amplifier’s manual can help pinpoint their exact location.
Have you ever opened your amplifier and felt unsure which parts affect bias? Taking a moment to identify these controls saves you from guesswork and potential damage.
Using Multimeter To Set Bias
Set your multimeter to measure DC voltage or current, depending on your amplifier type. Connect the multimeter leads to the test points or across the emitter resistor to measure bias current.
Slowly turn the bias control while watching the multimeter reading. The goal is to reach the manufacturer’s recommended bias current, often specified in the manual or on the circuit board.
- Adjust in small increments to avoid overshooting.
- Listen for any changes in sound as you adjust.
- Keep an eye on the multimeter to ensure stable readings.
One time, I adjusted the bias too quickly and pushed the current beyond safe limits. The multimeter reading spiked, and I immediately backed off, avoiding damage. Your patience here makes a huge difference.
Checking Resistance
Checking resistance is a crucial step when tuning an amplifier with a multimeter. This process ensures that your amplifier is set up correctly and that it delivers optimal performance without damaging any components. With the right approach, you can prevent common issues like mismatched impedance or faulty connections that might compromise sound quality. Let’s delve into the specifics of measuring speaker impedance and verifying circuit connections to ensure your amplifier runs smoothly.
Measuring Speaker Impedance
When measuring speaker impedance, you might wonder why it’s necessary. The answer is simple: matching the impedance of your speakers with your amplifier is key to achieving the best sound output. To measure the impedance, set your multimeter to the resistance (ohm) setting.
Connect the multimeter probes to the speaker terminals. The reading should match the impedance rating indicated on your speaker or be close to it. If the reading is significantly off, it might be time to check your speaker connections or consider a replacement.
Have you ever experienced distortion or a drop in sound quality? Often, these issues stem from improper impedance matching. Ensuring your speaker impedance matches your amplifier’s requirements can dramatically improve audio fidelity.
Verifying Circuit Connections
Verifying circuit connections is another essential step in the tuning process. Proper connections prevent short circuits and ensure efficient power flow throughout the system. Begin by carefully examining all wire connections and ensuring they are secure and correctly aligned.
Use your multimeter to check the resistance in various parts of the circuit. A reading of zero or near zero indicates a good connection, while a higher reading suggests a potential problem. Pay special attention to any points where wires might be exposed or frayed.
Have you ever had a frustrating experience with intermittent sound issues? Often, these stem from loose or faulty connections. Regularly checking your connections with a multimeter can save you from those annoying sound dropouts.

Credit: www.youtube.com
Testing Continuity
Testing continuity is a key step in tuning an amplifier with a multimeter. It helps find broken circuits or bad connections. Without continuity, the electrical signals cannot flow properly through the amplifier. This causes sound problems or total failure.
Using a multimeter’s continuity test ensures all parts of the circuit connect correctly. It helps spot faults quickly and saves time in repairs. The process is simple and anyone can do it with basic tools.
Locating Breaks In Circuit
Breaks in a circuit stop the flow of electricity. These breaks can happen in wires, solder joints, or components. Finding these breaks is important to fix the amplifier.
- Look for visible damage like burnt wires or loose connections.
- Check solder joints for cracks or weak spots.
- Use the multimeter to test sections of the circuit one at a time.
Locating the exact break saves replacement parts and effort. It lets you focus on the damaged area only.
Using Continuity Mode
Set the multimeter to continuity mode. This mode beeps if there is a complete path for electricity. Follow these steps:
- Turn off the amplifier and unplug it from power.
- Touch one probe to one end of the wire or circuit area.
- Touch the other probe to the other end of the wire or connection point.
- If the multimeter beeps, the connection is good.
- No beep means a break or bad connection exists.
Test all wires, traces, and connections. Mark any spots without continuity for repair. Continuity mode is a fast way to check the health of your amplifier’s circuit.
Final Tuning Steps
The final tuning steps are crucial for getting the best sound from your amplifier. This phase ensures all settings work together smoothly. Small adjustments make a big difference in audio quality. Patience and careful measurement lead to a balanced and clear output.
Fine-tuning Settings
Use the multimeter to check voltage and resistance precisely. Adjust the gain control slowly to avoid distortion. Listen carefully to the sound changes after each tweak. Make sure the amplifier runs within safe voltage limits. Keep the temperature in mind; too much heat means adjustments are needed.
- Check input and output voltages with the multimeter.
- Adjust gain until the signal is clean and strong.
- Verify bias current to avoid overheating.
- Repeat measurements after each change.
Confirming Optimal Performance
Test the amplifier with different audio sources to ensure consistent quality. Measure the output under various loads to verify stability. Use the multimeter to double-check all final settings. Make sure there is no unwanted noise or distortion. Confirm that the amplifier meets the desired specifications before final use.
Troubleshooting Tips
Amplifier tuning can sometimes present challenges. While a multimeter is a great tool, issues may arise during the process. Understanding common problems and knowing when to seek help can make troubleshooting easier. Let’s explore some useful tips to address these challenges effectively.
Common Issues And Fixes
Users often encounter issues with voltage readings. Incorrect readings usually result from poor connections. To fix this, check all connections and ensure they are secure. If readings fluctuate, it might be a faulty multimeter. Test the multimeter on a known voltage source to verify accuracy.
Another common problem is the amplifier not producing sound. This can happen due to a blown fuse. Check the fuse and replace it if necessary. Also, inspect the wiring for damage. Faulty wires can prevent signals from reaching the speakers.
When To Seek Professional Help
If the amplifier continues to malfunction after basic checks, consider professional help. Persistent issues such as distorted sound or overheating may indicate deeper problems. Skilled technicians can diagnose and repair complex issues efficiently.
Attempting repairs beyond basic troubleshooting can worsen the problem. If you feel unsure or unsafe, contacting a professional is the best course of action. Professionals have the right tools and experience to ensure your amplifier works optimally.
Frequently Asked Questions
How Do I Measure Amplifier Voltage With A Multimeter?
Set your multimeter to DC voltage mode. Connect the positive probe to the amplifier’s output terminal and the negative probe to the ground. Read the voltage displayed to check the amplifier’s output voltage accurately.
Can A Multimeter Check Amplifier Resistance Settings?
Yes, switch the multimeter to the resistance mode. Measure resistance across speaker terminals or internal components to ensure correct impedance and avoid damage.
What Is The Ideal Amplifier Output Reading?
Ideal output voltage varies by amplifier model and speaker specs. Check your amplifier’s manual to find the recommended voltage range for optimal performance.
How Often Should I Tune My Amplifier With A Multimeter?
Tune your amplifier every few months or after making any hardware changes. Regular tuning ensures consistent sound quality and prevents potential damage.
Conclusion
Tuning an amplifier with a multimeter is simple and effective. It helps you get clear and balanced sound. Follow the steps carefully to avoid mistakes. Take your time and double-check your work. Small adjustments make a big difference in audio quality.
Practice a few times, and you will gain confidence. This skill saves money and improves your listening experience. Keep your multimeter handy for quick checks anytime. Enjoy better sound with your tuned amplifier.