
Lighting can make or break your photos. If you’re struggling with shadows, dull colors, or uneven brightness, setting up a photography lighting kit is the key to transforming your shots.
Imagine having full control over how your subject looks, making every image pop with clarity and depth. In this guide, you’ll discover simple steps to set up your lighting kit like a pro, even if you’re just starting out. Ready to take your photography to the next level?
Let’s dive in and unlock the power of perfect lighting for your photos.
Choosing The Right Lighting Kit
Choosing the right lighting kit is a crucial step for every photographer. The right setup can elevate your images, set the mood, and help you control the scene effectively. Before making a purchase, consider what type of photography you do and how flexible your lighting needs are.
Types Of Lighting Kits
There are several types of lighting kits to choose from, each serving different purposes:
- Continuous Lighting:Provides steady light, ideal for beginners and video work. It lets you see the shadows and highlights in real time.
- Strobe Lighting:Offers powerful bursts of light, perfect for freezing motion and studio portraits. It requires more setup but delivers professional results.
- LED Panels:Compact and energy-efficient, great for on-the-go shoots and versatility in small spaces.
Think about your shooting style—do you need constant light or flashes? This question helps narrow down your options.
Budget Considerations
Lighting kits come in a wide price range, from affordable beginner sets to high-end professional gear. Decide your budget based on how often you shoot and the quality you want.
Don’t overlook the importance of investing in good quality lights. Cheaper kits might save money upfront but can limit your creativity and durability in the long run.
Ask yourself: Is this a hobby or a business? Your answer should guide how much you allocate for your lighting equipment.
Essential Accessories
Beyond the lights themselves, accessories can make a huge difference in your setup. Reflectors, softboxes, and light stands help shape and control the light precisely.
I once underestimated the value of a sturdy light stand, and my shoot was delayed when it failed to hold the light steady. Accessories like sandbags or clamps are also worth considering for safety and stability.
Think about what you’ll need to modify your light—diffusers soften harsh shadows, while grids focus your beam. These small additions can transform your lighting style.
Setting Up Your Lighting Space
Creating the right environment for your photography lighting kit is crucial. The space you choose directly affects the quality of your shots and how easily you can control the light. Setting up your lighting space thoughtfully helps you focus on creativity without battling unwanted shadows or distractions.
Selecting The Location
Look for a room with enough space to move around comfortably and arrange your lights. A place with neutral-colored walls works best because bright or patterned walls can reflect unwanted colors onto your subject.
Think about the backdrop you want—plain walls or an empty corner offer flexibility. If you have a garage, basement, or even a spare room, these can be ideal spots. Do you have enough room to set your lights at different angles?
Controlling Ambient Light
Ambient light can either help or hurt your setup. If you can’t turn off natural light, use blackout curtains or thick blankets to block it out. This gives you full control over your lighting, so you avoid unexpected shadows or color shifts.
Another option is to shoot at night when natural light is minimal. Use dimmable lights or add diffusers to soften harsh bulbs. How much control do you have over the light in your space right now?
Safety Tips
Lighting equipment can get hot and heavy. Always place your lights on sturdy stands and secure cables to prevent tripping hazards. Double-check that your outlets can handle the power load of your lighting kit.
Keep flammable materials away from hot bulbs. Using gloves while adjusting lights can protect you from burns. Have you tested your setup for stability before starting a shoot?
Positioning Lights For Best Effect
Lighting is the heart of photography. Positioning your lights for the best effect can transform your images, adding depth and drama or creating a soft, flattering glow. Whether you’re capturing portraits or product shots, understanding the strategic placement of each light in your kit is essential. Let’s dive into how you can master the art of light positioning.
Key Light Placement
Your key light is the primary source of illumination and sets the mood of the shot. Position it at a 45-degree angle to your subject to create natural-looking shadows. Adjust the height to be slightly above eye level for a more flattering effect. Experiment with distance to see how it changes the intensity and softness of the light.
Fill Light Techniques
Fill lights soften shadows without eliminating them entirely. Place your fill light opposite the key light, but keep it at a lower intensity. This balance helps maintain depth. If you notice harsh shadows, try diffusing the fill light with a softbox or umbrella to spread the light evenly.
Backlight Setup
Backlighting adds separation between your subject and the background, adding dimension. Position your backlight behind and slightly above your subject. Use it to highlight edges or hair, creating a halo effect. Adjust its brightness so it complements rather than overpowers the scene.
Using Reflectors
Reflectors are versatile tools that bounce light to fill shadows or add highlights. Place a reflector opposite your key light to gently illuminate shadowed areas. You can angle it to control the direction and intensity of the reflected light. Experiment with different surfaces like silver or gold to see how they alter the warmth and tone.
Have you ever noticed how a slight shift in lighting can completely change a photo’s vibe? Try moving your lights around and observe the difference. What’s your go-to lighting setup for creating captivating images?

Credit: www.amazon.com
Adjusting Light Intensity And Color
Adjusting light intensity and color is key to creating the right mood in your photos. It controls how bright or soft the light appears. It also changes the color tone, making images look warm or cool. Understanding these settings helps you capture the perfect shot every time.
Dimming Lights
Dimming lights lets you control brightness easily. Many lighting kits include dimmer switches. Use these to reduce light without moving the lights. Dimming helps avoid harsh shadows and overexposure. It works well for portrait and product photography.
Color Temperature Basics
Color temperature measures light’s warmth or coolness. It is shown in Kelvin (K). Lower values (around 3200K) give warm, yellow light. Higher values (around 5600K) provide cool, blue light. Match your lighting temperature with natural light for balance. Adjusting temperature sets the photo’s mood.
Using Gels And Filters
Gels and filters change light color and effects. They are thin sheets placed over lights. Use colored gels to add warmth or cool tones. Special filters soften or diffuse light for a gentle look. Experiment with gels to create unique styles and moods.
Working With Different Lighting Styles
Lighting style shapes the mood and feel of your photos. Choosing the right lighting style helps you create the effect you want. Each style has unique traits and uses in photography. Understanding these styles makes setting up your kit easier and more effective.
Soft Lighting
Soft lighting creates gentle shadows and smooth highlights. It works well for portraits and close-ups. This style reduces harsh contrasts and makes skin look smooth. Use diffusers, softboxes, or shoot on cloudy days to get soft light. Position the light source close to your subject for best results.
Hard Lighting
Hard lighting produces sharp shadows and strong highlights. It adds drama and texture to images. Use direct light sources like bare bulbs or sunlight without filters. Hard light shows details and shapes clearly. Place the light far from the subject to increase shadow sharpness.
Natural Vs Artificial Light
Natural light comes from the sun and changes throughout the day. It offers a wide range of colors and moods. Use early morning or late afternoon light for warm tones. Artificial light comes from lamps, flashes, or LEDs. It gives more control over direction and intensity.
Combine both types for creative effects. Adjust your camera settings to match the light source. Balance white levels to keep colors accurate in your photos.
Troubleshooting Common Lighting Issues
Lighting issues can affect the quality of your photos. Fixing these problems helps create clearer, more professional images. Understanding common lighting challenges makes your photography setup better.
Dealing With Shadows
Shadows can hide details or create unwanted dark spots. Move your lights closer or farther to adjust shadow size. Use a reflector or white board to bounce light into shadowed areas. Softboxes and diffusers help soften harsh shadows for a natural look.
Avoiding Overexposure
Overexposure makes parts of your photo too bright and details disappear. Lower the light intensity or increase the distance between light and subject. Adjust your camera settings by reducing ISO or using a smaller aperture. Use neutral density filters to reduce light without changing colors.
Fixing Color Imbalance
Wrong colors can make photos look unnatural. Set your camera’s white balance to match the light source. Use daylight bulbs or consistent lighting types for even color tones. Color correction gels on lights fix color casts quickly. Editing software can also help balance colors after shooting.
Maintaining And Storing Your Kit
Maintaining and storing your photography lighting kit properly ensures it stays reliable and performs at its best every time you shoot. Neglect can lead to damaged equipment or poor lighting results, which can ruin your creative flow and waste your time. By caring for your gear thoughtfully, you protect your investment and keep your setup ready for any project.
Cleaning Tips
Dust and smudges on your lights and reflectors can affect the quality of your photos. Use a soft, lint-free cloth to wipe down bulbs and surfaces gently. Avoid harsh chemicals; instead, use a bit of water or lens cleaner for stubborn spots.
Don’t forget to clean cables and connectors too. Dirt buildup can cause poor connections or even shorts. Keeping your equipment clean helps you avoid unexpected malfunctions during shoots.
Storage Solutions
Proper storage protects your lighting kit from physical damage and dust. Use padded cases or dedicated bags designed for photography gear to keep everything secure. If you don’t have cases, wrap your lights in soft cloths and store them in a dry, cool place.
Consider organizing your kit with labeled compartments or shelves. This saves you time when setting up and reduces the risk of losing small parts like clamps or adapters. Have you tried using clear plastic bins with dividers? They’re a simple way to keep everything visible and accessible.
Regular Equipment Checks
Make it a habit to inspect your lighting kit before and after each use. Check bulbs for signs of burnout and replace them promptly to avoid delays during shoots. Look over cables for frays or cracks that could cause shorts or safety hazards.
Testing your stands and clamps for stability is crucial. Loose or damaged parts can lead to accidents or uneven lighting. How often do you schedule a thorough equipment check? Setting reminders can help you stay on top of maintenance without extra effort.
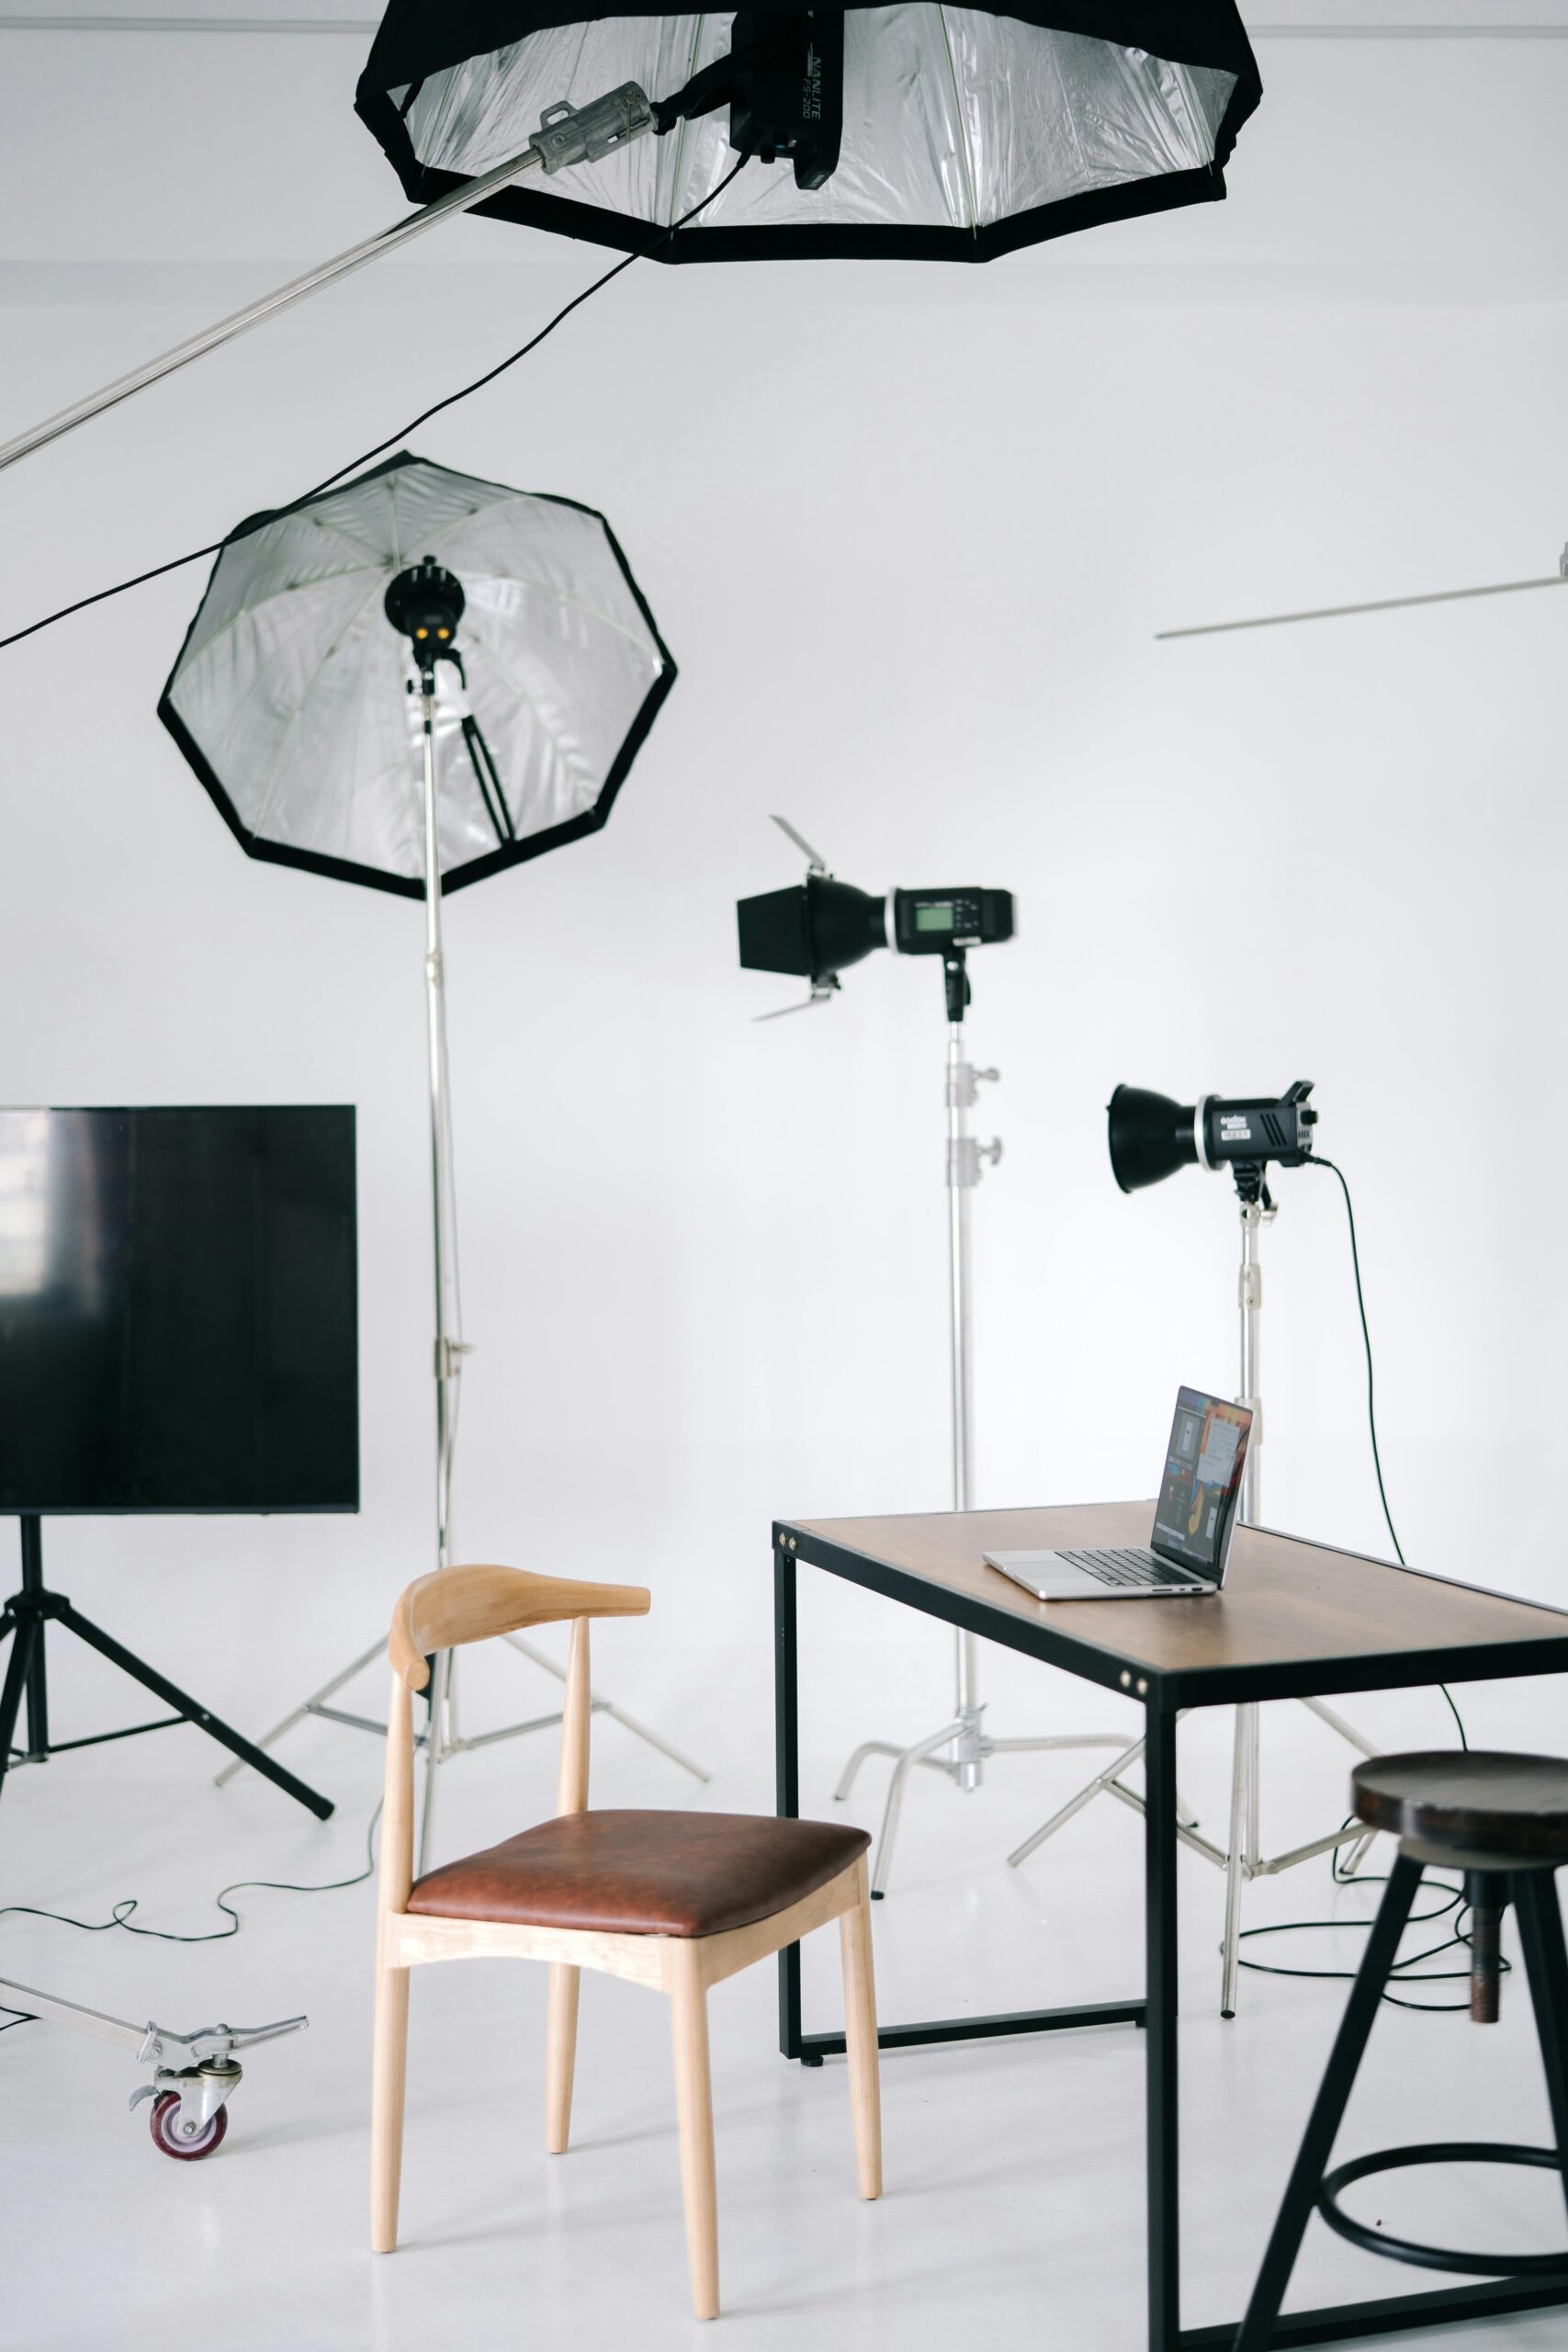
Credit: grattanstudios.com

Credit: www.youtube.com
Frequently Asked Questions
What Equipment Is Essential For A Photography Lighting Kit?
A basic photography lighting kit includes key lights, softboxes, reflectors, and light stands. These tools help control light direction, intensity, and softness for better photos.
How Do I Position Lights For Portrait Photography?
Place the main light at a 45-degree angle to your subject. Use a fill light opposite it to reduce shadows, creating balanced and flattering lighting.
What Type Of Bulbs Work Best In Photography Lighting?
Daylight-balanced LED bulbs are ideal. They provide consistent, natural light without overheating. LEDs also save energy and last longer, enhancing photo quality.
How Can I Avoid Harsh Shadows In My Setup?
Use softboxes or diffusers to soften light. Reflectors can fill shadows. Adjust the light distance and angle for even, natural illumination.
Conclusion
Setting up a photography lighting kit takes some practice and patience. Start with basic lights and adjust as you go. Experiment with angles and distances for the best effect. Remember, good lighting can make your photos stand out. Keep learning and trying new setups.
Soon, you will feel more confident with your lighting skills. Enjoy capturing beautiful images with your new lighting kit.