
Setting up a projector might seem tricky, but it doesn’t have to be. Imagine turning your blank wall into a big screen for movies, presentations, or games—all in just a few simple steps.
Whether you want to host a movie night or impress at your next meeting, getting your projector ready is easier than you think. Stick with me, and you’ll have your projector set up perfectly in no time. Ready to make your space come alive?
Let’s dive in!
Choosing The Right Projector
Choosing the right projector is the first step to a great viewing experience. The perfect projector matches your space, needs, and budget. Picking one that suits your room size and usage will save time and money. Understanding different types and features helps make a smart choice.
Types Of Projectors
Projectors come in various types. Each works best for different settings.
- LCD Projectors:Bright images, good for well-lit rooms.
- DLP Projectors:Sharp images, often smaller and quieter.
- LED Projectors:Long-lasting light source, energy-efficient.
- Laser Projectors:High brightness and color accuracy, usually more expensive.
Consider where you will use the projector most.
Key Features To Consider
- Brightness:Measured in lumens; higher is better for bright rooms.
- Resolution:More pixels mean clearer images; choose at least 1080p.
- Contrast Ratio:Higher ratio gives deeper blacks and better colors.
- Portability:Lightweight models are easy to move and set up.
- Connectivity:Check for HDMI, USB, and wireless options.
Budget And Brand Options
Projectors are available at many price points. A higher price often means better quality.
Popular brands offer reliable products and good support.
- Epson: Known for bright, clear images.
- BenQ: Offers balanced performance and price.
- Optoma: Good for home theaters and gaming.
- ViewSonic: Budget-friendly with solid features.
Set a budget, then compare features and reviews within that range.
Credit: www.tataneu.com
Selecting The Ideal Location
Choosing the right spot for your projector can make a huge difference in your viewing experience. It’s not just about finding a place to put the device; it’s about creating the best environment for clear, vibrant images. Let’s look at key factors you need to consider when selecting the ideal location for your projector setup.
Room Size And Lighting
First, think about the size of your room. A large room might require a projector with higher brightness to fill the space effectively. Smaller rooms allow for more flexibility but can limit screen size and projector placement.
Lighting plays a crucial role too. Rooms with lots of natural light may wash out the image, so you might want to use blackout curtains or choose a spot away from direct sunlight. Dim or dark rooms provide the best contrast and color vibrancy, making your movie nights more enjoyable.
Screen Placement Tips
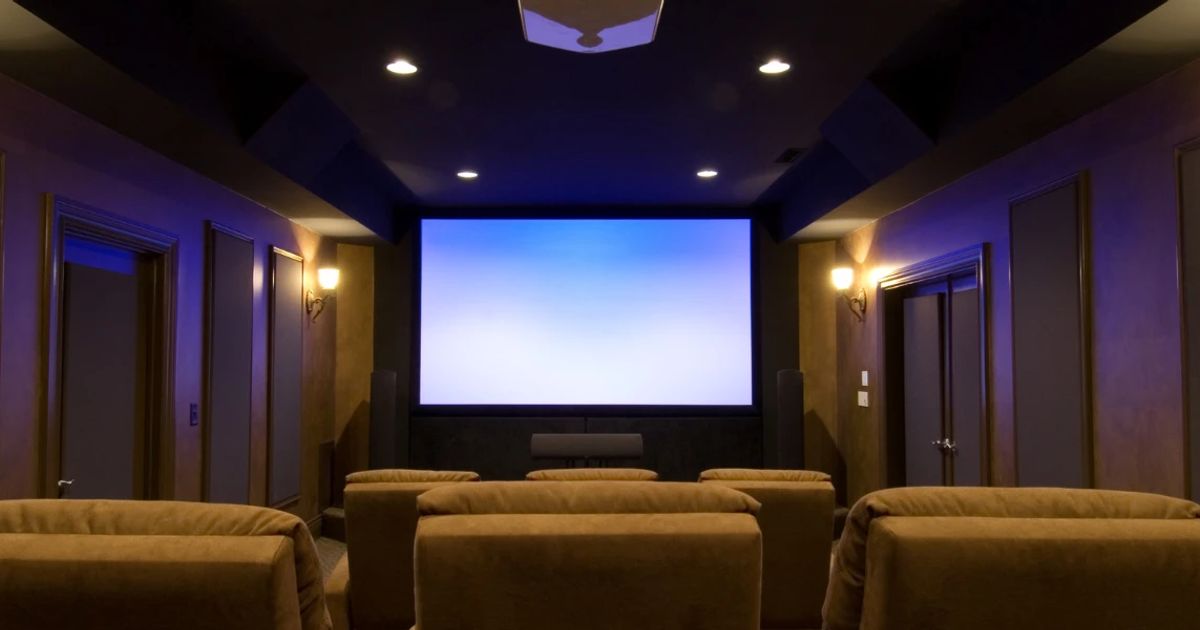
Your screen’s position affects your comfort and viewing quality. Place the screen at eye level when seated to avoid neck strain. The distance between the projector and screen should match your projector’s throw ratio for a sharp and properly sized image.
Try to keep the screen centered to the seating area. This ensures everyone has a good view without distortion or color shifts. Remember, a well-placed screen can turn an average setup into a cinematic experience.
Avoiding Glare And Shadows
Glare from windows or lights can ruin a clear picture. Position your projector and screen to minimize reflections. If your projector is too close to the seating area, your head might cast shadows on the screen.
Test different angles before finalizing the spot. Small adjustments can eliminate shadows and glare, giving you a smooth and uninterrupted viewing experience. Ask yourself: where will people sit, and how can I prevent anything from blocking the light path?
Setting Up The Screen
Setting up the screen is a crucial part of using a projector. A well-positioned screen can enhance your viewing experience. It ensures the image is clear and vibrant. Let’s explore how to set up your screen effectively.
Types Of Screens
Different screens suit various needs. Fixed screens offer a stable setup. They are best for home theaters. Portable screens are flexible. They are ideal for outdoor events. Electric screens add convenience. They roll up with a button press.
Diy Screen Alternatives
Creating a DIY screen is simple. A white wall can work well. It provides a flat surface for projection. Blank white fabric is another option. Hang it taut for a clean image. Painted plywood is durable. It offers a smooth surface.
Proper Screen Height And Angle
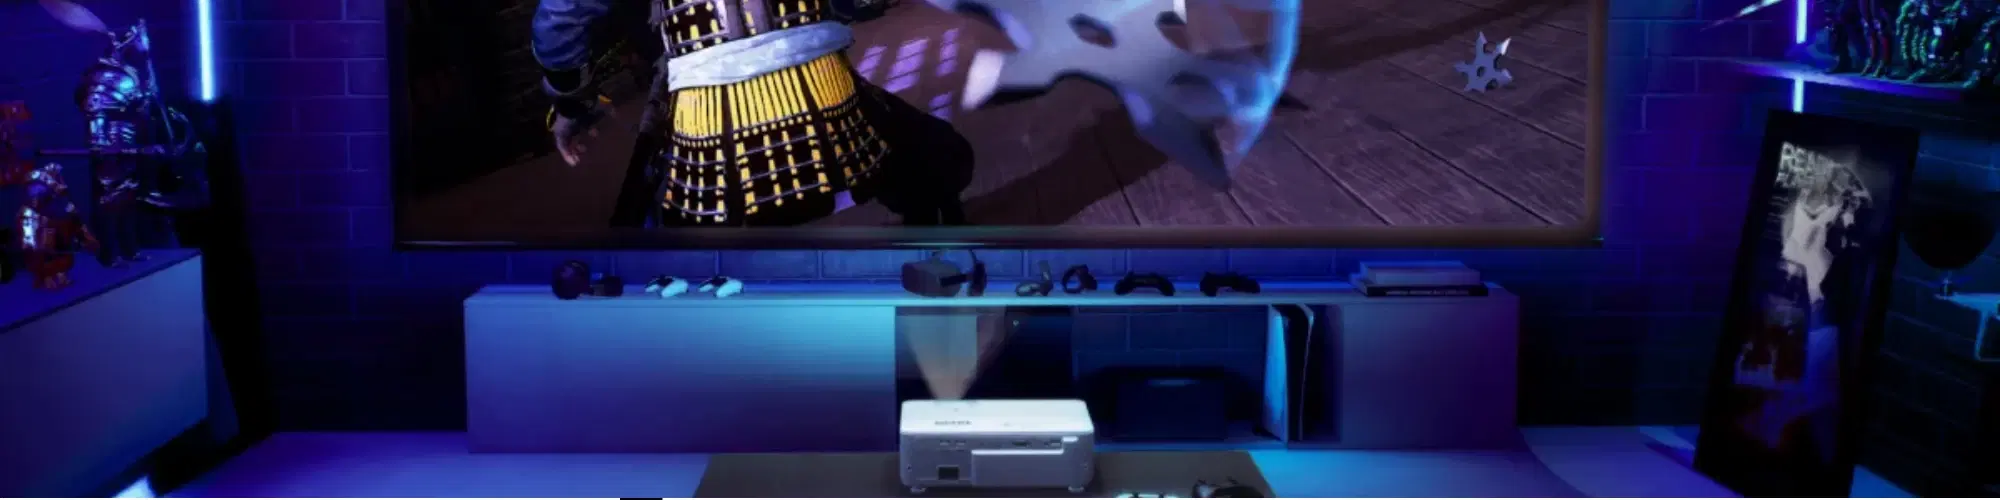
Screen height affects viewing comfort. Position the screen at eye level. This reduces neck strain during long movies. Angle matters too. Ensure the screen is perpendicular to the projector. This prevents distortion and maintains clarity.
Credit: www.tataneu.com
Connecting Your Devices
Connecting your devices to a projector is where your setup begins to take shape. Whether you want to share a presentation, stream a movie, or showcase photos, establishing a solid connection is key. You have several options to link your devices, each with its own benefits and quirks.
Wired Connections
Wired connections offer a reliable way to link your laptop, Blu-ray player, or gaming console directly to the projector. Common cables include HDMI, VGA, and USB-C. HDMI is the most popular because it carries both video and audio signals in one cable, making your setup cleaner and simpler.
Check your device’s ports before grabbing cables. Many modern laptops have USB-C or mini HDMI, so you might need an adapter. When I first set up a projector, I underestimated the importance of adapters and ended up frustrated by a missing piece that delayed my presentation.
Also, keep cable length in mind. If your projector is far from your device, you might experience signal loss with cheap cables. Investing in good-quality cables ensures your image stays sharp and your sound clear.
Wireless Options
Wireless connections free you from the clutter of cables and let you move around with ease. Most newer projectors support Wi-Fi or Bluetooth connections. You can stream content directly from your smartphone, tablet, or laptop without plugging anything in.
Apps like Miracast, AirPlay, or Google Cast make wireless display simple. However, be aware that wireless connections can introduce slight lag or occasional dropouts, especially on busy networks. I once hosted a movie night wirelessly, only to face buffering issues because too many devices were connected to the same Wi-Fi.
Consider your environment before choosing wireless. If you’re in a conference room with a strong network, wireless works well. But for a large event or critical presentations, wired might be safer.
Troubleshooting Connectivity
Problems connecting your device to the projector can be frustrating, but most issues have quick fixes. First, confirm that both devices are powered on and set to the correct input source. It’s surprising how often the projector is still on “HDMI 2” when your cable is plugged into “HDMI 1.”
If your display isn’t showing, try restarting both devices. Sometimes, the projector needs to recognize the device again. Also, check cable connections for any loose plugs or damage.
If wireless connections fail, test your network strength or try moving closer to the router. Updating your device’s drivers or the projector’s firmware can solve compatibility problems. Have you ever spent minutes fiddling with connections only to find a simple restart fixed everything? It happens more than you think.
Adjusting Projector Settings
Adjusting your projector settings is key to getting the best image quality for your space. It’s not just about turning it on and watching a movie; fine-tuning these settings can dramatically improve your viewing experience. You want clear images, accurate colors, and a picture that fits perfectly on your screen or wall.
Focus And Keystone Correction
Start by sharpening your image with the focus adjustment. Most projectors have a manual or digital focus ring—turn it slowly until the picture looks crisp. If you see the image is trapezoidal instead of rectangular, it’s time to adjust the keystone correction.
Keystone correction fixes the angle distortion caused when your projector isn’t perfectly aligned with the screen. Experiment with this setting until the edges of your image line up straight. Have you ever noticed a blurry or skewed picture and ignored it? Taking the time to fix focus and keystone can completely change your viewing satisfaction.
Brightness And Contrast
Brightness controls how light or dark the image appears, while contrast adjusts the difference between dark and light areas. Too bright, and your picture loses detail; too dark, and you’ll struggle to see shadows clearly. Adjust these settings based on your room’s lighting—bright rooms need more brightness, while darker rooms benefit from higher contrast.
Try watching different types of content—movies, presentations, games—and tweak these settings accordingly. Have you ever found a projector image too washed out during daylight? Balancing brightness and contrast is essential for every viewing condition.
Color Calibration
Color calibration ensures your image looks natural and vibrant. Most projectors offer presets like “Cinema,” “Game,” or “Standard,” but you can customize the color temperature and saturation for your preference. If skin tones look off or colors seem dull, try adjusting the red, green, and blue levels manually.
Spend time on this step; accurate colors make a huge difference, especially if you’re showing photos or video content. Consider using a simple color test pattern to guide your adjustments—does the red look too harsh or the blues too muted? Fine-tuning colors will help you enjoy every detail exactly as it should be.
Optimizing Sound
Sound quality greatly affects your viewing experience. Good audio makes movies, shows, and presentations clearer and more enjoyable. Optimizing sound means choosing the right speakers and settings. This section helps you understand how to get the best sound from your projector setup.
Built-in Speakers Vs External Audio
Most projectors have built-in speakers. These are easy to use but often lack power and clarity. They work well in small rooms or quiet environments. For larger spaces or better sound, external speakers are a better choice.
External audio devices provide richer sound and more volume. You can connect soundbars, home theater systems, or Bluetooth speakers. They improve bass, treble, and overall sound quality. Decide based on your room size and audio needs.
Connecting Sound Systems
Connecting external sound systems is simple. Use the correct cables or wireless options. Common connections include:
- HDMI ARC (Audio Return Channel) for easy TV and soundbar link
- 3.5mm audio jack for headphones or small speakers
- Optical audio cable for high-quality digital sound
- Bluetooth for wireless audio devices
Match your projector’s output with the speaker’s input. Follow device manuals for exact connection steps. Test the sound after connecting to confirm it works.
Audio Settings For Clarity
Adjust audio settings to improve sound clarity. Most projectors offer menu options to tweak sound. Focus on these key settings:
- Volume level – set it loud but clear, avoid distortion
- Bass and treble – balance low and high tones for natural sound
- Equalizer – customize frequencies to suit your audio device
- Audio delay – sync sound with video to prevent lag
Experiment with settings in a quiet environment. Small changes make a big difference. Clear audio enhances your entire viewing experience.
Maintaining Your Projector
Maintaining your projector ensures it works well for a long time. Regular care keeps the image bright and clear. Small efforts prevent costly repairs and extend the projector’s life.
Cleaning And Care Tips
Dust and dirt can block the lens and vents. Clean the lens gently with a soft cloth. Avoid using strong chemicals. Use compressed air to blow dust from vents. Keep the projector in a dry place to stop moisture damage.
Replacing Bulbs
Projector bulbs wear out after many hours of use. Check the bulb’s life in the user manual. Replace bulbs before they burn out to avoid sudden blackouts. Handle bulbs carefully. Turn off and unplug the projector before changing the bulb.
Storage Recommendations
Store the projector in a cool, dry area. Use a protective cover or case to avoid dust. Keep it away from direct sunlight and heat. Remove the bulb if storing the projector for a long time. This helps prevent damage and extends bulb life.

Credit: www.reddit.com
Frequently Asked Questions
How Do I Connect A Projector To My Laptop?
To connect, use an HDMI or VGA cable depending on your laptop’s port. Turn on both devices and select the projector as the display source. Adjust display settings for optimal resolution and screen size.
What Is The Best Distance For Projector Placement?
Projector distance depends on its throw ratio and screen size. Usually, place the projector 6 to 12 feet from the screen for clear images. Check your projector’s manual for the exact recommended distance.
How Do I Adjust The Projector Image Focus?
Use the focus ring or dial on the projector lens. Turn it slowly until the image is sharp and clear. Proper focus ensures a crisp viewing experience without eye strain.
Can I Use A Projector Without A Screen?
Yes, but image quality improves with a flat, white surface. Walls or projector screens provide better brightness and clarity. Avoid textured or colored surfaces for best results.
Conclusion
Setting up a projector is simple with the right steps. Choose a good place and connect the cables carefully. Adjust the focus and screen size for clear images. Make sure the room is dark enough to see well. Test the sound and picture before starting your show.
With these easy tips, anyone can enjoy a great projector experience. Try it yourself and see how fun watching movies or presentations can be!