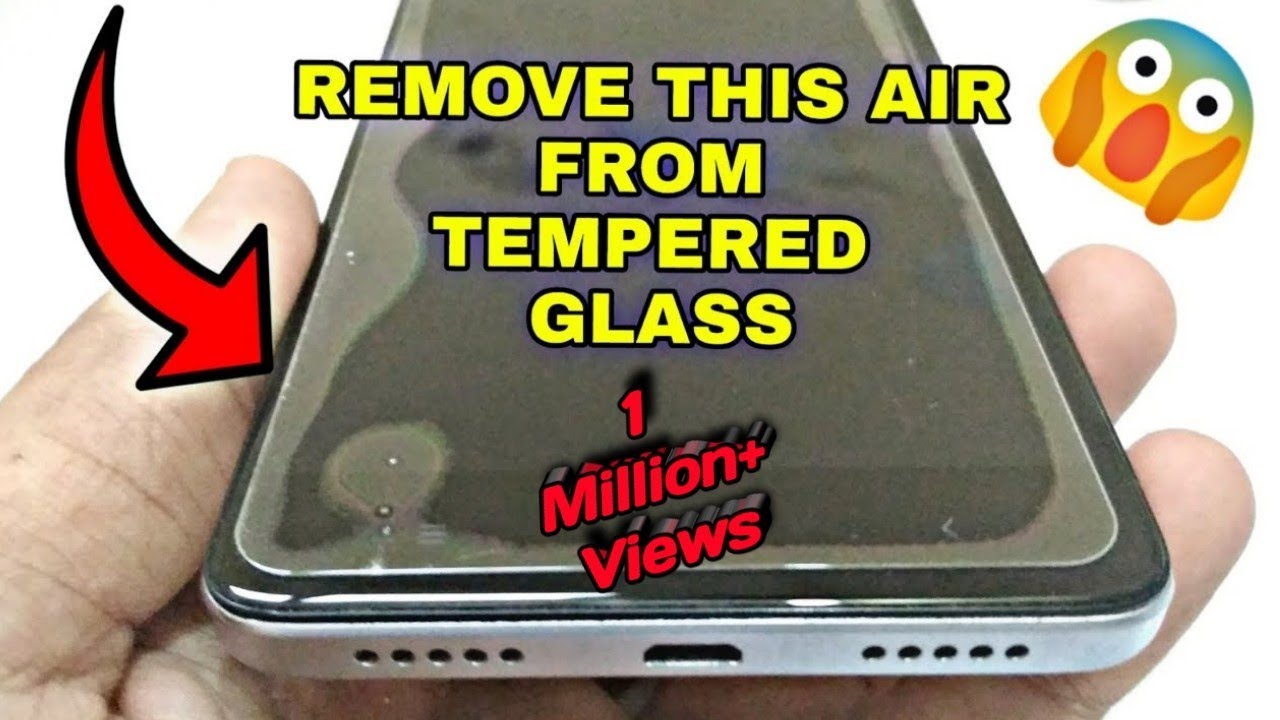
Have you just put on a new screen protector only to find annoying bubbles trapped underneath? Those tiny air pockets can ruin the smooth look and touch of your device.
But don’t worry—getting rid of them is easier than you think. You’ll discover simple and effective ways to remove bubbles from your screen protector fast. Keep reading, and you’ll have a flawless, crystal-clear screen in no time.
Credit: www.youtube.com
Causes Of Bubbles On Screen Protectors
Bubbles on screen protectors can be frustrating, especially after carefully aligning your device. Understanding why these bubbles appear helps you avoid them or fix the problem quickly. Let’s break down the common causes so you can keep your screen smooth and clear.
Dust And Debris
Even tiny particles of dust or lint trapped between the screen and protector cause bubbles. These small bits create gaps that prevent the protector from lying flat. Have you ever noticed a speck that ruins an otherwise perfect application? That’s dust at work.
To prevent this, clean your screen thoroughly using a microfiber cloth and consider applying the protector in a dust-free environment. A steamy bathroom or a clean desk can make a big difference.
Improper Application
Applying the screen protector too quickly or without steady hands often traps air beneath it. Rushing can lead to misalignment or folding, which creates bubbles and wrinkles. It’s like putting on a sticker—if you don’t smooth it out carefully, it won’t stick properly.
Take your time, align the edges first, and slowly press down while pushing air outwards. Using a card or a squeegee tool can help you smooth the protector evenly.
Screen Surface Issues
Scratches, oils, or uneven surfaces on your screen can cause bubbles to form. Even invisible smudges from fingerprints can interfere with adhesion. Have you checked your screen for grime before applying the protector?
Make sure the surface is spotless and dry before application. If your screen has scratches or damage, consider getting them fixed first, as these imperfections prevent a smooth fit.
Tools Needed For Bubble Removal
Getting rid of bubbles on your screen protector is easier when you have the right tools at hand. These simple items help smooth out air pockets without damaging your screen or protector. Let’s look at what you need to make your screen look flawless again.
Soft Cloth Or Card
A soft cloth or a plastic card is perfect for pushing bubbles toward the edges. Use a microfiber cloth if you have one—it won’t scratch your screen. I once used an old credit card wrapped in a cloth, and it worked just as well to gently nudge stubborn bubbles out.
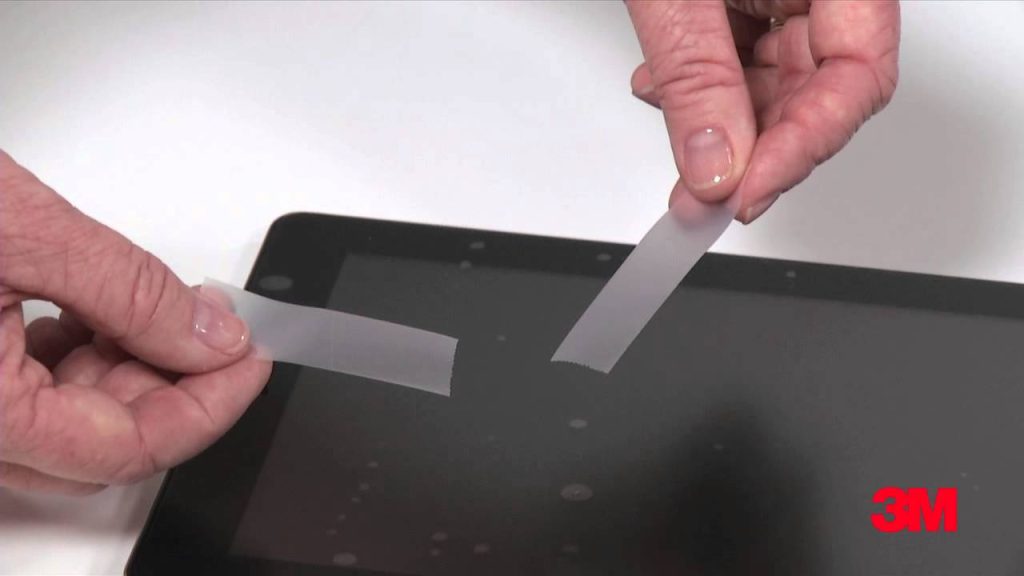
Tape
Tape can be a lifesaver when you need to lift the edge of the screen protector slightly. Use clear, low-tack tape so it doesn’t leave residue. You can carefully peel back the protector just enough to release trapped air, then press it down smoothly again.
Heat Source
A little warmth softens the adhesive, making bubble removal easier. A hairdryer set on low heat works well—just don’t overheat the screen. Heating the screen protector for a few seconds can give you more control when pushing bubbles out, especially around tricky edges.
Step-by-step Bubble Removal Methods
Gently lift the screen protector edge to release trapped air bubbles. Use a soft card to push bubbles toward the edge slowly. Clean the screen and protector before applying for best results.
Removing bubbles from a screen protector is crucial for a clear display. With the right techniques, you can achieve a smooth, bubble-free surface. Follow these easy steps to ensure your screen protector looks pristine.Using A Card To Push Bubbles Out
Use a credit card or similar object for this method. Start at the center of the screen. Push the bubbles towards the edges. Apply gentle pressure. Avoid scratching the screen protector. If bubbles are stubborn, try varying pressure.Lifting And Reapplying The Protector
Begin by gently lifting the screen protector. Avoid peeling it off completely. Focus on the area with bubbles. Once lifted, realign the protector. Press down firmly from the center. Work out bubbles as you reapply.Applying Gentle Heat To Smooth Bubbles
Use a hairdryer set to low heat. Hold it several inches away from the screen. Warm the area with bubbles. Avoid overheating or direct heat. Use a soft cloth to smooth out bubbles. Move the cloth in a circular motion.
Credit: www.linkedin.com
Preventing Bubbles When Applying Screen Protectors
Preventing bubbles when applying screen protectors can save you a lot of time and frustration. The key lies in preparation and patience. Small details during the application process make a huge difference in achieving a smooth, bubble-free finish.
Cleaning The Screen Thoroughly
Dust and oils on your screen are the biggest enemies of a bubble-free application. Use a microfiber cloth and a bit of screen cleaner or rubbing alcohol to wipe the surface completely.
Pay attention to corners and edges where dirt tends to hide. Even a tiny speck can create a bubble, so take your time cleaning.
Aligning The Protector Correctly
Proper alignment is crucial to avoid shifting that traps air underneath. Hold the protector by the edges and position it carefully before letting it touch the screen.
Try using small pieces of tape as hinges to keep it steady while you adjust the placement. Have you ever tried placing it freehand only to realize it’s crooked? This simple trick prevents that hassle.
Applying Slowly And Evenly
Once aligned, slowly lower the protector onto the screen, starting from one edge. Use a credit card or a squeegee to press it down gently and push out air bubbles.
Don’t rush this step. Moving too fast or pressing unevenly traps air pockets. Steady pressure and patience help you get that flawless, bubble-free look on the first try.
When To Replace The Screen Protector
Knowing when to replace your screen protector is just as important as applying it correctly. A protector with bubbles or damage can interfere with your device’s usability and even cause long-term screen issues. Recognizing the signs early helps you maintain a clear and responsive screen without unnecessary frustration.
Persistent Bubbles
Sometimes, despite your best efforts, bubbles just won’t go away. If you’ve tried smoothing them out with a card or using dust-removal techniques and the bubbles remain, it’s a sign your protector might not be fitting properly.
Persistent bubbles can trap dust and dirt, which could scratch your screen over time. Ask yourself: is the hassle of dealing with these bubbles worth it, or is it time for a fresh start with a new protector?
Damaged Protector
Cracks, scratches, or peeling edges are clear indicators that your screen protector needs replacing. These damages not only reduce visibility but can also weaken the protective layer, leaving your screen vulnerable to harm.
Think about how a cracked protector feels every time you touch your device — it’s uncomfortable and distracting. A new protector can restore a smooth and clean touch experience instantly.
Reduced Touch Sensitivity
If your screen isn’t responding to taps or swipes as smoothly as before, the protector might be the culprit. Over time, some protectors lose their touch sensitivity, making it harder to interact with your phone or tablet.
Have you noticed delays or missed touches lately? Upgrading your screen protector can bring back the quick and accurate response you expect, keeping your device enjoyable to use.

Credit: www.wikihow.com
Frequently Asked Questions
How Do I Remove Bubbles Under A Screen Protector?
Gently lift the screen protector near the bubble. Use a credit card to push the bubble towards the edge. Repeat until bubbles disappear. Clean the screen before applying for best results.
Why Do Bubbles Appear Under Screen Protectors?
Bubbles form due to dust, dirt, or improper application. Air gets trapped between the screen and protector. Ensuring a clean surface and careful installation prevents bubbles.
Can Bubbles Damage My Phone Screen?
No, bubbles do not damage the screen. They only affect touch sensitivity and display clarity. Removing bubbles improves screen visibility and responsiveness.
What Tools Help Remove Screen Protector Bubbles?
Use a credit card, microfiber cloth, or a dust removal sticker. These tools help push out air and smooth the protector evenly.
Conclusion
Removing bubbles from a screen protector is easier than you think. Small bubbles usually disappear after a day or two. For stubborn bubbles, use a soft card to gently push them out. Clean your screen well before applying the protector to avoid air pockets.
Taking your time during installation helps a lot. With these simple steps, your screen stays clear and smooth. Enjoy a bubble-free view on your device every day.