
Are you trying to measure capacitance but don’t know where to start? Knowing how to measure capacitance with a multimeter can save you time, money, and frustration.
Whether you’re fixing a circuit or testing components, this simple skill puts control right in your hands. You’ll learn easy, step-by-step methods that anyone can follow—even if you’re new to electronics. By the end, you’ll feel confident and ready to tackle your projects like a pro.
Keep reading to discover how straightforward measuring capacitance can really be.

Credit: www.ersaelectronics.com
Tools Needed
Measuring capacitance accurately requires more than just a multimeter. Having the right tools ensures you get clear, reliable readings without damaging your components. Let’s look at what you’ll need before you start testing capacitors.
Choosing The Right Multimeter
Not every multimeter can measure capacitance, so pick one with this feature clearly listed. Digital multimeters with a dedicated capacitance mode are usually the easiest to use. Analog multimeters typically don’t support capacitance measurement and can give inaccurate results.
Look for a multimeter that displays capacitance in microfarads (µF) and picofarads (pF), depending on your capacitor’s size. A backlit screen and clear measurement symbols make readings easier, especially in low-light conditions. If you often work with small-value capacitors, choose a meter with high sensitivity for better precision.
Additional Equipment
Besides your multimeter, a few extra items can make the process smoother and safer. You’ll need insulated test leads to connect your multimeter to the capacitor without causing shorts. If your capacitor is soldered onto a circuit board, a desoldering tool or soldering iron helps remove it for an accurate test.
A small screwdriver or tweezers may be handy to handle tiny capacitors or adjust test points. Keep a discharge tool or resistor nearby to safely discharge the capacitor before testing. This prevents damage to your multimeter and avoids any shocks.
Have you checked if your workspace has good lighting and a stable surface? These simple factors can impact how easily you read measurements and handle delicate components.
Preparing The Multimeter
Before measuring capacitance, the multimeter must be ready. Proper preparation ensures accurate and reliable readings. The multimeter settings and calibration are key parts of this process. Spend time to prepare well.
Setting To Capacitance Mode
Turn the multimeter dial to the capacitance symbol, usually marked as “C” or a capacitor icon. This mode allows the meter to measure the electric charge stored in capacitors. Some multimeters have a dedicated capacitance button. Press it if needed.
Check the meter’s display to confirm it shows capacitance units, often microfarads (µF). Avoid using other modes like voltage or resistance during capacitance testing. Using the wrong setting can cause wrong readings or damage the meter.
Calibrating The Device
Calibration helps the multimeter give precise results. Some models auto-calibrate when switched to capacitance mode. Let the meter settle for a few seconds before measuring.
For manual calibration, connect the leads together and adjust the meter to zero or near-zero reading. This step removes any background noise or residual charge. Follow the multimeter’s user manual for specific calibration instructions.
Use fresh batteries and clean test leads for best accuracy. Dirty or weak components affect calibration and measurement quality.
Preparing The Capacitor
Preparing the capacitor is a crucial step before measuring its capacitance with a multimeter. This process ensures accurate readings and protects both the capacitor and the measuring device. Careful handling and preparation help prevent damage and errors during measurement.
Discharging The Capacitor
Always discharge the capacitor before testing it. Capacitors store electric charge that can harm the multimeter or cause inaccurate results.
- Use a resistor with a value between 1kΩ and 10kΩ.
- Connect the resistor across the capacitor’s terminals.
- Hold the resistor in place for a few seconds to drain the charge.
- Check with the multimeter if the voltage is zero before proceeding.
Removing From Circuit
Measure capacitance accurately by testing the capacitor outside the circuit. Other components can affect the reading if the capacitor stays connected.
- Turn off and unplug the device containing the capacitor.
- Locate the capacitor and carefully desolder or disconnect its leads.
- Keep track of the capacitor’s orientation and terminals.
- Test the capacitor separately on a clean work surface.
Measuring Capacitance
Measuring capacitance is a simple way to check if a capacitor works properly. It helps find faulty or weak capacitors in circuits. Using a multimeter with a capacitance function makes this task easy and quick. This section explains how to measure capacitance accurately and safely.
Connecting The Probes
Start by turning off the power to the circuit. Discharge the capacitor fully to avoid damage or wrong readings. Set the multimeter to the capacitance mode, usually marked with “F” or “CAP.”
Connect the black probe to the common (COM) terminal on the multimeter. Connect the red probe to the terminal marked for capacitance or voltage.
Touch the probes to the capacitor’s leads. Polarity matters for polarized capacitors: connect the red probe to the positive lead and the black to the negative. For non-polarized capacitors, probe direction does not matter.
Reading The Measurement
Hold the probes steady on the capacitor leads. The multimeter will show the capacitance value on the screen. Read the value in microfarads (µF), nanofarads (nF), or picofarads (pF) depending on the capacitor size.
If the display shows “OL” or no value, the capacitor might be bad or out of range. Compare the reading with the capacitor’s rated value printed on its body.
A close reading confirms the capacitor is good. A large difference indicates a weak or damaged capacitor that needs replacement.
Interpreting Results
Interpreting capacitance results involves understanding the readings on your multimeter. Ensure the device is set to the correct range. Compare the measured value with the capacitor’s rated capacitance to verify its condition and performance.
Interpreting Results After measuring capacitance with a multimeter, understanding the results is crucial. The reading shows the capacitor’s ability to store electrical charge. A correct interpretation ensures you know the capacitor’s condition. This section will guide you through interpreting these results effectively.Comparing With Rated Values
Compare the measured capacitance with the capacitor’s rated values. These values are usually printed on the capacitor itself. A significant difference might indicate a faulty capacitor. Always ensure the multimeter is set correctly for accurate readings.Troubleshooting Common Issues
Capacitance readings can sometimes be off due to various reasons. Check for loose connections first. Ensure the multimeter probes are clean and properly connected. Dirt or corrosion can affect readings. If the capacitor shows zero or infinite capacitance, it might be damaged. In such cases, consider replacing the capacitor.Safety Tips
Safety is crucial when measuring capacitance with a multimeter. Capacitors can hold a charge long after power is removed, posing shock risks. Understanding how to handle these components safely protects both you and your equipment.
Handling Charged Capacitors
Always discharge capacitors before measuring. Use a resistor or a capacitor discharge tool to safely release stored energy. Never touch capacitor leads directly; even small charges can cause unpleasant shocks.
Think about the last time you tested a capacitor without discharging it first—did you feel a sudden jolt? That quick shock can be avoided with simple precautions. Make discharging a routine step before connecting your multimeter.
Avoiding Damage To Equipment
Set your multimeter to the correct capacitance mode before testing. Using the wrong setting can damage the meter or give inaccurate readings. Double-check the range to match the expected capacitance value.
Disconnect power sources and ensure the capacitor is isolated from the circuit. Measuring in-circuit can cause false readings and potentially harm your multimeter. Have you ever faced a blown fuse in your meter? Careful setup prevents such costly mistakes.
Alternative Methods
Measuring capacitance can be done using different tools beyond a standard multimeter. Alternative methods offer more precision or convenience depending on your needs. These options can help you test capacitors quickly and accurately.
Using Lcr Meters
LCR meters measure inductance (L), capacitance (C), and resistance (R). They provide a more accurate reading of capacitance than typical multimeters. LCR meters apply a small AC signal to the capacitor and measure the response. This allows for precise readings even at different frequencies.
These meters often come with features like:
- Automatic range selection
- Frequency adjustment
- Display of equivalent series resistance (ESR)
Using an LCR meter is straightforward. Connect the capacitor leads to the meter terminals. Ensure the capacitor is fully discharged before testing. The reading will show the capacitance value directly.
Software-based Measurements
Software-based measurement tools use a computer and additional hardware to measure capacitance. These tools rely on microcontrollers or data acquisition systems. The capacitor is connected to the system, and software analyzes the charging time or frequency response.
This method is useful for complex circuits or automated testing setups. It allows data logging and detailed analysis. Some software offers graphical displays and export options for reports.
Common steps include:
- Connect capacitor to the test circuit
- Run the measurement software
- View and save capacitance data
Software-based tools require some technical knowledge but offer flexibility and accuracy. They work well for hobbyists and professionals who test multiple components regularly.

Credit: www.youtube.com
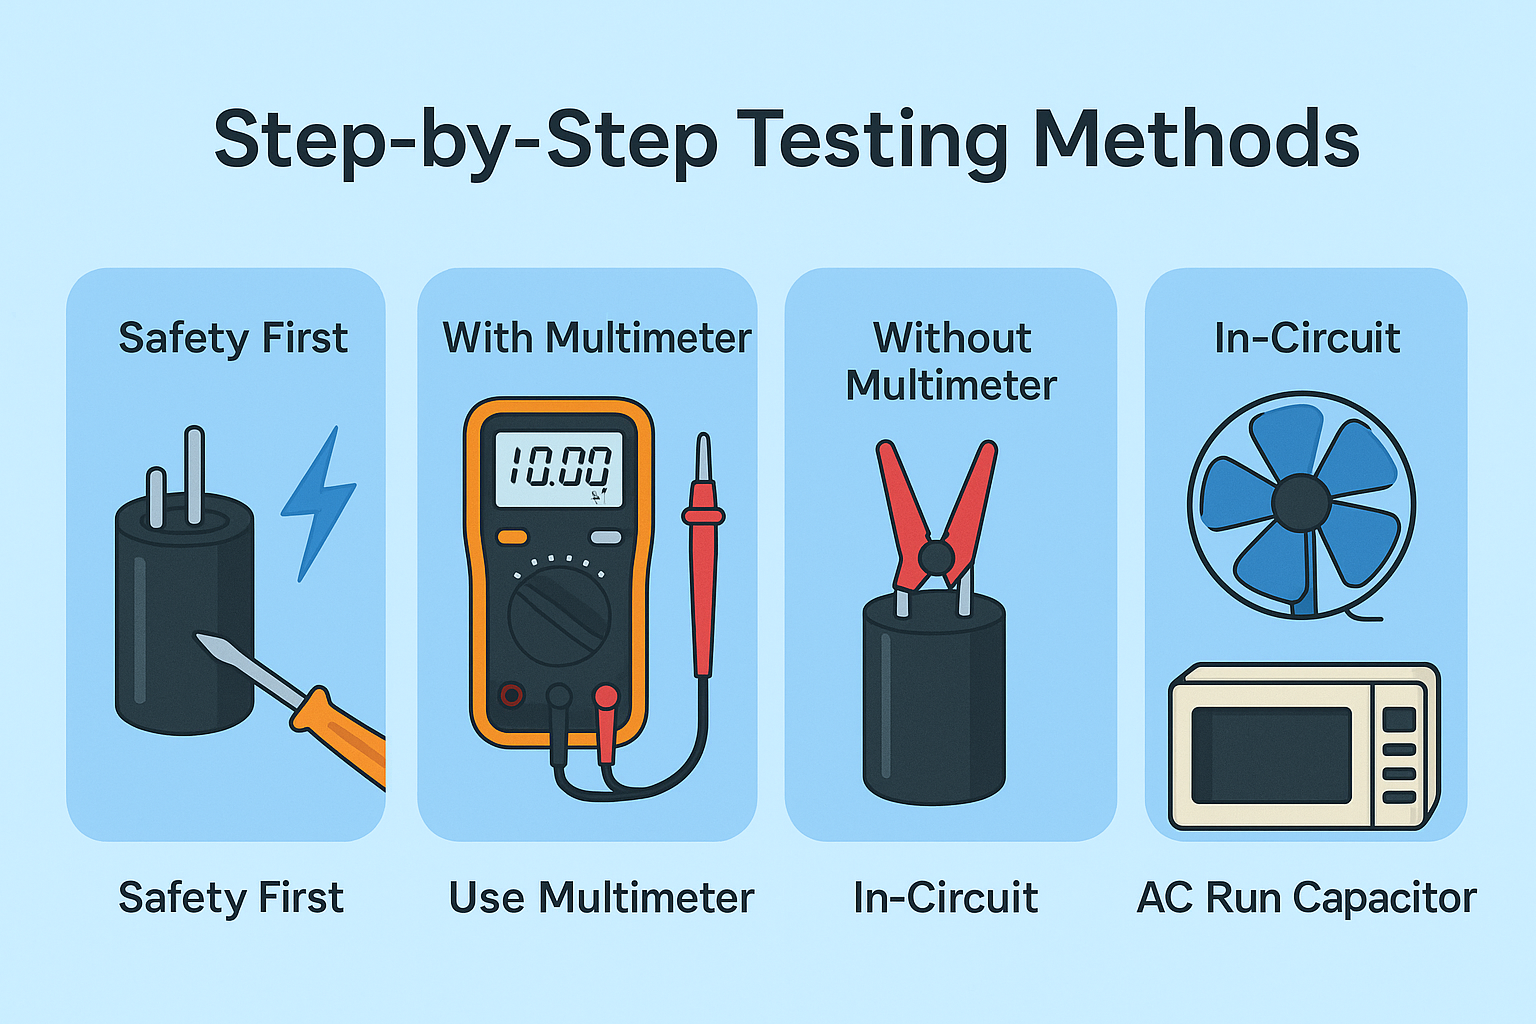
Credit: www.ersaelectronics.com
Frequently Asked Questions
How Do I Measure Capacitance With A Multimeter?
To measure capacitance, set the multimeter to the capacitance mode. Connect the leads to capacitor terminals, observe the reading, and ensure the capacitor is discharged before testing for accurate results.
Can Any Multimeter Measure Capacitance Accurately?
Not all multimeters measure capacitance. Only models with a dedicated capacitance mode can accurately test capacitors. Check your multimeter’s specifications before attempting measurement.
Why Must A Capacitor Be Discharged Before Measuring?
Discharging prevents damage to the multimeter and ensures safety. It also guarantees an accurate reading by eliminating stored charge interference during the test.
What Units Does A Multimeter Show For Capacitance?
Multimeters typically display capacitance in microfarads (µF), nanofarads (nF), or picofarads (pF), depending on the capacitor’s size. Choose the appropriate range if manual range selection is available.
Conclusion
Measuring capacitance with a multimeter is simple and useful. Just follow the steps carefully for accurate results. Always check your multimeter’s settings before testing. This skill helps you understand and fix electronic devices better. Practice a few times to feel confident and avoid mistakes.
Keep your tools clean and handle components gently. Now, you can measure capacitance easily and safely at home. Try it out and see how it works!