
Have you ever wanted to experience virtual reality without spending a lot of money? What if you could create your own VR headset using just cardboard and a few simple materials?
In this guide, you’ll learn exactly how to make a VR headset that works with your smartphone. It’s easier than you think, and the best part is—you get to build it yourself. Keep reading, and by the end, you’ll have a cool, budget-friendly VR headset ready to use.
Ready to dive in? Let’s get started!
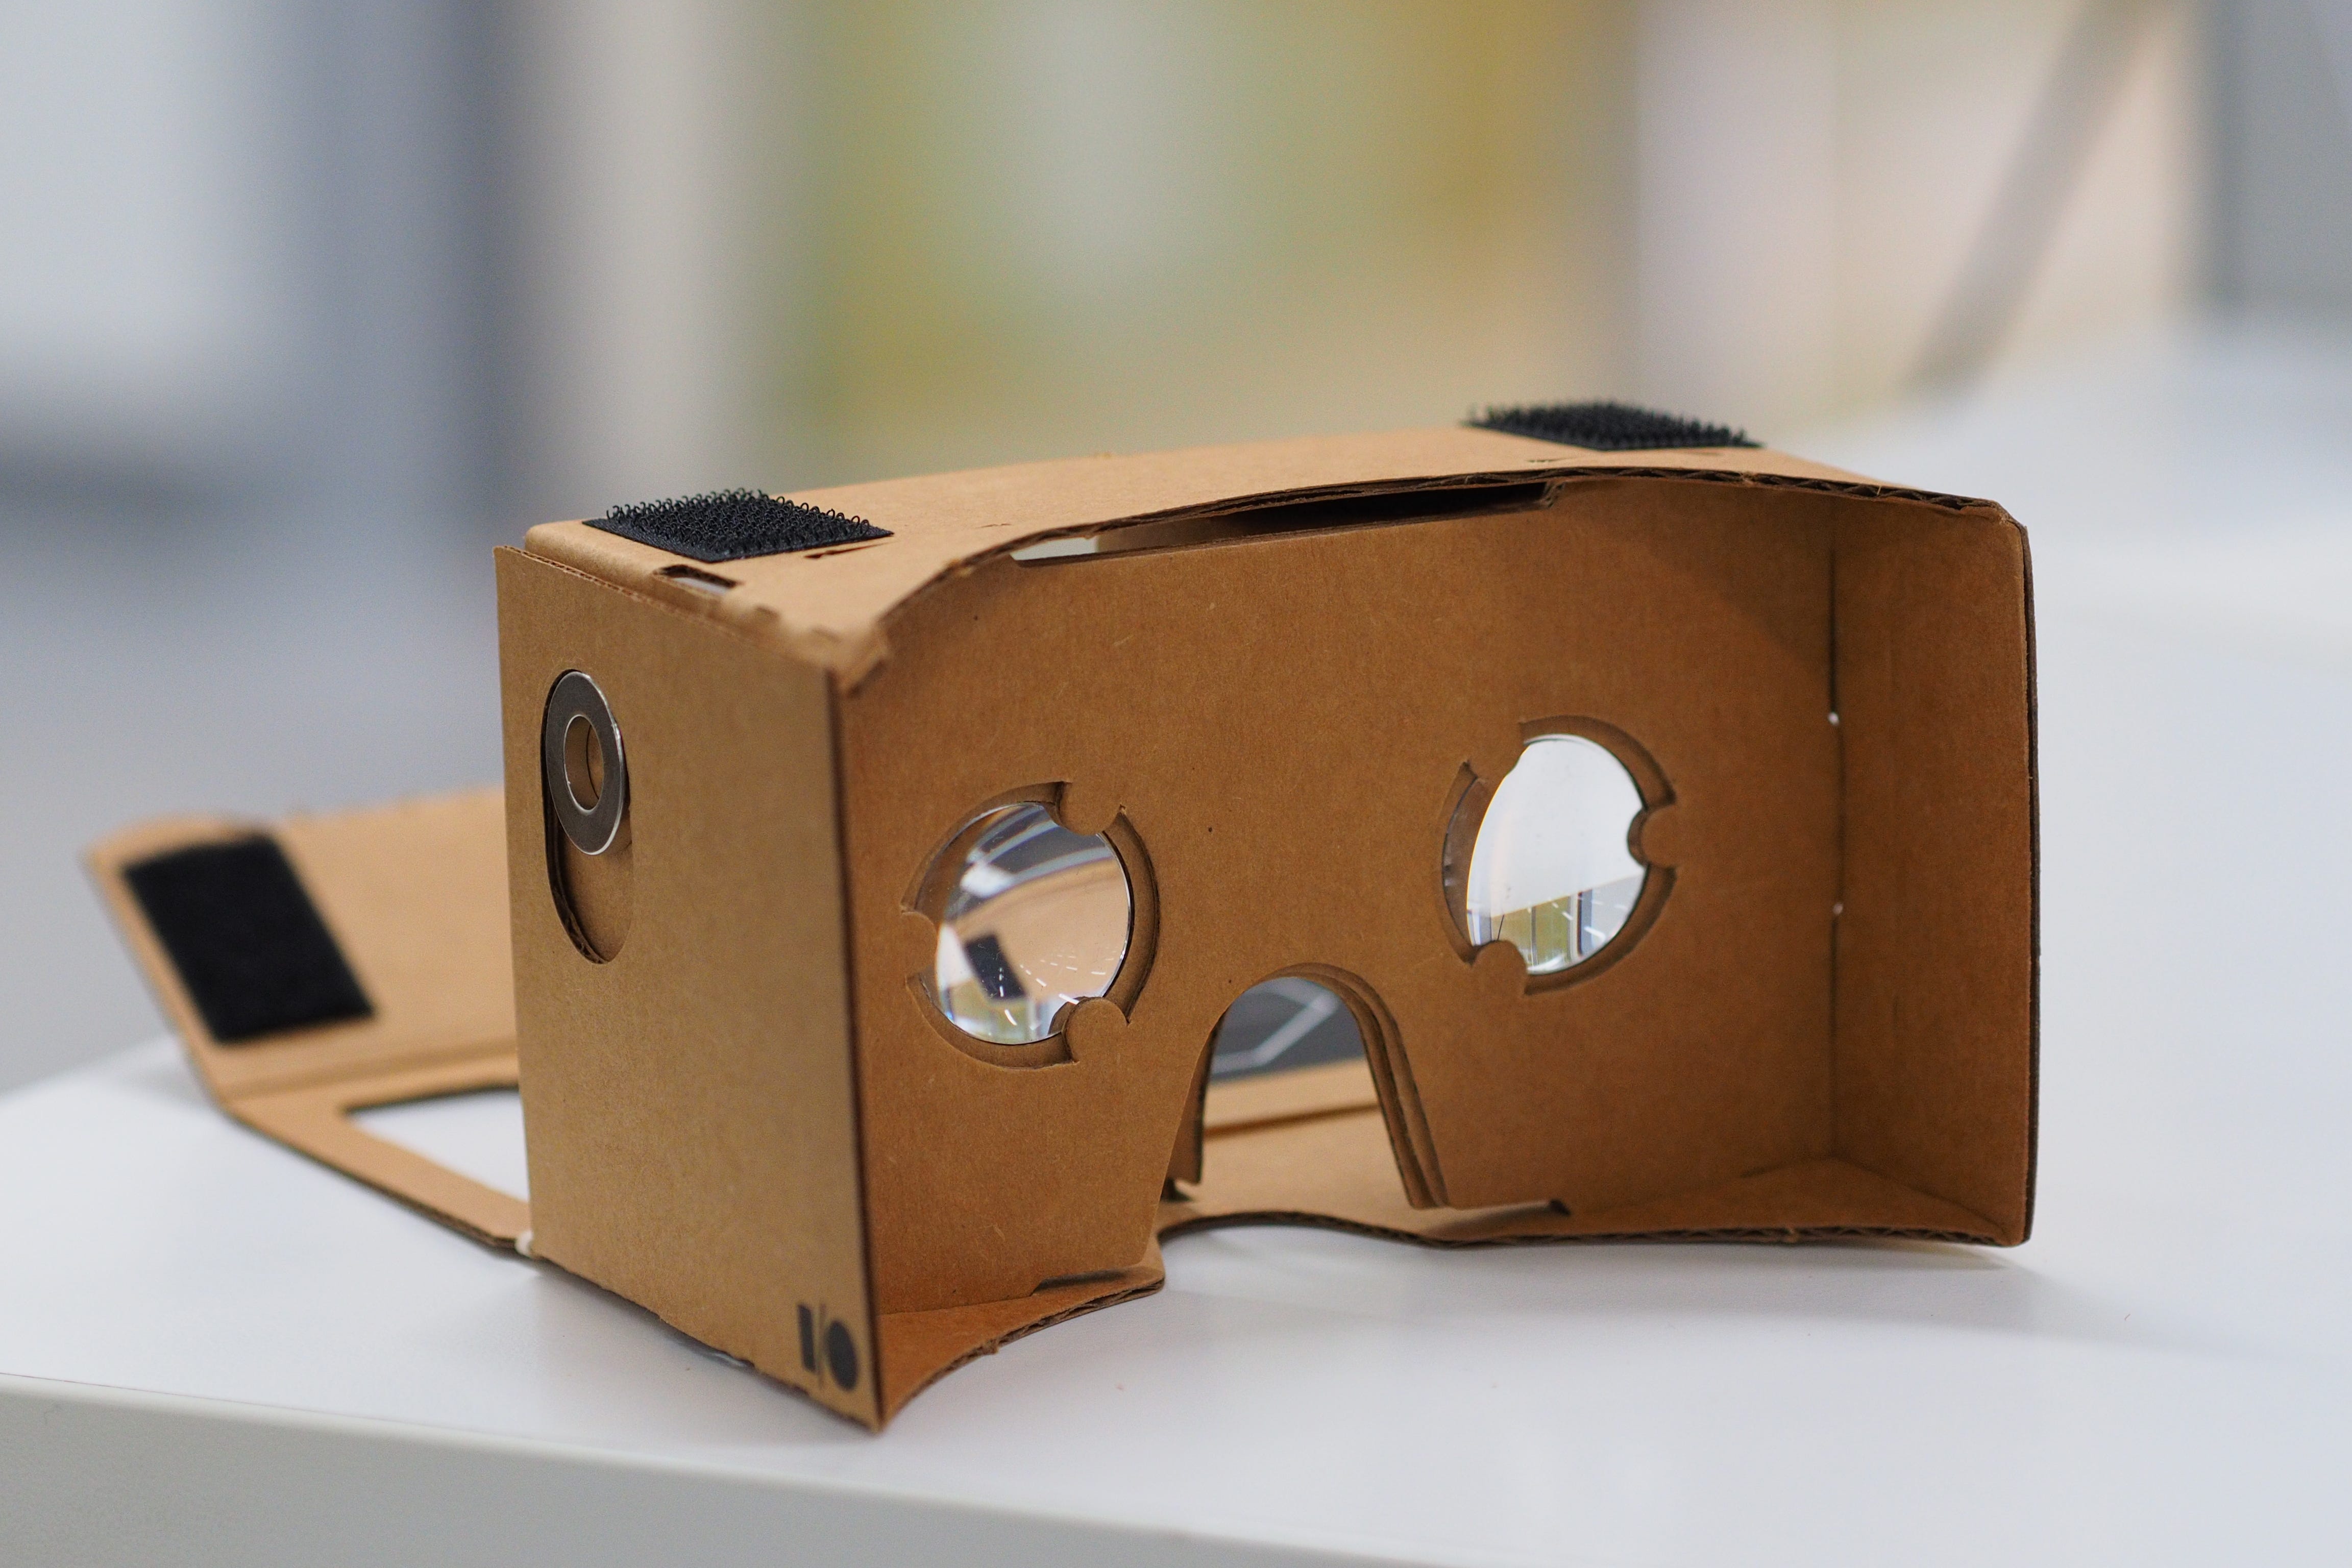
Credit: medium.com
Materials Needed
Gathering the right materials is the foundation of building a successful VR headset with cardboard. Choosing quality components will directly impact your viewing experience. Let’s break down what you need to get started and why each item matters.
Cardboard Selection
Not all cardboard is created equal. Thick, sturdy cardboard works best because it holds its shape and supports the lenses securely. You want something durable but not too bulky.
Look for corrugated cardboard with a smooth surface on one side. This makes folding easier and gives a cleaner finish. Avoid flimsy or thin pieces that might bend out of shape during use.
Lenses And Optics
The lenses are the heart of your VR headset. They help focus the image and create the immersive effect. Most DIY VR projects use convex lenses with a focal length around 45mm.
You can find these lenses online or salvage them from old binoculars or magnifying glasses. Make sure the lenses are the same size and shape to avoid distortion and eye strain.
Additional Components
Besides cardboard and lenses, you’ll need a few extras to complete your headset. Velcro strips or elastic bands keep the headset snug on your head. Foam padding adds comfort around the eyes.
Don’t forget a smartphone holder or a slot where your phone can fit securely. Small pieces of tape or glue will help hold everything together. You might want to add a button or a trigger for interacting with VR apps too.
Tools Required
Gathering the right tools is crucial before you start building your VR headset with cardboard. The quality of your final product often depends on how precise and sturdy your construction is. Let’s look at the essential tools you’ll need to bring your DIY VR headset to life.
Cutting Tools
Sharp cutting tools are a must for clean and accurate cuts on cardboard. A utility knife or a craft knife works best because they allow you to cut intricate shapes without tearing the material.
Scissors can be handy for simpler cuts, but they might not give you the precision needed for detailed parts. Always use a cutting mat or a safe surface to avoid damaging your workspace or hurting yourself.
Measuring Instruments
Accurate measurements ensure your VR headset fits comfortably and works properly with your phone’s dimensions. A ruler or a measuring tape is essential for marking straight lines and checking the size of different cardboard pieces.
A pro tip: use a pencil to lightly mark measurements before cutting. This small step helps prevent mistakes that could waste your materials.
Adhesives And Fasteners
Holding everything together securely is key to a durable headset. White glue or craft glue is great for bonding cardboard but takes a little time to dry.
For faster assembly, double-sided tape or hot glue guns provide strong adhesion instantly. If you want some flexibility, small Velcro strips can also work to attach parts that may need adjusting later.
Designing The Template
Designing the template is a key part of making a VR headset with cardboard. The template acts as a guide for cutting and folding the cardboard. A good design ensures the headset fits well and holds the lenses securely. Taking time to prepare the template saves effort later in assembly. You can use ready-made templates or create your own. Proper customization helps the headset fit your phone perfectly.
Finding Printable Templates
Many websites offer free, printable VR headset templates. These templates come as PDF or image files. Choose a template that matches your phone size. Print the template on sturdy paper for accuracy. Check if the template includes lens and phone holder parts. Some templates show fold lines and cut lines clearly. Use a printer that prints at actual size, not scaled. This ensures all parts fit together well.
Customizing For Fit
Adjust the template to match your phone’s exact dimensions. Measure your phone’s length, width, and thickness carefully. Mark these measurements on the printed template. Change the size of the phone holder section if needed. Make sure the lens holes line up with your phone screen. You can add extra tabs or slots for stronger joins. Small changes improve comfort and usability. Test the fit by folding the paper before cutting cardboard.
Cutting And Preparing Cardboard
Cutting and preparing cardboard is a crucial step in making your VR headset. It sets the foundation for a sturdy and comfortable device. If your cuts are sloppy or your pieces aren’t accurate, the headset might not fit properly or hold up during use.
Marking The Pieces
Start by carefully marking the cardboard pieces you need. Use a ruler and pencil to draw clear lines for each part of the headset.
Label each piece to avoid confusion later on. This simple step saves time and prevents mistakes when assembling.
Have you ever tried building something without clear markings? It can quickly turn into a frustrating mess.
Cutting Techniques
Choose a sharp utility knife or box cutter for precise cuts. Scissors often struggle with thick cardboard and can leave rough edges.
Cut slowly along your marked lines to avoid jagged edges. Applying steady pressure helps you control the blade better.
- Use a cutting mat or thick scrap cardboard underneath to protect your surface.
- Make multiple shallow passes instead of trying to cut through in one go.
- Keep your fingers clear of the blade’s path for safety.
Have you noticed how much cleaner your projects look with careful cutting? It’s a small detail that makes a big difference in the final product.
Assembling The Headset
Cut cardboard pieces carefully along the template lines to fit the headset shape. Attach lenses securely inside the frame for clear vision. Finally, fold and glue all parts to form a sturdy VR headset.
Assembling your own VR headset with cardboard is not only a creative endeavor but also a chance to dive into the world of virtual reality without breaking the bank. This hands-on activity can be a fun challenge, and the excitement of seeing a finished headset is unmatched. You might discover a hidden talent for crafting or simply enjoy the satisfaction of creating something yourself. Let’s delve into assembling the headset.Folding And Shaping
Start by carefully folding your cardboard along the pre-drawn lines. Make sure the creases are sharp and well-defined, as this will ensure a sturdy structure. A poorly folded headset can lead to discomfort and a less immersive experience. Precision is key here. Use a ruler or any straight edge to guide your folds. Take your time—rushing can lead to mistakes that are hard to correct later.Attaching Lenses
Lenses are crucial for transforming your smartphone into a VR device. Securely attach them to the designated spots within the cardboard frame. Double-check their alignment to ensure clear vision. You might want to test the lenses with your phone before finalizing their position. Adjust them as needed to avoid blurriness or discomfort. This step determines how immersive your VR experience will be.Securing Components
Ensure all parts are tightly secured to prevent any wobbling during use. Consider using glue or tape for extra stability. Loose components can distract you from the virtual world. Check the fit of the headset on your head for comfort. Adjust any parts that feel too tight or loose. Wouldn’t it be great to dive into VR without worrying about your headset slipping off? With these steps, you’re well on your way to enjoying virtual reality through a device crafted by your own hands. What will you explore first in your homemade VR world?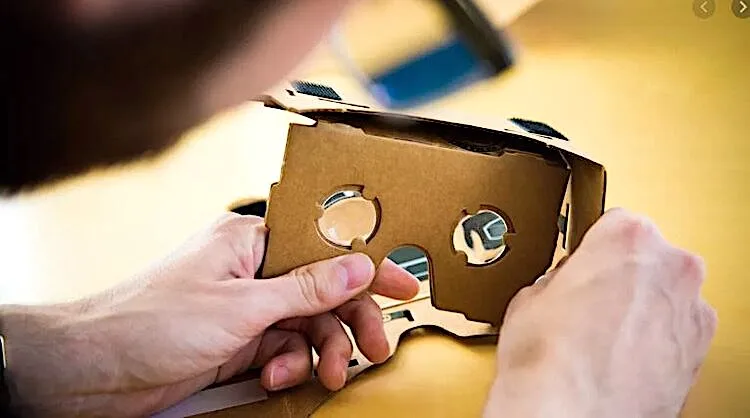
Credit: www.designnews.com
Adding Comfort Features
Adding comfort features to your DIY cardboard VR headset can make a huge difference in how long you can enjoy virtual reality without discomfort. A headset that fits well and feels soft against your face keeps you immersed and prevents distractions from irritation or pressure points. Let’s look at some simple ways to boost comfort using everyday materials.
Padding Options
Padding is key to avoiding that hard cardboard edge digging into your skin. You can use foam sheets, which are inexpensive and easy to cut to size. Simply glue thin strips or patches around the areas that touch your forehead, cheeks, and nose.
If foam isn’t handy, try using soft fabric like felt or even pieces from an old T-shirt. These materials add cushioning and absorb sweat, which helps if you tend to get warm during use. Have you ever noticed how much better a headset feels when the nose area is padded? It reduces the pressure and keeps the headset stable.
Straps And Adjustments
Keeping the headset snug without being too tight is essential. Use adjustable elastic straps to hold the headset in place. You can find elastic bands at craft stores or repurpose elastic from old clothes.
Attach the straps to your cardboard frame with staples or strong glue, making sure they sit comfortably on your head without slipping. Adding Velcro to the ends allows you to adjust the fit easily. Think about how a poorly fitting headset ruins the experience — you want your VR gear to stay put, even during quick head movements.
Setting Up Your Smartphone
Setting up your smartphone is a key part of making a VR headset with cardboard. The phone acts as the screen and processor for your virtual reality experience. It must be ready to display VR content clearly and smoothly. Taking a few simple steps ensures the best results and comfort during use.
Compatible Apps
Choose apps designed for VR to get the full effect. These apps split the screen into two images, one for each eye. This creates the 3D depth needed for virtual reality.
- Search for VR apps in your phone’s app store.
- Look for apps labeled “Cardboard” or “VR.”
- Try apps with good ratings and user reviews.
- Free apps work well for beginners.
Download and install the app before placing your phone in the headset. This saves time and avoids interruptions.
Inserting The Device
Place the smartphone carefully inside the cardboard headset. Align the phone’s screen with the lenses for the best view.
- Open the front flap of the cardboard headset.
- Position the phone so the screen faces the lenses.
- Center the phone to keep the images aligned.
- Secure the phone with any straps or holders included.
- Close the flap gently to hold the phone in place.
Check that the phone does not move inside the headset. A stable phone gives a clearer and smoother VR experience.
Testing And Troubleshooting
Testing the VR headset ensures all parts work well together. Troubleshooting helps fix common issues like blurry images or misalignment quickly. Adjust lenses and check the phone’s position for the best experience.
Testing and Troubleshooting your homemade VR headset is crucial for a smooth experience. After putting together your cardboard headset, it’s time to ensure everything is working properly. Even the best DIY projects can face small hiccups. This section will guide you through adjusting focus and fixing common issues.Adjusting Focus
Getting the focus right is key to enjoying virtual reality. If images appear blurry, adjust the lenses. Move them closer or further from your eyes. This can be done by shifting the cardboard. Test different positions until the image is clear. Each person’s eyes are different, so personal adjustments are necessary. Fine-tuning the focus will enhance your VR immersion.Fixing Common Issues
Even homemade projects can have unexpected problems. If your headset is uncomfortable, add padding. Foam or soft fabric can make a difference. If the phone slides out, secure it better. Use elastic bands or clips to hold it in place. If apps crash, restart your phone. Ensure it has enough battery and memory. Simple fixes can improve your VR experience drastically.Tips For Enhancing Experience
Enhancing your VR headset experience with cardboard makes a big difference. Small changes can improve how you see and feel inside the virtual world. These tips help you get clearer visuals and better comfort for longer use.
Improving Visual Quality
- Use high-quality lenses with a wide field of view.
- Adjust the distance between lenses for sharp images.
- Choose a smartphone with a high-resolution screen.
- Clean lenses regularly to remove dust and smudges.
- Dim room lights to reduce screen glare and reflections.
- Use VR apps that support your phone’s screen resolution.
Optimizing Comfort
- Add soft padding around the edges to avoid pressure on your face.
- Secure straps to keep the headset stable but not tight.
- Use lightweight cardboard to reduce overall headset weight.
- Take short breaks to avoid eye strain and discomfort.
- Make sure the headset fits your face shape well.
- Keep the headset clean to prevent skin irritation.
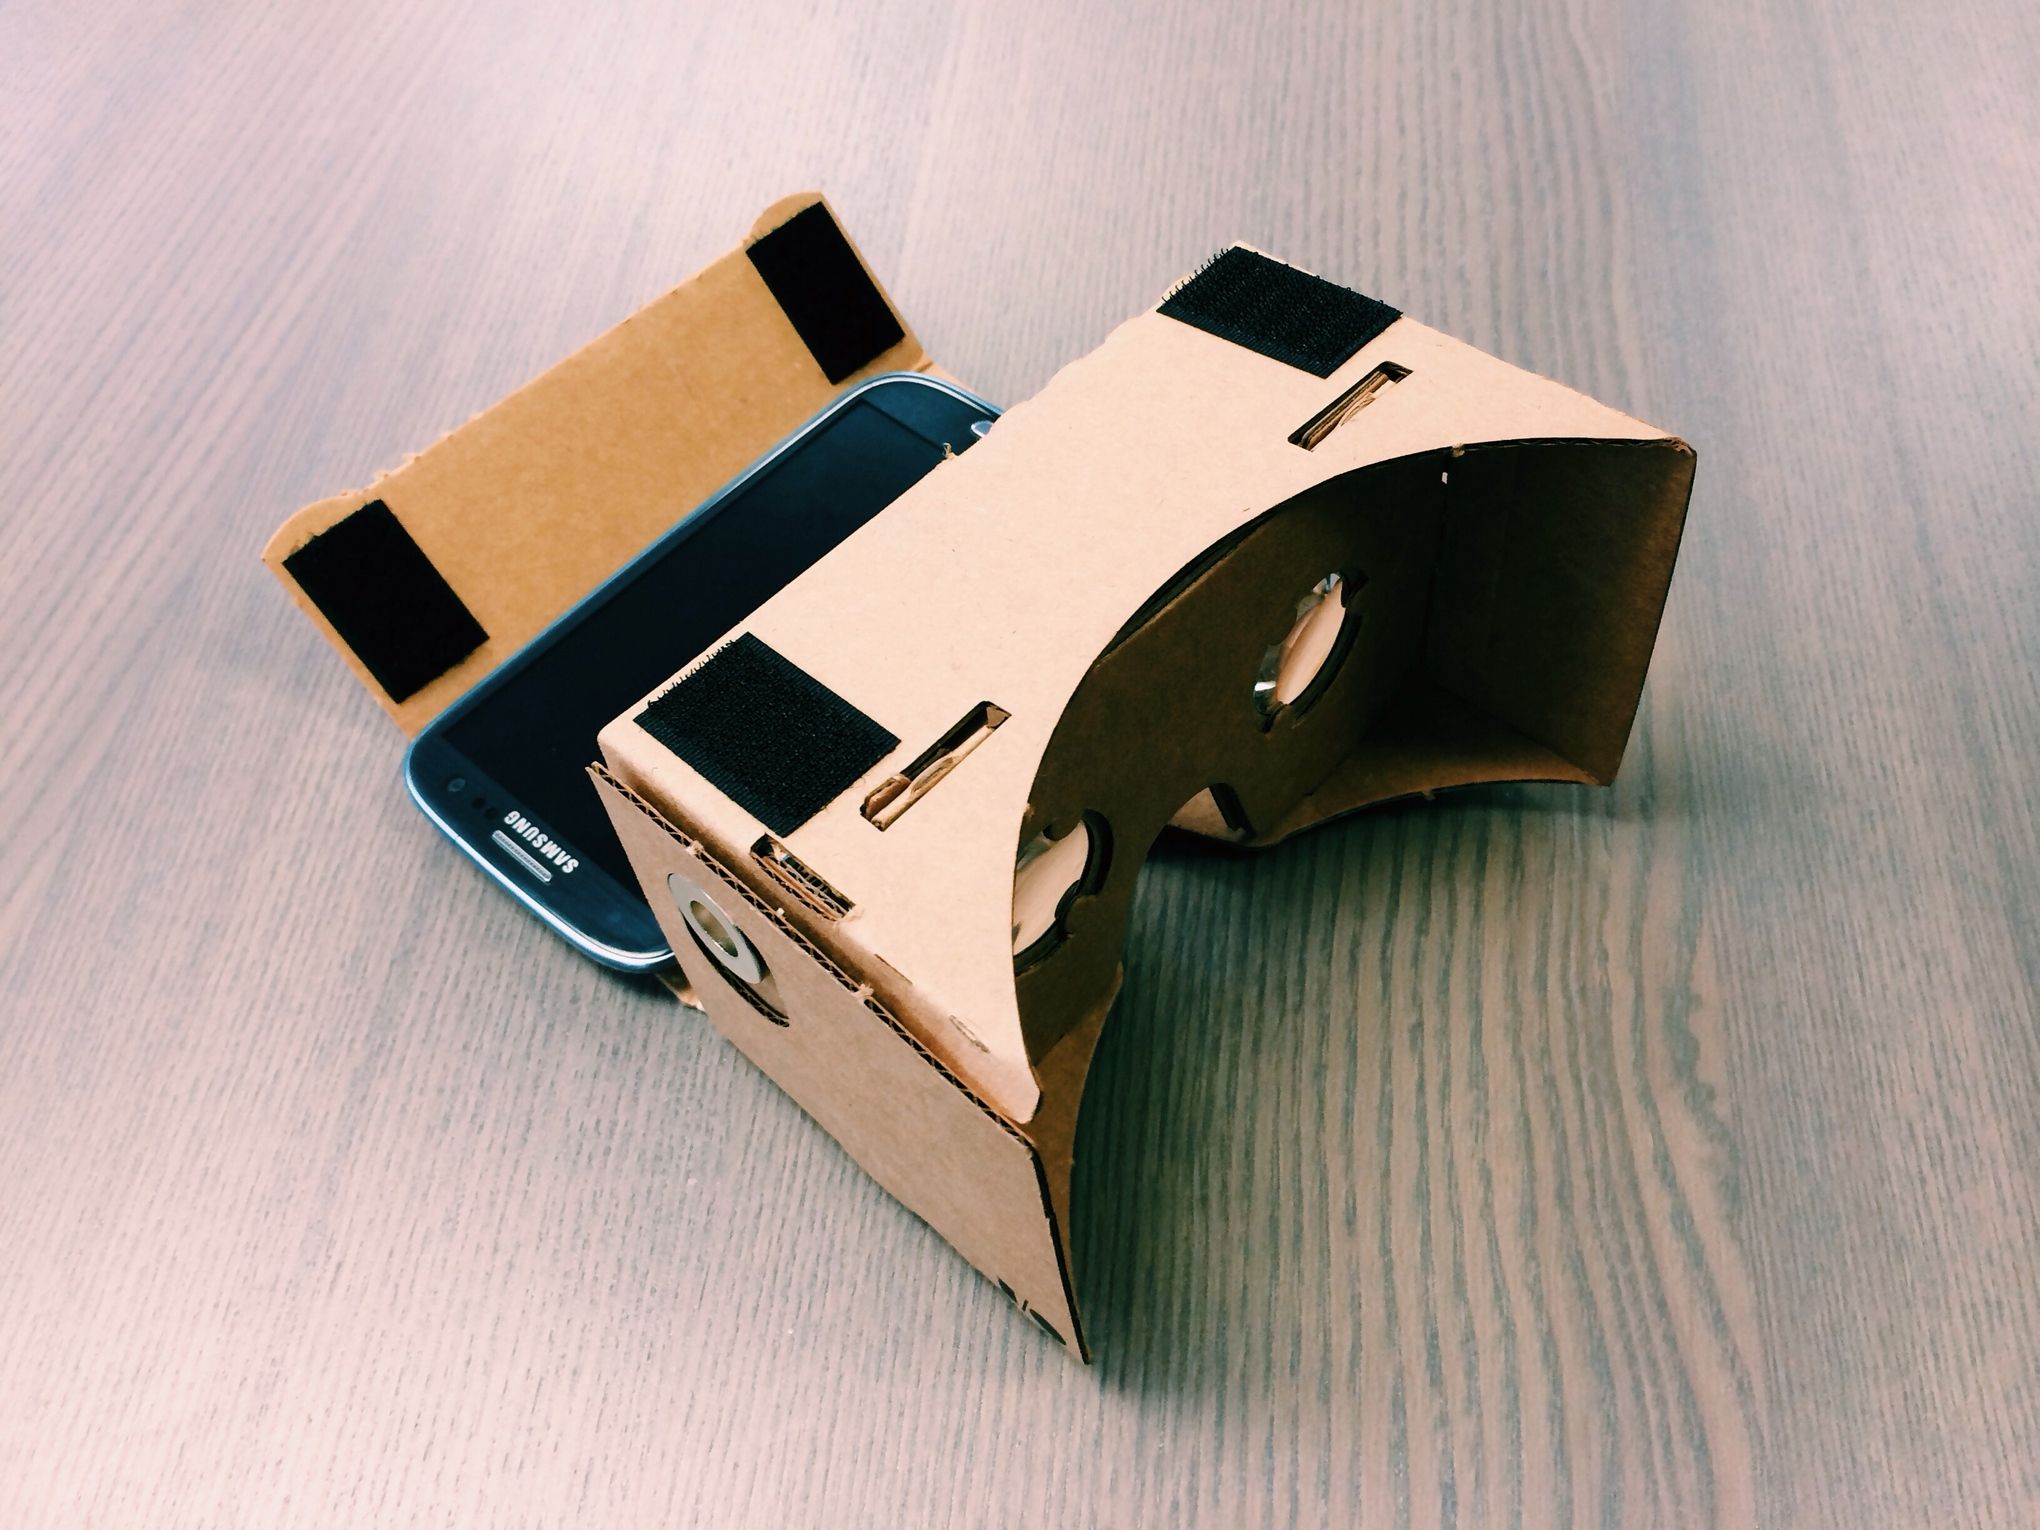
Credit: www.polygon.com
Frequently Asked Questions
What Materials Do I Need To Make A Cardboard Vr Headset?
You need cardboard, lenses, Velcro strips, rubber bands, glue, and a smartphone. These materials are affordable and easy to find.
How Do I Assemble A Cardboard Vr Headset Step-by-step?
Cut the cardboard as per template, attach lenses, fold the pieces, secure with glue and Velcro, and insert your smartphone.
Can Any Smartphone Work With A Cardboard Vr Headset?
Most smartphones with gyroscope sensors and screen sizes between 4 to 6 inches work well with cardboard VR headsets.
How Do I Adjust The Lenses For Better Vr Experience?
Move the lenses closer or farther from the screen to focus. Proper alignment reduces eye strain and improves clarity.
Conclusion
Building a VR headset with cardboard is simple and fun. You only need a few materials and some patience. This project shows how easy it is to explore virtual reality at home. Trying it yourself can bring a new way to enjoy videos and games.
Give it a go and see how it feels. You might find a new hobby or learn something exciting. Keep experimenting and improving your headset for better experience.