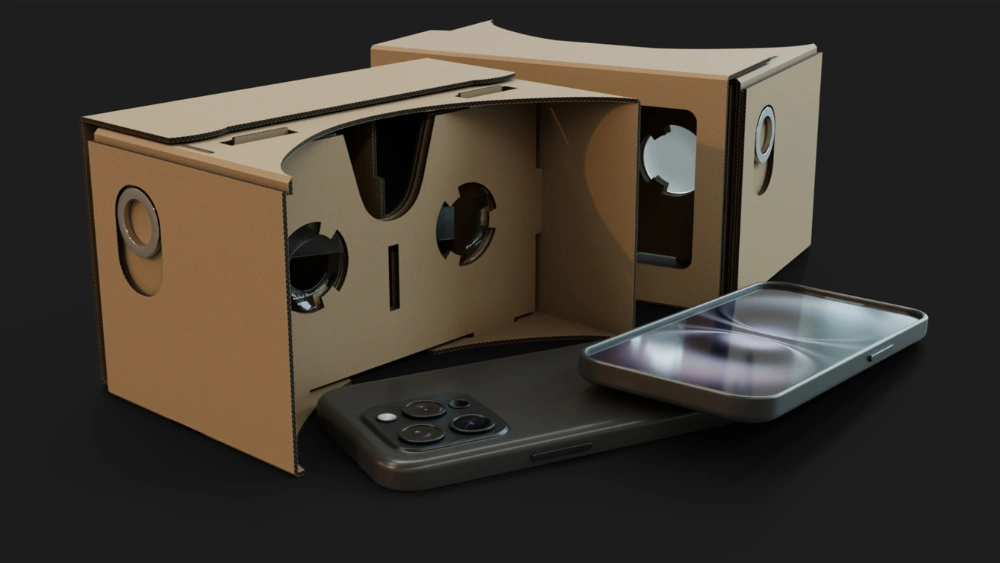
Have you ever wanted to experience virtual reality without spending a lot of money? Making your own VR headset with cardboard is easier than you think.
You don’t need fancy tools or skills—just some simple materials and a little time. Imagine diving into your favorite games or exploring new worlds using something you built yourself. Keep reading, and you’ll discover step-by-step how to create your very own VR headset at home.
By the end, you’ll be ready to enjoy VR like never before.
Materials Needed
Gathering the right materials is the first step in making a VR headset cardboard. Choosing quality supplies ensures a better experience and durability. Keep everything organized before starting the build.
Cardboard Type
Select sturdy, thick cardboard for the headset body. Corrugated cardboard works best due to its strength and lightness. Avoid thin or flimsy cardboard, which can bend or tear easily. The cardboard should be clean and free from wrinkles or bends.
Lenses
Use two convex lenses for clear images and proper focus. Lenses with a diameter of around 40-45mm work well. Plastic or glass lenses can be used, but plastic is lighter and safer. Ensure the lenses have a focal length of about 45mm for optimal viewing.
Additional Supplies
- Velcro strips or elastic bands to secure the headset on your head.
- Double-sided tape or glue for assembling parts firmly.
- A cutting tool like a box cutter or scissors for precise cuts.
- A ruler and pencil to measure and mark the cardboard.
- Optional: foam padding for comfort around the eyes and nose.
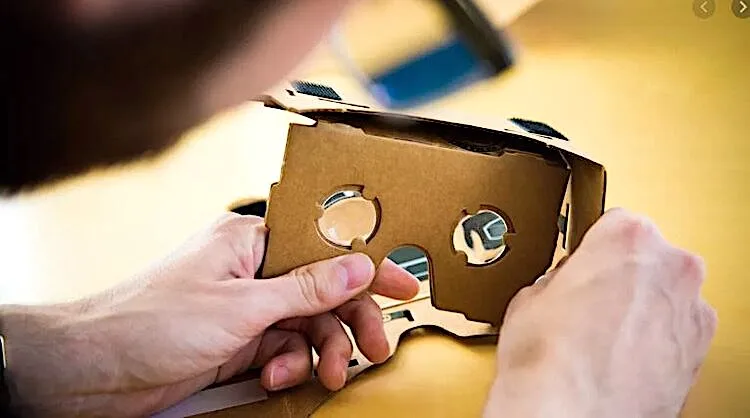
Credit: www.designnews.com
Preparing The Cardboard
Preparing the cardboard is a key part of making a VR headset. It shapes the headset’s structure. Use sturdy cardboard to hold the lenses and phone securely. Smooth, flat cardboard works best for a neat finish.
Cutting and folding the cardboard carefully helps the headset fit well. Precise work here ensures comfort and durability. Take your time to measure and score the cardboard before folding.
Cutting The Pieces
Start by marking the cardboard with a pencil. Use a ruler for straight lines. Cut all parts according to the template or design. Sharp scissors or a craft knife give clean edges. Cut slowly to avoid mistakes.
- Cut front and back panels
- Cut side pieces for depth
- Cut slots for lenses and phone
- Cut holes for buttons or straps
Keep the cut pieces organized for easy assembly later.
Scoring And Folding
Scoring helps fold cardboard neatly. Use a blunt edge or bone folder to score. Score along fold lines only. Do not cut through the cardboard. This makes folding easier and cleaner.
- Score all fold lines before folding
- Fold gently to avoid cracks
- Fold edges to create headset shape
- Check folds match your design
Well-scored and folded pieces fit together better. This ensures a strong, comfortable VR headset.
Assembling The Headset
Assembling the VR headset cardboard is a simple process that brings all parts together. It shapes the headset into a sturdy device ready for use. Focus on placing lenses correctly and making the structure firm. This ensures a clear view and comfortable fit during virtual reality experiences.
Attaching The Lenses
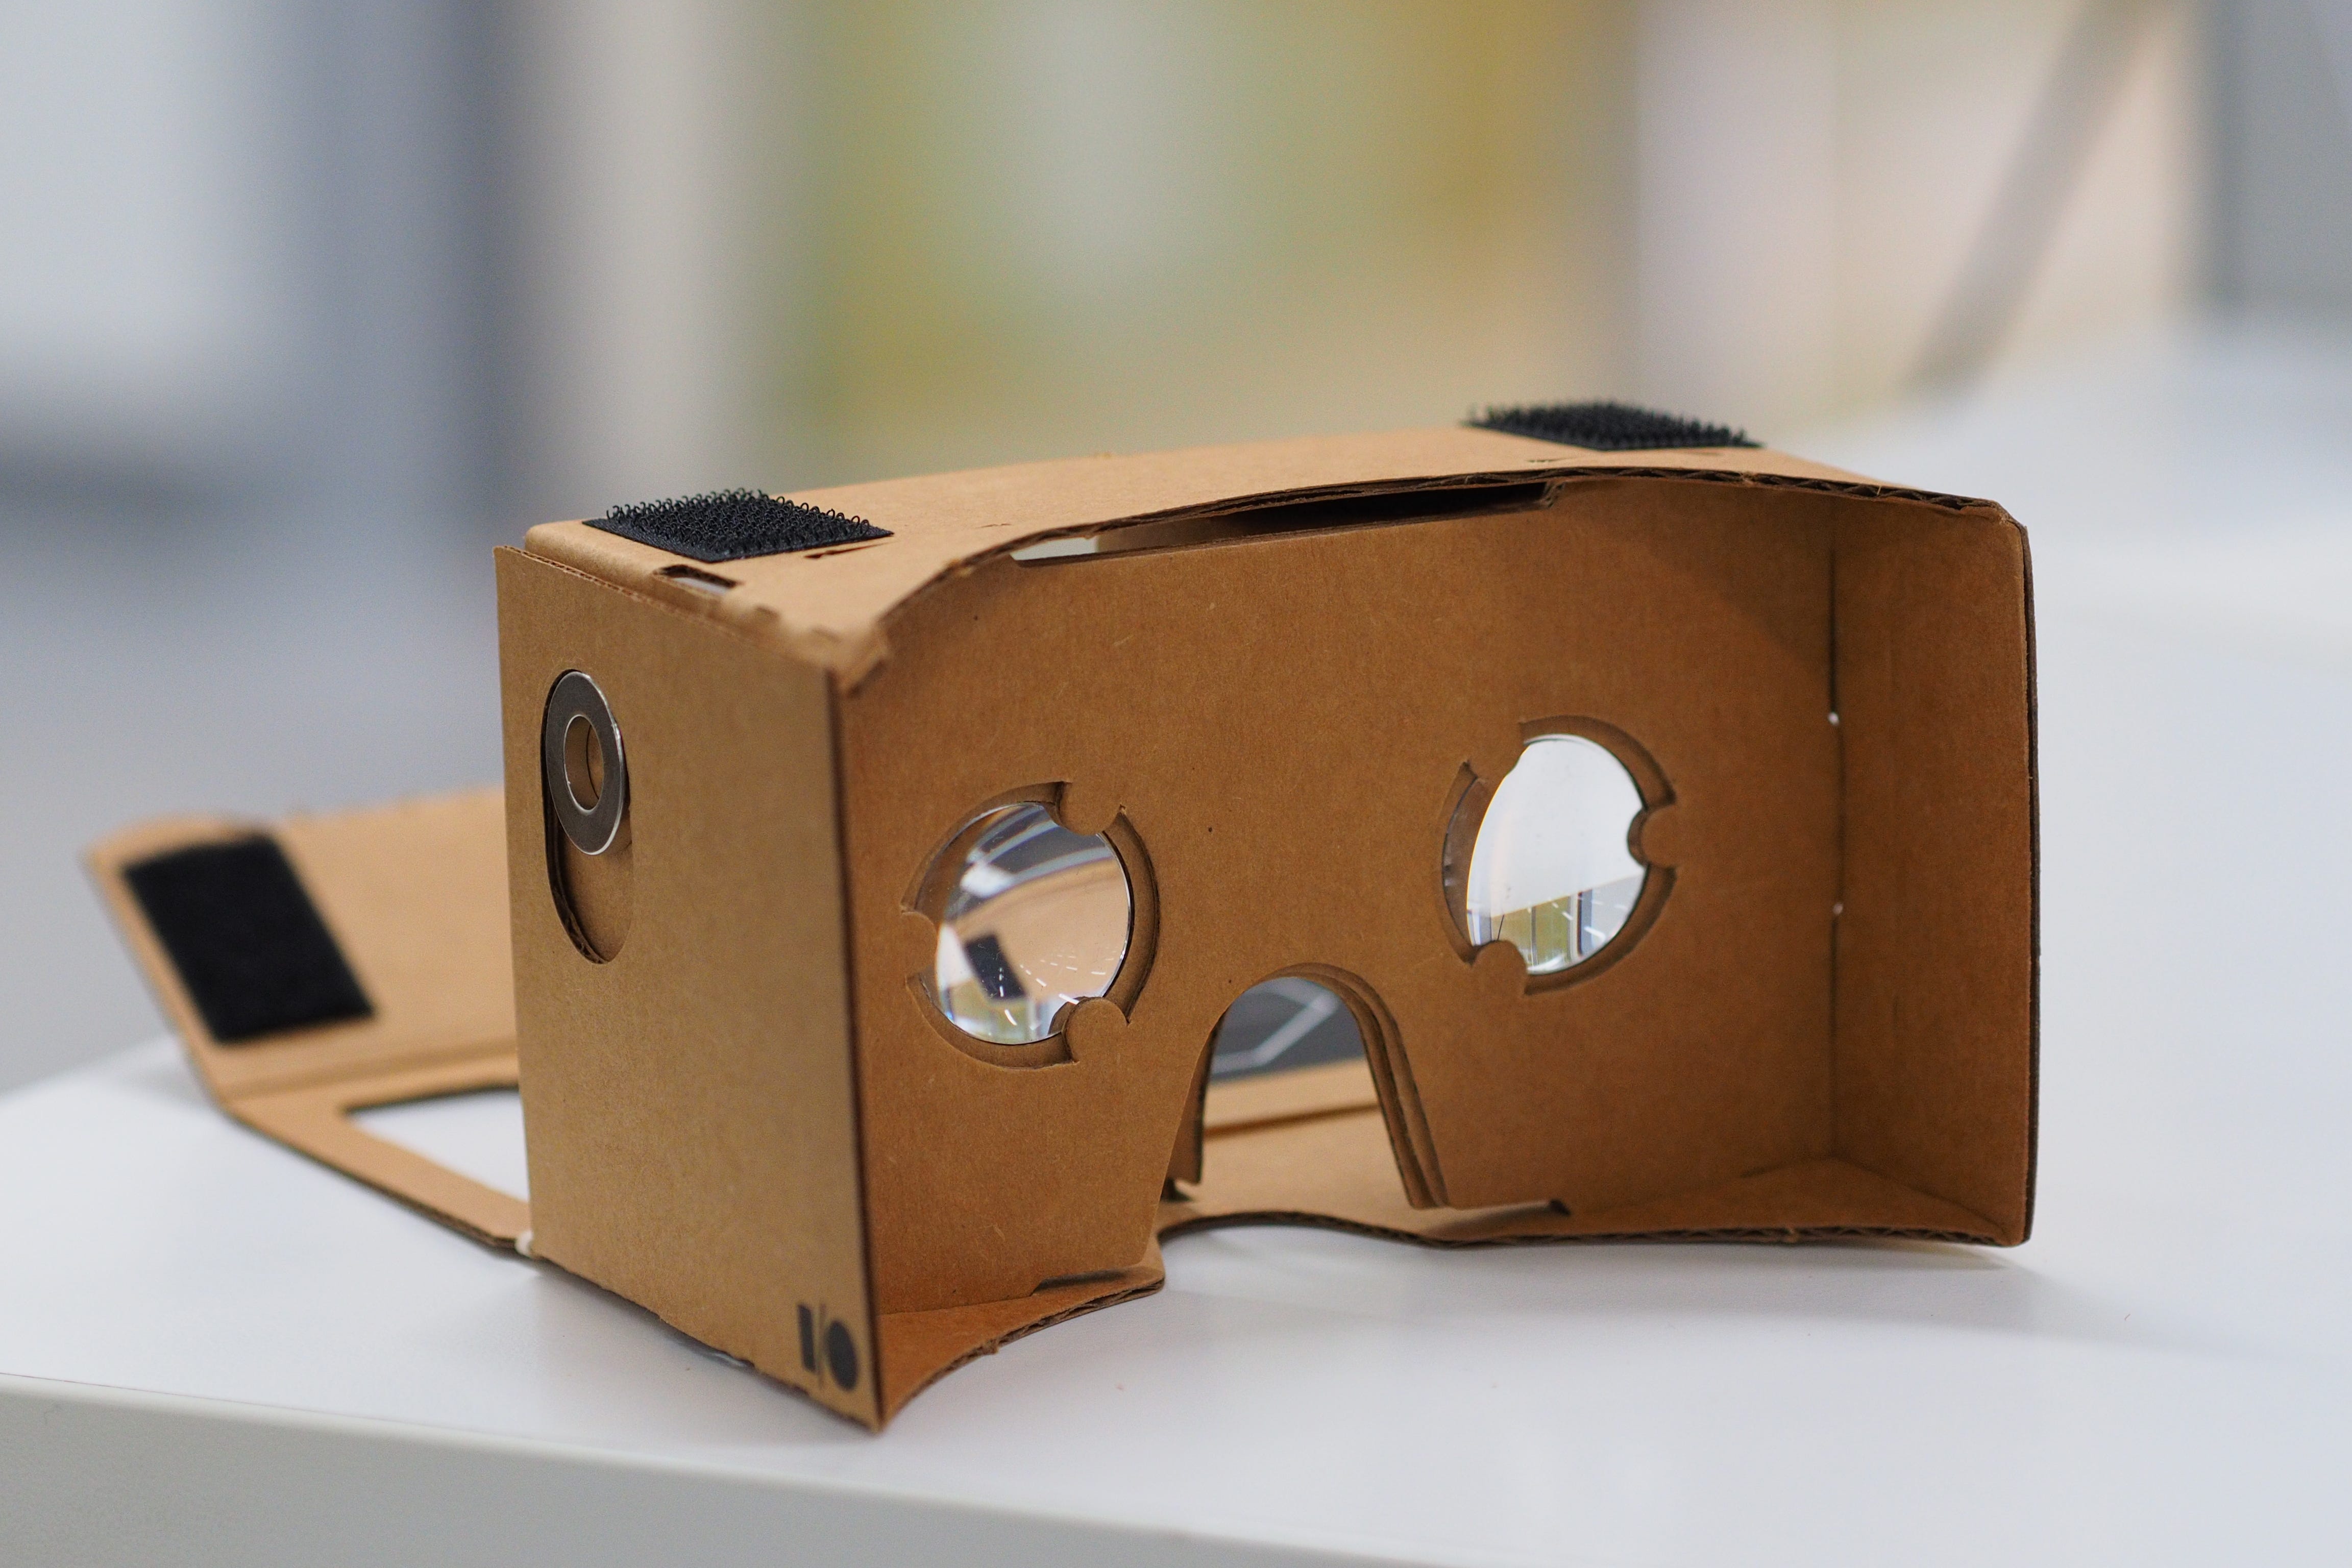
Place the lenses carefully inside the cardboard frame. Align them with the marked circles for the best focus. Use glue or double-sided tape to fix each lens firmly. Check that lenses do not move or tilt. Proper lens placement sharpens the image and reduces eye strain.
Securing The Structure
Fold the cardboard along the scored lines to form the headset shape. Lock tabs into slots to hold edges tightly together. Reinforce corners with extra tape for strength. Make sure the front flap closes snugly without gaps. A secure structure keeps the phone steady during use.
Adding Comfort Features
Adding comfort features to your DIY VR headset made from cardboard can make a huge difference in how long you enjoy your virtual adventures. Without comfort, even the best visuals can feel like a chore. Small tweaks can transform your headset from a simple gadget into a device you’ll want to wear again and again.
Padding Options
Padded areas reduce pressure on your face and prevent discomfort during longer VR sessions. You can use foam strips, memory foam, or even soft fabric scraps to cushion the edges where the headset touches your skin.
Try using adhesive-backed foam tape around the eye holes and nose bridge for a snug, gentle fit. If you want something softer, cut pieces from an old headphone ear pad or a soft sponge and glue them inside the headset.
Have you noticed how some headsets leave marks on your face? Adding padding solves that issue quickly and lets you focus on the experience instead of irritation.
Strap Installation
A secure strap keeps your cardboard headset stable and balanced on your head, preventing it from slipping during use. Elastic bands or adjustable Velcro straps work well for this purpose.
Attach the straps to the sides of your cardboard headset with strong tape or staples, making sure they’re positioned to hold the headset firmly but comfortably. You might need to experiment with strap length to find what fits your head best.
Think about how your headset feels after 10 minutes—does it shift or dig into your skin? Adjusting the strap can fix those problems and keep your VR experience immersive.
Setting Up Your Smartphone
Creating a VR headset from cardboard is a simple and fun project. Gather materials like cardboard, lenses, and adhesive. Cut and fold the cardboard to shape the headset, insert lenses, and secure with glue. This DIY approach makes virtual reality accessible and engaging for everyone.
Setting up your smartphone is a crucial step in transforming your cardboard into a VR headset. The magic lies in ensuring your device is perfectly configured for an immersive experience. Your smartphone acts as the engine that drives the VR experience, so you want to make sure it’s ready for the ride.Compatible Devices
Not all smartphones are created equal when it comes to VR compatibility. Most modern smartphones support VR, but it’s essential to check if yours is one of them. Make sure your device has a gyroscope and accelerometer, which are necessary for tracking movements in VR. Ensure your smartphone screen size fits within the cardboard slot. Usually, screen sizes between 4 and 6 inches work best. You can find apps that test VR compatibility in app stores. Try installing one to confirm your device’s readiness.Adjusting The Fit
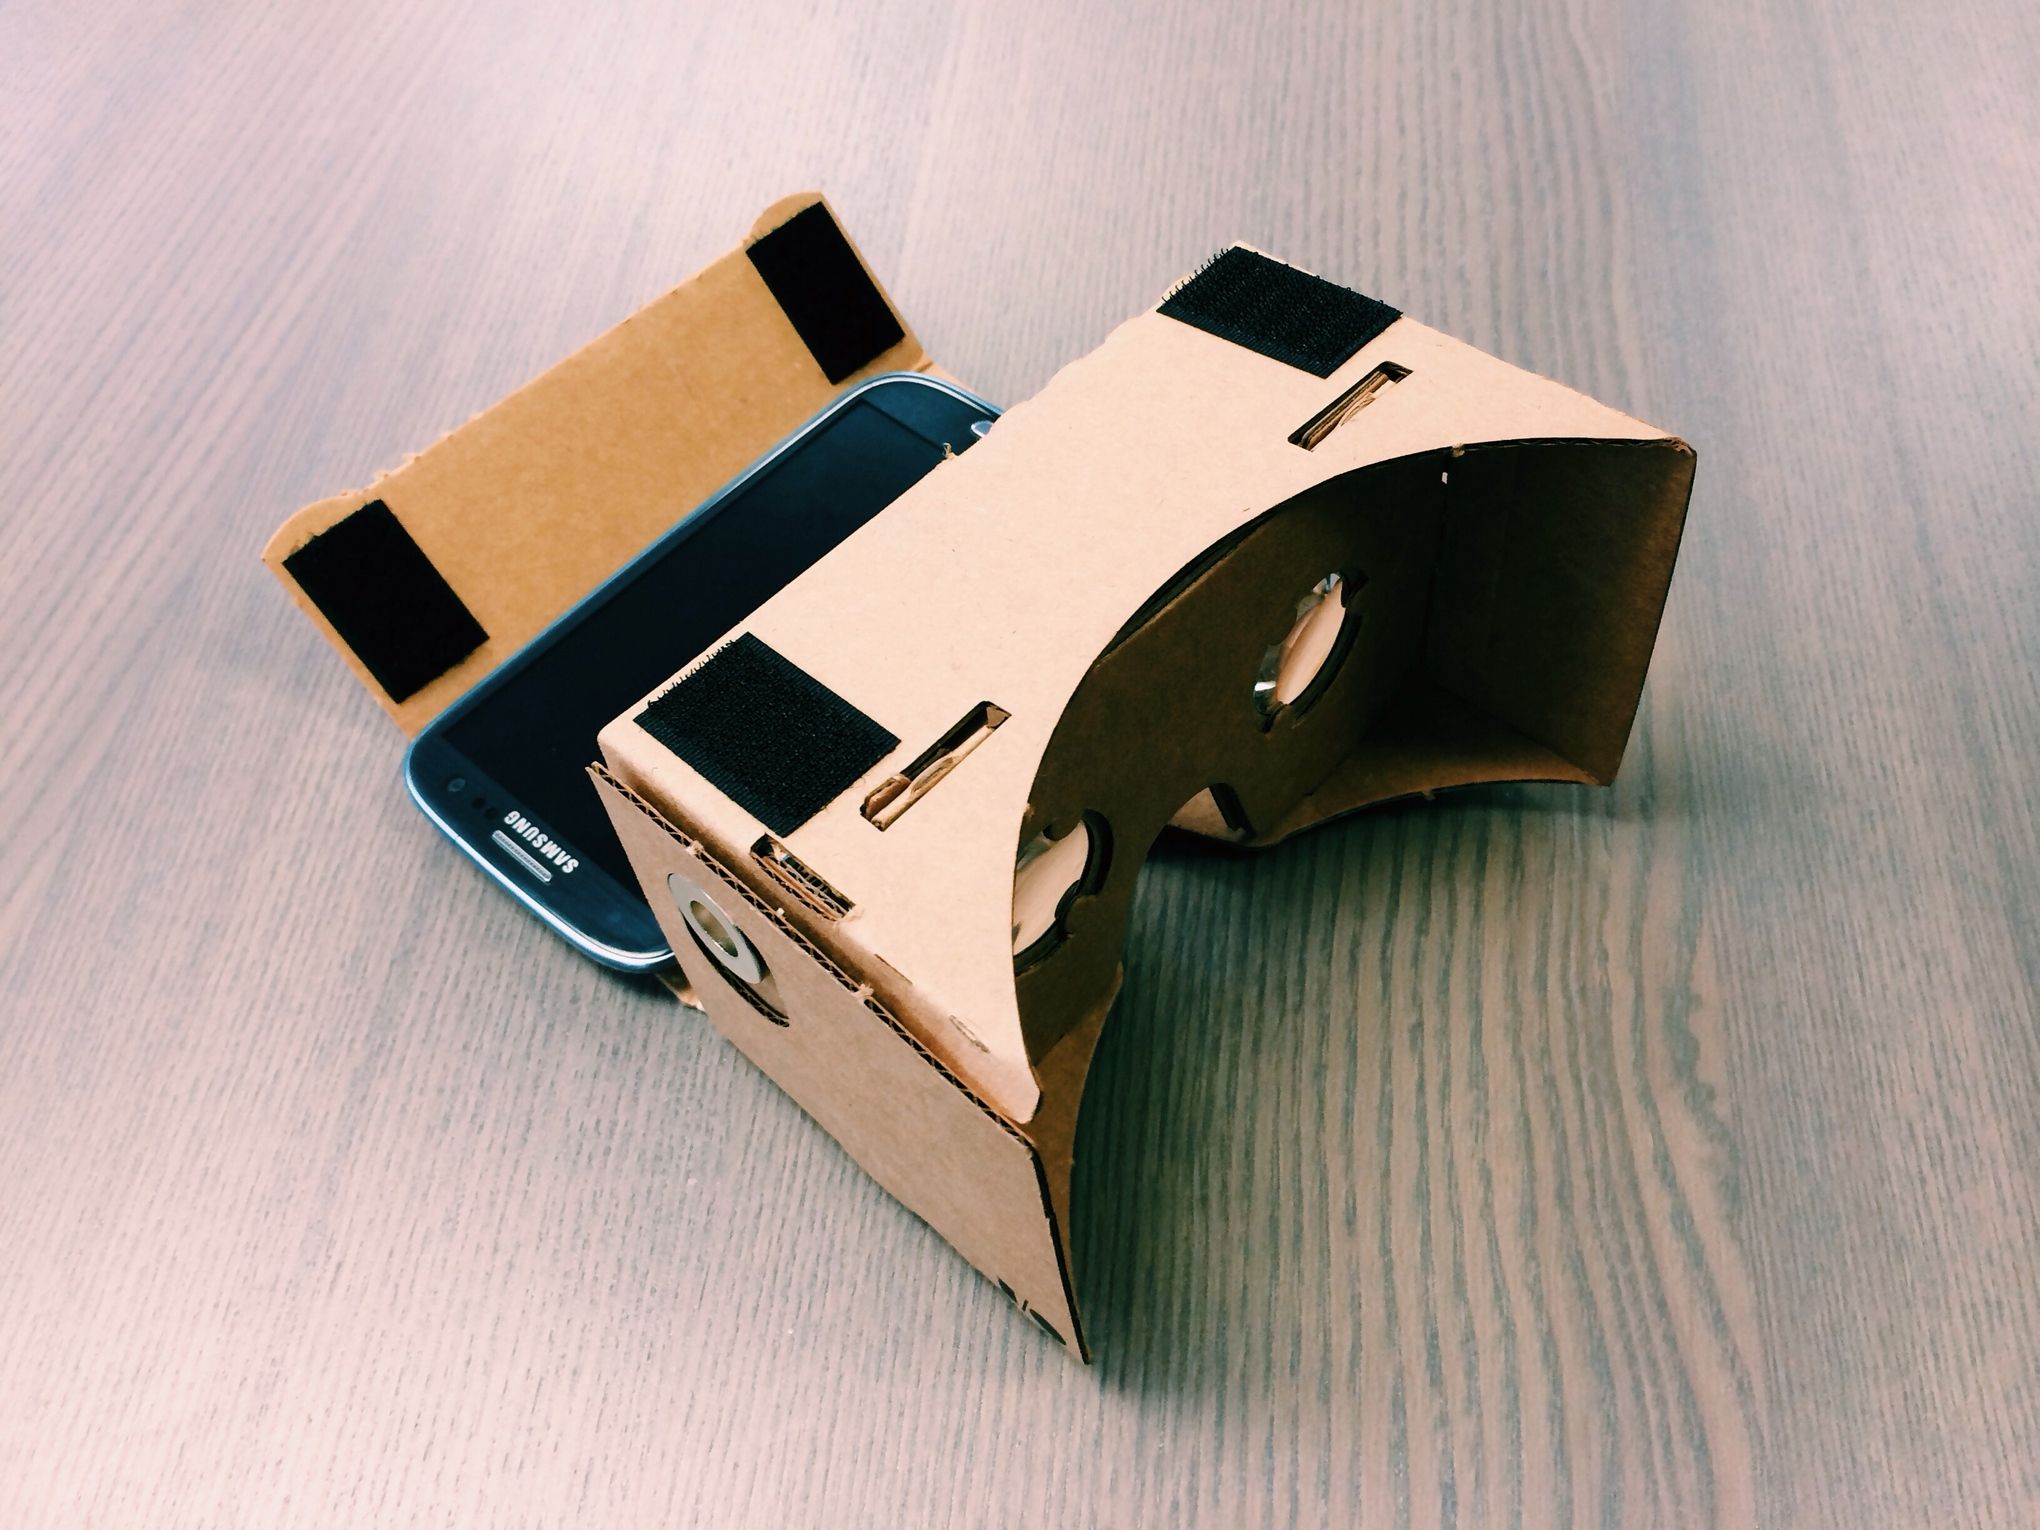
Once you’ve confirmed compatibility, it’s time to ensure a snug fit. A secure fit prevents your smartphone from slipping, which can disrupt your VR experience. Use rubber bands or velcro strips to hold your phone in place. Adjust the cardboard’s lenses to align with your eyes. Proper alignment enhances clarity and reduces strain. Experiment with adjustments until the view feels comfortable. Consider the weight and bulk of your setup. Does it feel comfortable on your head? Adjust the straps and padding if needed. Remember, a comfortable fit means longer, more enjoyable VR sessions. Are there any creative ways you’ve found to adjust the fit? Sharing tips and tricks can help others perfect their VR setup.Testing And Troubleshooting
Testing and troubleshooting are key steps after assembling your cardboard VR headset. These steps ensure your device works well and gives a clear virtual reality experience. Without proper testing, the images might look blurry or misaligned, causing discomfort.
Take time to check every part carefully. Small adjustments can make a big difference in how the VR feels and looks.
Image Alignment
Image alignment means making sure the two images for each eye match perfectly. This creates a 3D effect and prevents eye strain. To check alignment:
- Place your phone inside the headset securely.
- Look through the lenses at a VR app or video.
- Adjust the phone position slightly until the images overlap well.
- Ensure the center line of each eye’s image meets at the middle.
- Move the cardboard parts if images do not line up correctly.
Good alignment makes the VR experience smooth and clear.
Common Issues
Some issues may appear during testing. Watch for these common problems:
- Blurry images:Check lens distance and phone screen cleanliness.
- Double vision:Adjust phone position or lens spacing.
- Discomfort:Make sure the headset fits well on your face.
- Phone slipping:Secure the phone tightly inside the cardboard.
- Lens fogging:Wipe lenses gently and avoid tight spaces.
Try small fixes first. Each tweak can improve your VR use a lot.
Enhancements And Customization
Enhancing and customizing your cardboard VR headset makes the experience more personal and fun. Small changes can improve comfort, style, and even the quality of visuals. Creativity plays a big role in turning a simple headset into something unique.
Custom touches make your VR headset stand out. They also help it feel better to wear and use. Here are some easy ways to enhance your cardboard VR headset and make it truly yours.
Painting And Decorating
Painting your cardboard VR headset adds color and style. Use acrylic paints or markers to create patterns or designs. Let the paint dry completely before using the headset to avoid smudges.
- Choose bright colors for a vibrant look.
- Try stencils for neat shapes and logos.
- Add stickers or washi tape for extra flair.
- Use clear varnish to protect your artwork.
Decorating also helps protect the cardboard from wear and moisture. A unique design makes your VR headset easy to spot and hard to lose.
Upgrading Lenses
The lenses in a cardboard VR headset affect how clear and immersive the view is. Basic lenses work fine but upgrading can enhance the experience.
- Try larger lenses for a wider field of view.
- Use lenses with a higher quality glass or plastic.
- Adjust lens distance for sharper focus and less eye strain.
- Purchase VR lens kits online for easy upgrades.
Better lenses improve image clarity and reduce distortion. Experiment with different lenses to find what feels best for your eyes.
Credit: medium.com
Credit: www.polygon.com
Frequently Asked Questions
What Materials Are Needed To Make A Vr Headset Cardboard?
You need sturdy cardboard, lenses, Velcro strips, rubber bands, and glue. Also, a smartphone is required to view VR content. These materials are affordable and easy to find, making DIY VR headsets accessible for everyone.
How Do I Assemble A Cardboard Vr Headset?
Cut the cardboard following a VR headset template. Attach lenses inside the cardboard. Use Velcro or glue to secure parts. Insert your smartphone and adjust the headset for comfort and clear vision.
Can Any Smartphone Work With A Cardboard Vr Headset?
Most smartphones with gyroscope sensors and screen sizes between 4 to 6 inches work well. Ensure your phone supports VR apps for the best experience. Compatibility improves immersion and responsiveness in VR content.
How To Improve Comfort Of A Cardboard Vr Headset?
Add foam padding around edges for softness. Use adjustable straps to secure the headset firmly. Proper ventilation and lightweight materials also enhance comfort during longer VR sessions.
Conclusion
Making a VR headset from cardboard is simple and fun. It needs only a few materials and little time. You can enjoy watching videos or playing games in a new way. This project helps you learn how VR works. Try making one today and see the difference.
It’s a great way to explore virtual reality without spending much money. Give it a shot and enjoy your own VR experience!