
Are you tired of straining your neck and wrists while working on your laptop? Imagine having a simple solution that lets you adjust your laptop’s position effortlessly, making your workspace more comfortable and productive.
A swivel laptop stand can do just that—and the best part is, you can make one yourself! In this guide, you’ll discover easy steps to create a stylish, functional swivel stand tailored just for you. Ready to transform your workspace and boost your comfort?
Let’s dive in!
Benefits Of A Swivel Laptop Stand
A swivel laptop stand offers several key benefits that improve your work setup. It helps create a comfortable and efficient workspace. This simple tool supports better posture and easier device access. Here are some advantages of using a swivel laptop stand.
Improved Ergonomics
A swivel laptop stand allows you to adjust the laptop angle and height easily. This reduces neck and eye strain. It encourages proper wrist position while typing. Sitting upright prevents back pain. Ergonomic setups boost comfort during long work hours.
Enhanced Productivity
Rotating the laptop screen speeds up sharing and collaboration. It lets you switch between tasks smoothly. Quick adjustments reduce interruptions and keep focus. The stand keeps your laptop stable, making typing and navigation easier. This leads to faster and more efficient work.
Space Saving Design
The compact design frees up valuable desk space. You can store other essentials under or around the stand. It helps keep your workspace neat and organized. A tidy desk lowers distractions and makes work more pleasant. Perfect for small or cluttered areas.
Materials And Tools Needed
Embarking on the journey to craft your own swivel laptop stand is an exciting endeavor. The joy of customizing your workspace can be truly fulfilling, not to mention the practical benefits it brings. Before diving into the construction, gathering the right materials and tools is crucial to ensure a smooth and successful DIY project. Let’s explore the essentials you’ll need to bring your swivel laptop stand to life.
Essential Components
- Wood or Metal Base:Choose a sturdy material for the base; plywood is a popular choice for its durability and ease of handling.
- Swivel Mechanism:A lazy Susan bearing can serve as a perfect swivel mechanism, offering smooth rotation.
- Laptop Holder:Consider materials like acrylic or wood for the holder, ensuring it securely supports your laptop.
- Screws and Bolts:Gather various sizes to firmly attach components and ensure stability.
Recommended Tools
- Drill:An electric drill will be your best friend in creating precise holes for screws and bolts.
- Saw:A hand saw or circular saw, depending on your comfort level, helps in cutting wood or metal to the desired size.
- Screwdriver:Both flathead and Phillips screwdrivers are necessary for tightening screws.
- Measuring Tape:Accurate measurements are key to a well-fitted stand.
Optional Accessories
- Anti-slip Pads:Adding these under the base can prevent unwanted movement and protect surfaces.
- Cable Management Clips:Keep your workspace tidy by organizing laptop cables efficiently.
- Paint or Varnish:Customize the appearance of your stand with a personal touch.
Have you ever started a project only to realize halfway through that you’re missing a crucial component? It can be frustrating, but also a valuable learning experience. So, before you begin, double-check your materials and tools list. The right preparation can make the process not only smoother but also more enjoyable. Are there any accessories you think would make your laptop stand even better? Maybe a built-in cooling fan or a small shelf for your coffee mug? The possibilities are endless when you tailor your creation to suit your unique needs.
Choosing The Right Design
Choosing the right design for a swivel laptop stand shapes your comfort and productivity. The design affects how you use the stand daily. It controls your laptop’s angle, height, and movement. Selecting the best features helps avoid strain and improves your workspace.
Types Of Swivel Mechanisms
Swivel mechanisms allow your laptop to rotate smoothly. There are several common types:
- Ball joints:Offer multi-directional movement with easy adjustments.
- Pivot arms:Provide rotation mainly on one axis for precise control.
- Lazy Susan style:Let your laptop spin 360 degrees on a flat base.
Choose a mechanism that fits your work style and space. Smooth movement is key for easy repositioning.
Adjustable Height Options
Height adjustment is essential for ergonomic use. It helps align your screen with eye level. Common height options include:
- Fixed height:Simple but less flexible for different postures.
- Telescoping legs:Extend or shorten to your preferred height.
- Hydraulic or spring lift:Allow quick, smooth height changes.
Pick a design that lets you change height without hassle. This prevents neck and back pain.
Portability Considerations
Portability matters if you move your laptop stand often. Key factors to think about:
- Weight:Light stands are easier to carry and reposition.
- Foldability:Some stands fold flat for compact storage.
- Material:Durable but lightweight materials like aluminum or plastic work best.
Portable stands suit students, remote workers, and travelers. Balance sturdiness with ease of transport.

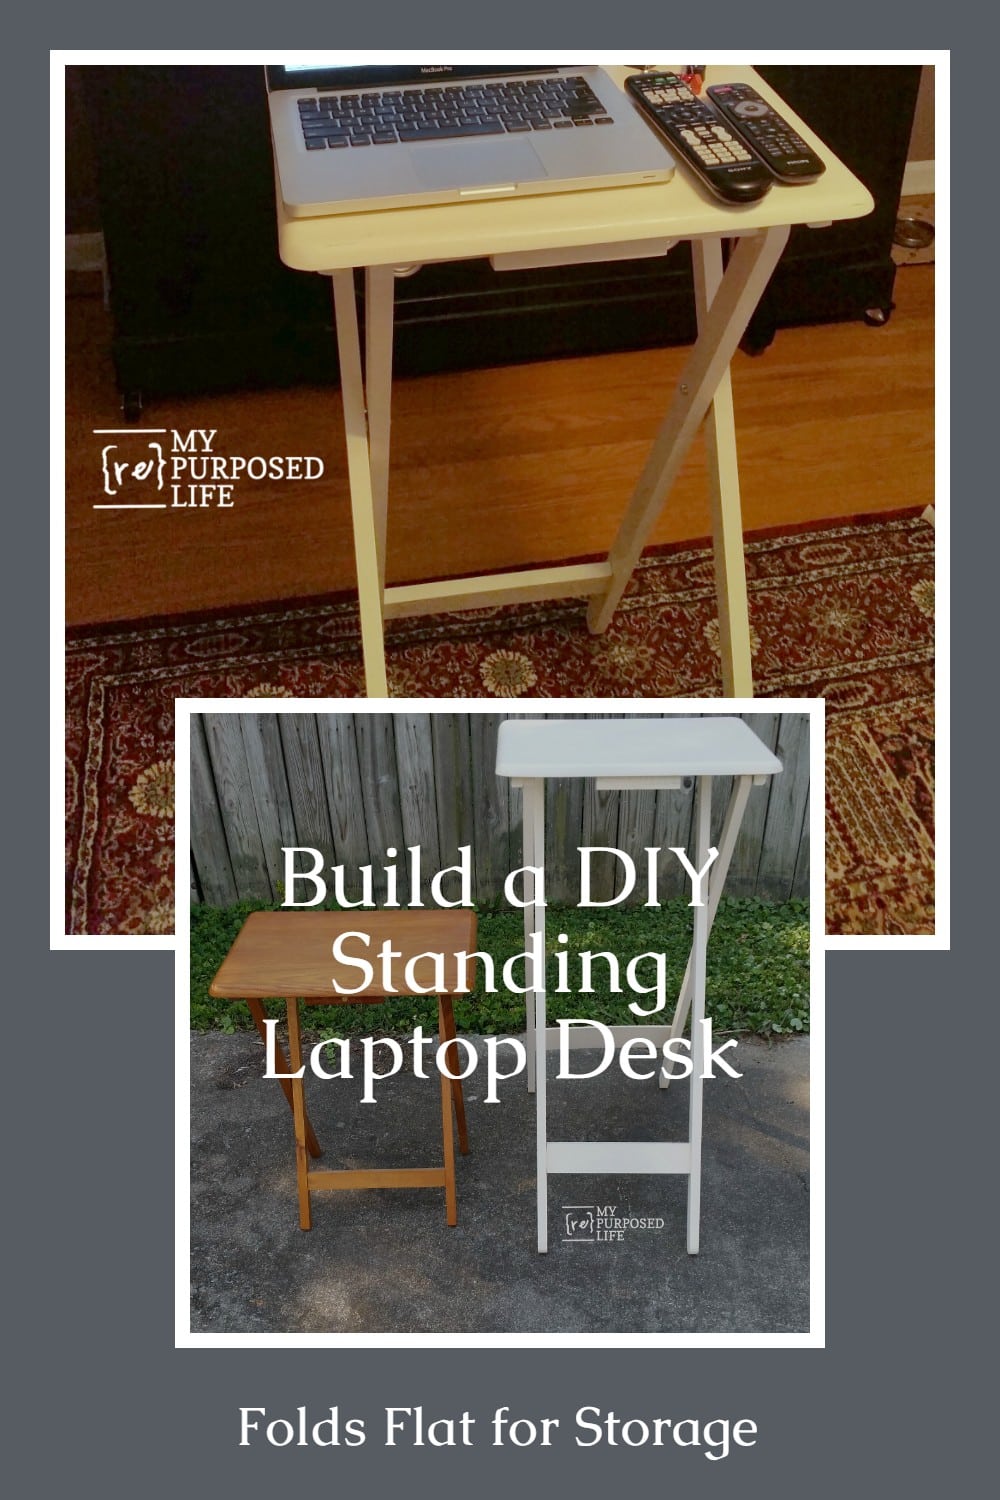
Credit: www.myrepurposedlife.com
Step-by-step Assembly Process
Building your own swivel laptop stand might seem tricky at first, but breaking it down into clear, manageable parts makes the process enjoyable and straightforward. Each part plays a crucial role in ensuring your stand is stable, functional, and smooth in movement. Let’s look closely at how you can assemble each component with confidence and precision.
Preparing The Base
Your base is the foundation of the entire stand. Start by choosing a sturdy piece of wood or metal plate that can support your laptop’s weight without wobbling.
Make sure the surface is flat and smooth to prevent any instability. If you want extra grip, add rubber pads or non-slip material underneath. Have you checked if your base size matches the swivel joint you plan to use? This small detail will save you time later.
Installing The Swivel Joint
The swivel joint gives your stand its signature rotating feature. Position the joint in the center of your base for balanced movement.
Secure it tightly using screws or bolts that fit the joint’s holes perfectly. Avoid overtightening, which can restrict rotation, but don’t leave it loose either. Test the swivel by gently twisting it; it should move smoothly without wobbling.
Mounting The Laptop Platform
Next, attach the platform where your laptop will sit. This can be a wooden board or metal tray sized to hold your device comfortably.
Align the platform’s mounting holes with the top part of the swivel joint. Use appropriate fasteners to secure it firmly. Consider drilling small holes to pass cables if you want a neat setup. Does your platform have enough ventilation space to keep your laptop cool?
Securing And Testing Movement
After assembling all parts, double-check every screw and bolt to ensure nothing is loose. This step is vital for safety and durability.
Move the platform through its full swivel range to confirm smooth rotation. If you notice any resistance or unusual noise, revisit the joint installation and adjust accordingly.
How does your stand feel when you adjust it? Comfortable and stable? If yes, you’ve successfully created a practical swivel laptop stand ready to improve your workspace.
Customizing Your Stand
Customizing your swivel laptop stand makes it truly yours. It improves usability and fits your workspace style. Small changes can boost comfort and protect your laptop. Focus on practical and aesthetic upgrades to enhance daily use.
Adding Cable Management
Keep your desk neat by adding cable management to the stand. Use clips or small hooks to hold cables in place. Attach them under the stand or along the edges. This prevents cords from tangling and keeps your workspace clean. Velcro straps also work well for bundling cables together.
Incorporating Cooling Features
Prevent your laptop from overheating by adding cooling features. Attach small fans to the stand to improve air circulation. Use a mesh surface or add ventilation holes for better airflow. Cooling pads or rubber feet can lift the laptop slightly, allowing heat to escape. These changes help keep your laptop safe and running smoothly.
Personalizing With Finishes
Make your stand look unique with different finishes. Paint it in your favorite color or use wood stain for a natural look. Add stickers or decals for personality. Smooth sanding and a clear coat protect the surface and make cleaning easy. Personal touches make your stand enjoyable to use every day.
Credit: www.myrepurposedlife.com
Tips For Safe Usage
Using a swivel laptop stand safely is key to protecting both your device and yourself. Small mistakes can lead to accidents or damage, so paying attention to safety tips will improve your experience. Here are some crucial points to keep in mind for safe usage.
Weight Limitations
Every swivel laptop stand has a maximum weight it can support. Ignoring this limit can cause the stand to wobble or collapse unexpectedly. Always check the stand’s specifications before placing your laptop on it.
If your laptop is heavier than the recommended weight, consider adding extra support or choosing a sturdier stand. Have you ever felt your stand tilt under the laptop’s weight? That’s a clear sign you need to rethink its capacity.
Maintaining Stability
Stability is essential for a smooth swivel and to prevent accidents. Place the stand on a flat, hard surface to avoid tipping. Avoid using it on soft surfaces like beds or couches, which can make it unstable.
Make sure all screws and joints are tight before each use. If the stand feels loose or wobbly, tighten it immediately or stop using it until fixed. A steady base keeps your laptop secure and your workspace safe.
Cleaning And Maintenance
Regular cleaning helps maintain the stand’s performance and longevity. Dust and debris can build up around the swivel joint, causing it to stick or wear out faster. Use a dry cloth or a small brush to clean these areas gently.
Lubricate moving parts occasionally with a silicone-based spray to keep the swivel action smooth. Avoid harsh chemicals that can damage the material or finish. A well-maintained stand not only looks better but also works better for you.
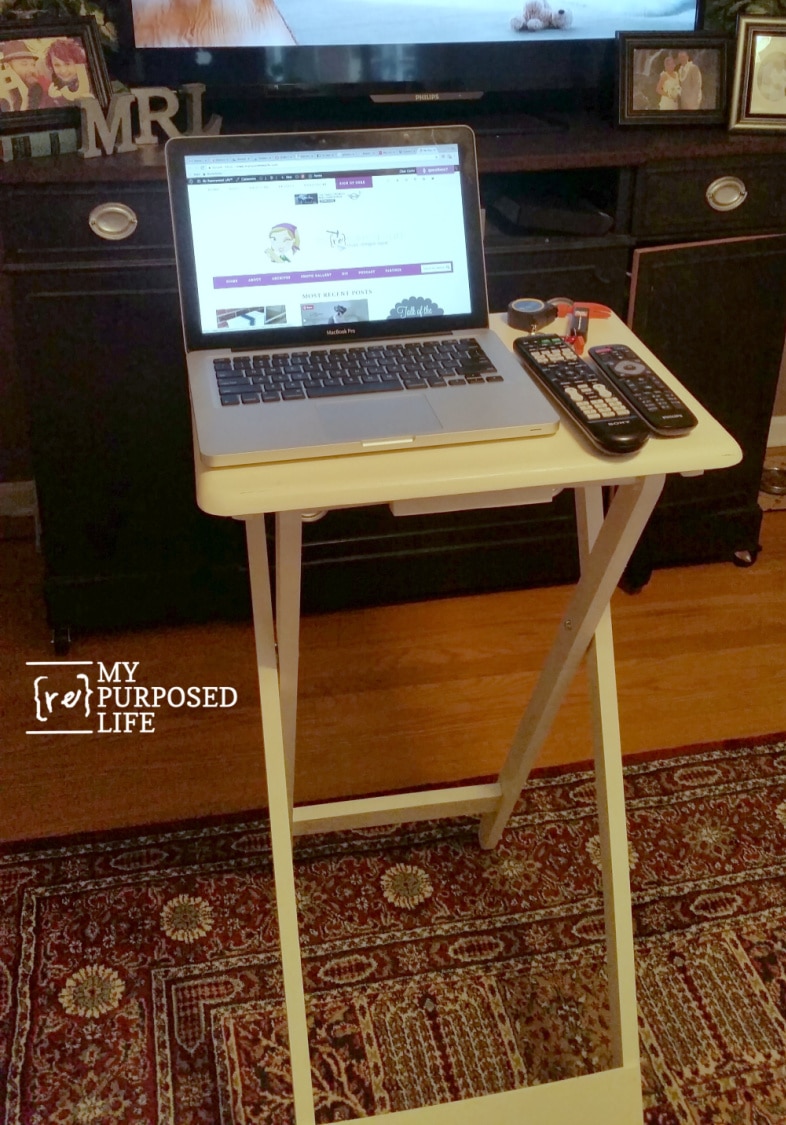
Credit: www.myrepurposedlife.com
Frequently Asked Questions
How Do I Make A Swivel Laptop Stand At Home?
To make a swivel laptop stand, gather materials like wood or metal. Cut pieces to size, assemble a rotating base, and attach a platform. Ensure smooth rotation and sturdy support for your laptop. Follow a step-by-step guide for best results.
What Materials Are Needed For A Swivel Laptop Stand?
You need plywood or metal sheets, screws, a swivel mechanism, and tools like a drill and screwdriver. Choose lightweight but strong materials to support your laptop securely. Quality materials ensure durability and smooth swivel movement.
How Can A Swivel Laptop Stand Improve Ergonomics?
A swivel laptop stand allows easy screen adjustment, reducing neck and eye strain. It promotes better posture by positioning the laptop at eye level. This helps prevent back pain and enhances comfort during long work sessions.
Is Building A Swivel Laptop Stand Cost-effective?
Yes, building your own swivel laptop stand is budget-friendly. It costs less than buying a ready-made stand. Plus, DIY stands can be customized to your exact needs and preferences, saving money and increasing satisfaction.
Conclusion
Building a swivel laptop stand is simple and useful. You can save space and work more comfortably. It helps keep your laptop at the right angle. Using basic tools and materials makes the task easy. Try making one yourself to enjoy better work setup.
Small changes can improve your daily routine a lot. Give it a go and see the difference it makes.