
Are you struggling to connect your laptop to a projector? Whether you’re preparing for an important presentation or just want to share your screen with a bigger audience, getting the connection right can feel tricky.
But don’t worry—this guide will walk you through simple, clear steps to hook up your laptop to any projector quickly and easily. By the end, you’ll feel confident and ready to impress everyone with your smooth setup. Keep reading, and let’s make your next presentation hassle-free!

Credit: toumeiprojector.com
Choose The Right Cable
Choosing the right cable is the first step to successfully connecting your laptop to a projector. The cable you pick affects the quality of the image and the ease of setup. Understanding the common connection types helps you avoid frustration and ensures a smooth presentation.
Hdmi Connections
HDMI is the most popular cable for connecting laptops to projectors. It carries both video and audio signals through a single cable, reducing clutter. Most modern laptops and projectors support HDMI, making it a reliable choice.
Have you ever struggled with multiple cables just to get sound and picture working? HDMI solves that by combining everything into one connection. If your projector supports it, always opt for HDMI for clear, crisp images and sound.
Vga And Dvi Options
Older projectors and laptops might still rely on VGA or DVI ports. VGA transmits video only, so you’ll need a separate audio cable if sound is required. DVI also focuses on video but can provide higher quality than VGA.
If your laptop has only VGA or DVI, don’t worry. You can find adapters that convert these signals to HDMI if needed. Just remember, VGA connections may produce a lower resolution image, which can affect the sharpness of your presentation.
Using Usb-c Or Displayport
Many newer laptops feature USB-C or DisplayPort for video output. These ports support high resolutions and can carry audio as well. USB-C is especially convenient if your projector or adapter supports it, allowing you to use a single cable for power and display.
Have you checked your laptop’s ports lately? Sometimes, a USB-C to HDMI adapter is all you need to connect to most projectors. Using the right adapter ensures your display looks great and your connection stays stable throughout your presentation.

Credit: www.youtube.com
Prepare Your Laptop
Preparing your laptop before connecting it to a projector can save you a lot of hassle. It ensures that the display works smoothly and your presentation looks professional. Taking a few minutes to check your settings and update necessary software can prevent last-minute glitches.
Check Display Settings
Start by opening your laptop’s display settings. You want to make sure your screen is set to either duplicate or extend mode, depending on how you want to use the projector.
- Duplicate modeshows the same content on both your laptop and the projector.
- Extend modelets you use the projector as a second screen, giving you more workspace.
Adjust the screen resolution if the projector displays a blurry or distorted image. Usually, matching the projector’s native resolution gives the best results. Have you ever struggled with a fuzzy projection? This step often fixes that problem instantly.
Update Graphics Drivers
Outdated graphics drivers can cause connection problems or poor display quality. Check your laptop’s device manager or system preferences to see if updates are available.
Installing the latest drivers ensures compatibility with modern projectors and can improve performance. It only takes a few minutes but can prevent frustrating issues like no image or flickering screens.
Think about the last time your laptop suddenly failed to project correctly. Most likely, a quick driver update would have solved the issue. Keeping your drivers current keeps your setup ready for any presentation scenario.
Connect Laptop To Projector
Connecting your laptop to a projector is simple and quick. It allows you to share presentations, videos, or any content on a larger screen. Knowing the right steps helps avoid delays and technical issues.
Plugging In The Cable
Start by identifying the correct cable for your devices. Common types include HDMI, VGA, and USB-C. Match the cable ports on both the laptop and the projector.
- Insert one end of the cable into the laptop port.
- Connect the other end to the projector port firmly.
- Check that the cable fits snugly without forcing it.
Use an adapter if your laptop and projector have different ports. Keep cables organized to prevent tripping or disconnection.
Powering On Devices
Turn on the projector first. Wait for it to complete its startup process. Then, power on your laptop.
The laptop should detect the projector automatically. If not, adjust the display settings manually. This ensures the image appears on the projector screen.
Adjust Display Modes
Adjusting display modes is key for a clear and effective projection. It changes how your laptop screen and projector work together. Choosing the right mode helps you share your content easily. It also controls what your audience sees on the big screen.
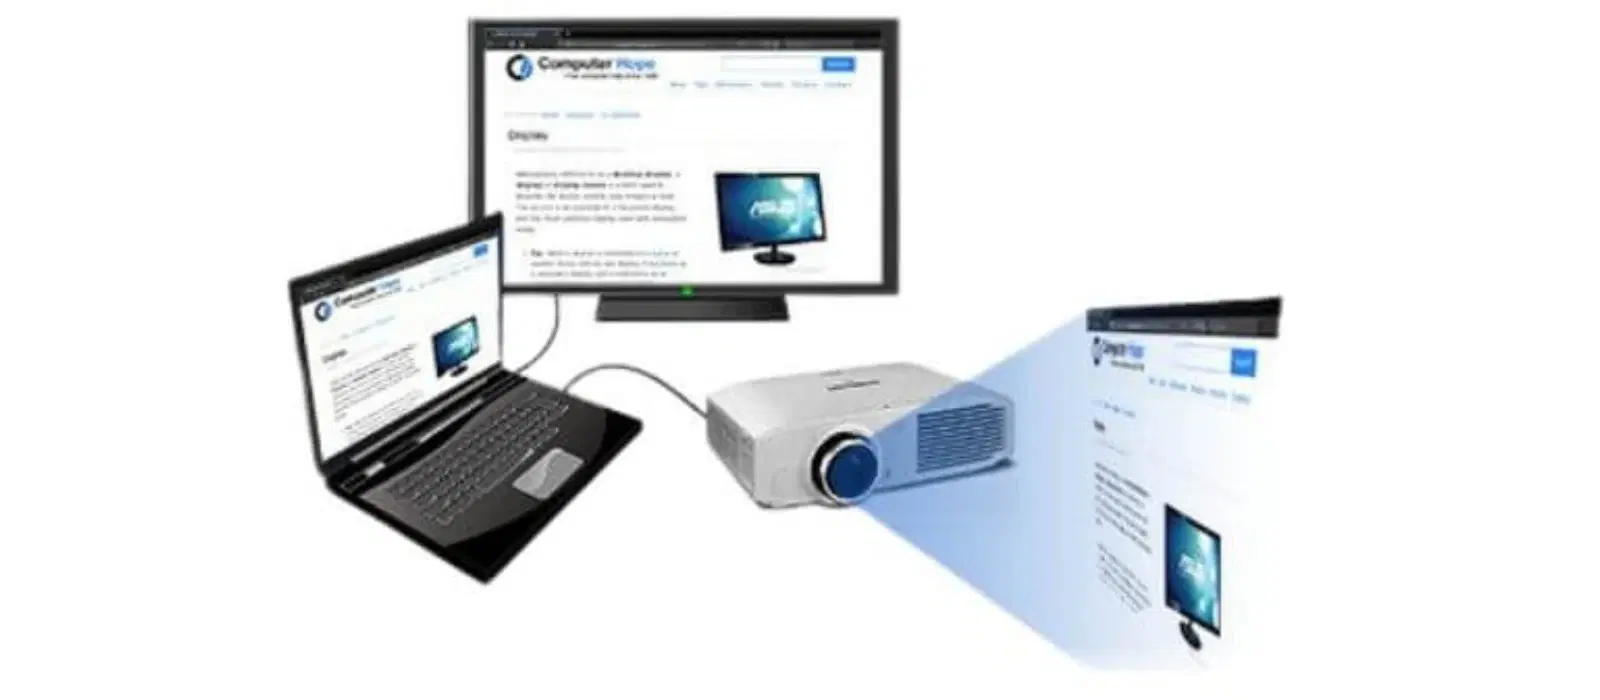
Different modes fit different situations. Some show the same image on both screens. Others make the projector an extra screen. You can also use the projector alone if needed. Let’s explore these common display modes.
Duplicate Screen
Duplicate screen shows the exact same image on your laptop and projector. Both screens display the same content at once. This mode is great for presentations where you want to see what your audience sees. It keeps things simple and clear.
Extend Screen
Extend screen turns the projector into a second monitor. You get more space to work with. You can drag windows between your laptop and the projector. This mode is useful for multitasking or showing different content on each screen.
Projector Only
Projector only mode turns off your laptop screen. Only the projector shows your content. This saves laptop battery and focuses attention on the big screen. It works well for full-screen videos or presentations.
Fix Common Issues
Connecting a laptop to a projector can be simple. Yet, you might face some common issues that can halt your presentation. Fixing these problems quickly ensures a smooth experience. Whether it’s a blank screen or audio hiccups, knowing how to troubleshoot can save the day.
No Signal From Projector
A blank screen can be frustrating. First, check all cable connections. Ensure they’re secure and connected correctly. Try using a different cable if possible. Make sure the projector is set to the right input source. Sometimes, a simple restart of both devices can resolve the issue.
Resolution Problems
Blurry images or incorrect display sizes are common. Adjust the resolution settings on your laptop. Match them to your projector’s specifications. Navigate to display settings and tweak the resolution. Sometimes, changing the aspect ratio can fix the problem.
Audio Troubleshooting
Sound issues can disrupt your presentation. Check if your laptop is muted. Ensure the volume is turned up. Verify audio cables are connected properly. If using HDMI, confirm it’s transmitting audio. Test sound settings on both devices to ensure they’re working.
Credit: www.tataneu.com
Wireless Connection Options
Connecting your laptop to a projector without wires offers great freedom. You can move around the room and avoid cable clutter. Wireless connections use your Wi-Fi or special devices to send video and sound. These options suit presentations, movies, and meetings. Two popular ways to connect wirelessly are screen mirroring and wireless HDMI adapters. Both have simple setup and work well with many devices.
Using Screen Mirroring
Screen mirroring copies your laptop screen onto the projector. It uses Wi-Fi to send the image in real time. Many laptops and projectors support this feature.
- Check that both devices connect to the same Wi-Fi network.
- On your laptop, open display settings and choose “Connect to a wireless display.”
- Select the projector from the list of available devices.
- Wait for the connection to establish and the screen to appear.
This method works best for short distances and stable Wi-Fi. It is ideal for streaming videos, slideshows, or desktop sharing. Some projectors may require an app to enable mirroring.
Wireless Hdmi Adapters
Wireless HDMI adapters transmit high-definition video and audio without cables. They plug into your laptop’s HDMI port and the projector’s HDMI input.
- Connect the transmitter to the laptop.
- Plug the receiver into the projector.
- Power both devices, usually via USB or batteries.
- The signal pairs automatically or with a button press.
This solution offers high-quality video and low delay. It works well in rooms without Wi-Fi or with strict network rules. Wireless HDMI adapters provide a stable and simple connection.
Frequently Asked Questions
How Do I Connect A Laptop To A Projector?
Use an HDMI or VGA cable to connect the laptop to the projector. Select the correct input source on the projector for display.
What Cable Type Works Best For Laptop Projectors?
HDMI cables provide high-quality video and audio. VGA cables work for older projectors but only transmit video.
How To Mirror Laptop Screen On A Projector?
Press Windows+P on Windows or use Display Preferences on Mac. Choose “Duplicate” or “Mirror” to show the same screen.
Why Isn’t My Laptop Detecting The Projector?
Check cable connections and input source. Update display drivers or restart the laptop and projector to fix detection.
Conclusion
Connecting your laptop to a projector is easier than it seems. Choose the right cable or adapter first. Then, connect both devices and switch to the correct input. Adjust the display settings on your laptop for the best view. Test the connection before your presentation or movie starts.
With these simple steps, you can share your screen with a bigger audience. No need to worry about technical problems anymore. Just follow the guide and enjoy clear, bright images on any projector.