
Have you ever applied a screen protector only to find annoying bubbles trapped underneath? Those tiny air pockets can ruin the look of your device and make the screen hard to use.
But don’t worry—you don’t have to live with them. You’ll discover simple, effective ways to get the bubbles out of your screen protector fast. Keep reading, and you’ll learn easy tricks that save your screen’s clarity and give your device a smooth, flawless finish.
Causes Of Bubbles
Bubbles under a screen protector are more than just a minor annoyance—they can affect touch sensitivity and screen clarity. Understanding what causes these bubbles can help you avoid them or fix the problem quickly. Let’s look at the main reasons why bubbles appear and how they sneak in during the application process.
Dust And Debris
Even a tiny speck of dust can trap air when you apply a screen protector. This creates visible bubbles that are hard to remove without lifting the protector. Before application, make sure your screen is spotless by using a microfiber cloth and cleaning wipes.
Have you ever tried applying a screen protector in a dusty room only to find bubbles right away? It’s frustrating, but it’s a good reminder that a clean environment matters as much as a clean screen.
Improper Application
Rushing through the installation or not aligning the protector correctly often causes bubbles. Pressing down unevenly or peeling off the backing too fast can trap air pockets. Taking your time and following the instructions carefully makes a big difference.
Try applying the protector slowly from one edge to the other, using a card or squeegee to push out air as you go. This simple technique can reduce bubbles significantly.
Screen Protector Quality
Lower-quality protectors may not adhere smoothly or have uneven adhesive layers, leading to bubbles. Sometimes, cheaper materials don’t conform well to curved screens or edges. Investing in a reliable, well-reviewed protector saves you time and hassle.
Have you noticed how premium protectors often come with better installation kits? That extra cost upfront can prevent the annoying bubble problem later on.
Tools You’ll Need
Getting rid of bubbles under your screen protector can feel tricky without the right tools. Having a few simple items on hand makes the process smoother and more effective. These tools help you press out bubbles gently and keep your screen clean for a flawless finish.
Microfiber Cloth
A microfiber cloth is essential for cleaning your screen before applying the protector. It removes dust, fingerprints, and oils that cause bubbles to form later. I once skipped this step and struggled with tiny bubbles that wouldn’t budge—don’t make the same mistake!
Use the cloth to wipe your screen thoroughly and ensure it’s completely dry. This simple step sets a perfect foundation for bubble-free application.
Credit Card Or Squeegee
To push out bubbles, a smooth, flat edge is your best friend. A credit card wrapped in a soft cloth or a dedicated squeegee works perfectly. These tools help you apply even pressure without scratching the screen protector.
Move the card slowly from the center toward the edges. This technique forces trapped air out and smooths the protector in place.
Tape
Tape is surprisingly useful for removing tiny dust particles that cause bubbles. Use a small piece of tape to dab the screen or protector and lift away any stubborn specks. This step is especially helpful if you notice persistent bubbles right after application.
Keep some tape handy to spot-check for dust during the process. It’s a simple trick that can save you a lot of frustration.
Step-by-step Bubble Removal
Bubbles under a screen protector can be annoying and affect touch sensitivity. Removing them is simple with the right steps. Follow this guide to clear bubbles and enjoy a smooth screen.
Clean The Screen
Start by wiping the screen with a soft cloth. Use a little rubbing alcohol or screen cleaner. Remove all dust, dirt, and oil. A clean surface helps the protector stick well. Even tiny particles can cause bubbles.
Lift And Reapply The Protector
Gently lift the protector from the screen corner. Avoid touching the sticky side. Slowly place it back, aligning it carefully. This lets trapped air escape. Work from one edge to the other for better results.
Use A Card To Push Out Bubbles
Take a credit card or a similar flat tool. Wrap it in a soft cloth to avoid scratches. Press the card firmly against the screen. Push bubbles toward the edges slowly. Repeat until all bubbles disappear.
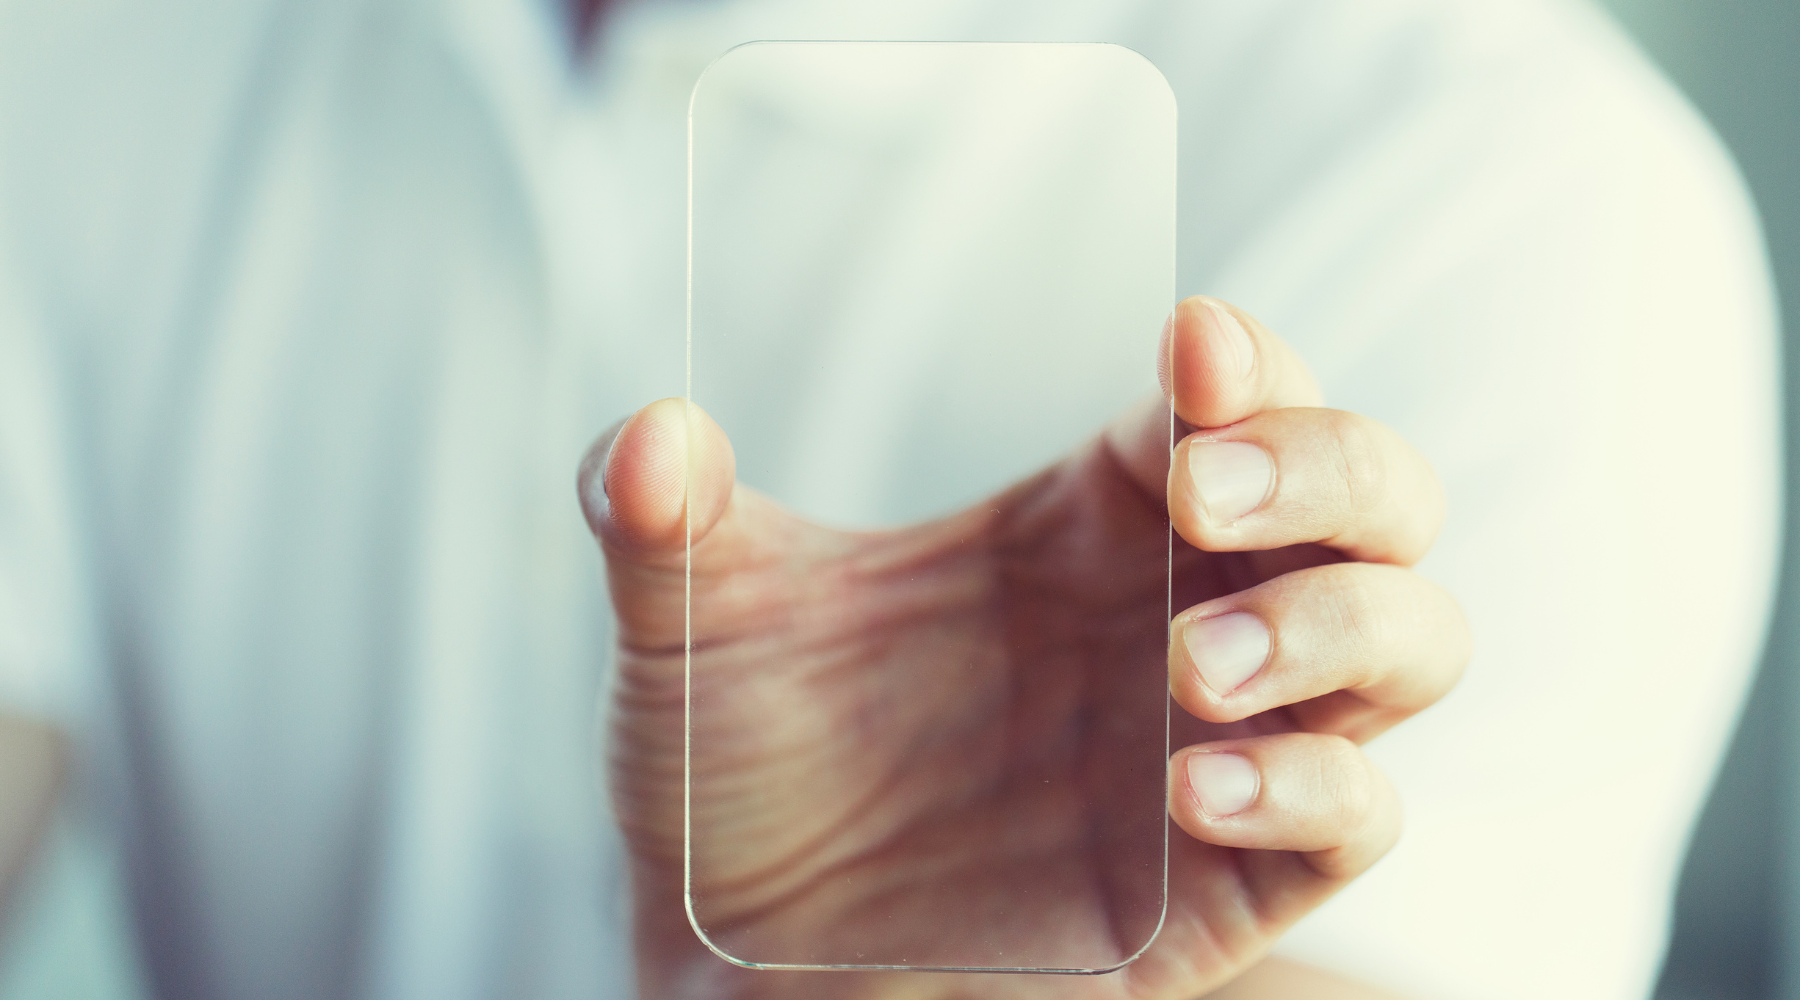
Credit: saharacase.com
Fixing Stubborn Bubbles
Stubborn bubbles can spoil the smooth look of your screen protector. They often hide under the edges or cling tightly to the glass. Fixing these bubbles takes care and patience. The right tools and techniques help push air out without damaging the protector.
Use Tape To Lift Edges
Grab a small piece of clear tape. Stick it to the edge of the screen protector near the bubble. Gently pull the tape to lift the protector slightly. Avoid lifting it too far to stop dust from entering.
Once the edge is lifted, press out the bubble with a soft cloth or card. Move slowly from the center toward the edge. This pushes trapped air out and smooths the surface. After the bubble disappears, press the edge down firmly.
Apply Heat For Better Adhesion
Warm air softens the adhesive on many screen protectors. Use a hairdryer on low heat. Hold it about six inches away from the screen. Move it evenly over the bubble for 20-30 seconds.
After warming, press the bubble gently with a soft cloth or card. The heat helps the protector stick better and release trapped air. Repeat heating and pressing if the bubble remains. Be careful not to overheat and damage the screen or protector.
Preventing Future Bubbles
Gently lift the screen protector edge and push bubbles toward the edge using a soft card. Avoid dust and clean the surface before applying to reduce bubbles. Applying slowly and evenly helps keep the screen clear and smooth.
Preventing future bubbles on your screen protector is essential for a clear display. Nobody wants pesky bubbles distracting them. Follow these tips for a smooth application and bubble-free experience.Choose High-quality Protectors
Invest in a screen protector that uses premium materials. High-quality protectors adhere better to your device. They offer better resistance to bubbling. Low-cost options often lead to frustration and bubbles. A reliable brand ensures fewer defects and better results. Check reviews for user experiences before purchasing.Apply In A Dust-free Environment
Dust is a major culprit in creating bubbles. Find a clean space to apply the protector. A bathroom after a hot shower works well due to steam reducing dust. Wipe surfaces clean and keep doors closed to minimize airborne particles. A dust-free area ensures better adhesion and fewer bubbles.Take Your Time During Application
Rushing leads to mistakes. Take your time to align the protector properly. Start from one edge and slowly press down. Use a card to smooth out bubbles as you go. Patience is key. Ensure each section is bubble-free before moving to the next. This method reduces air pockets and ensures a smooth finish.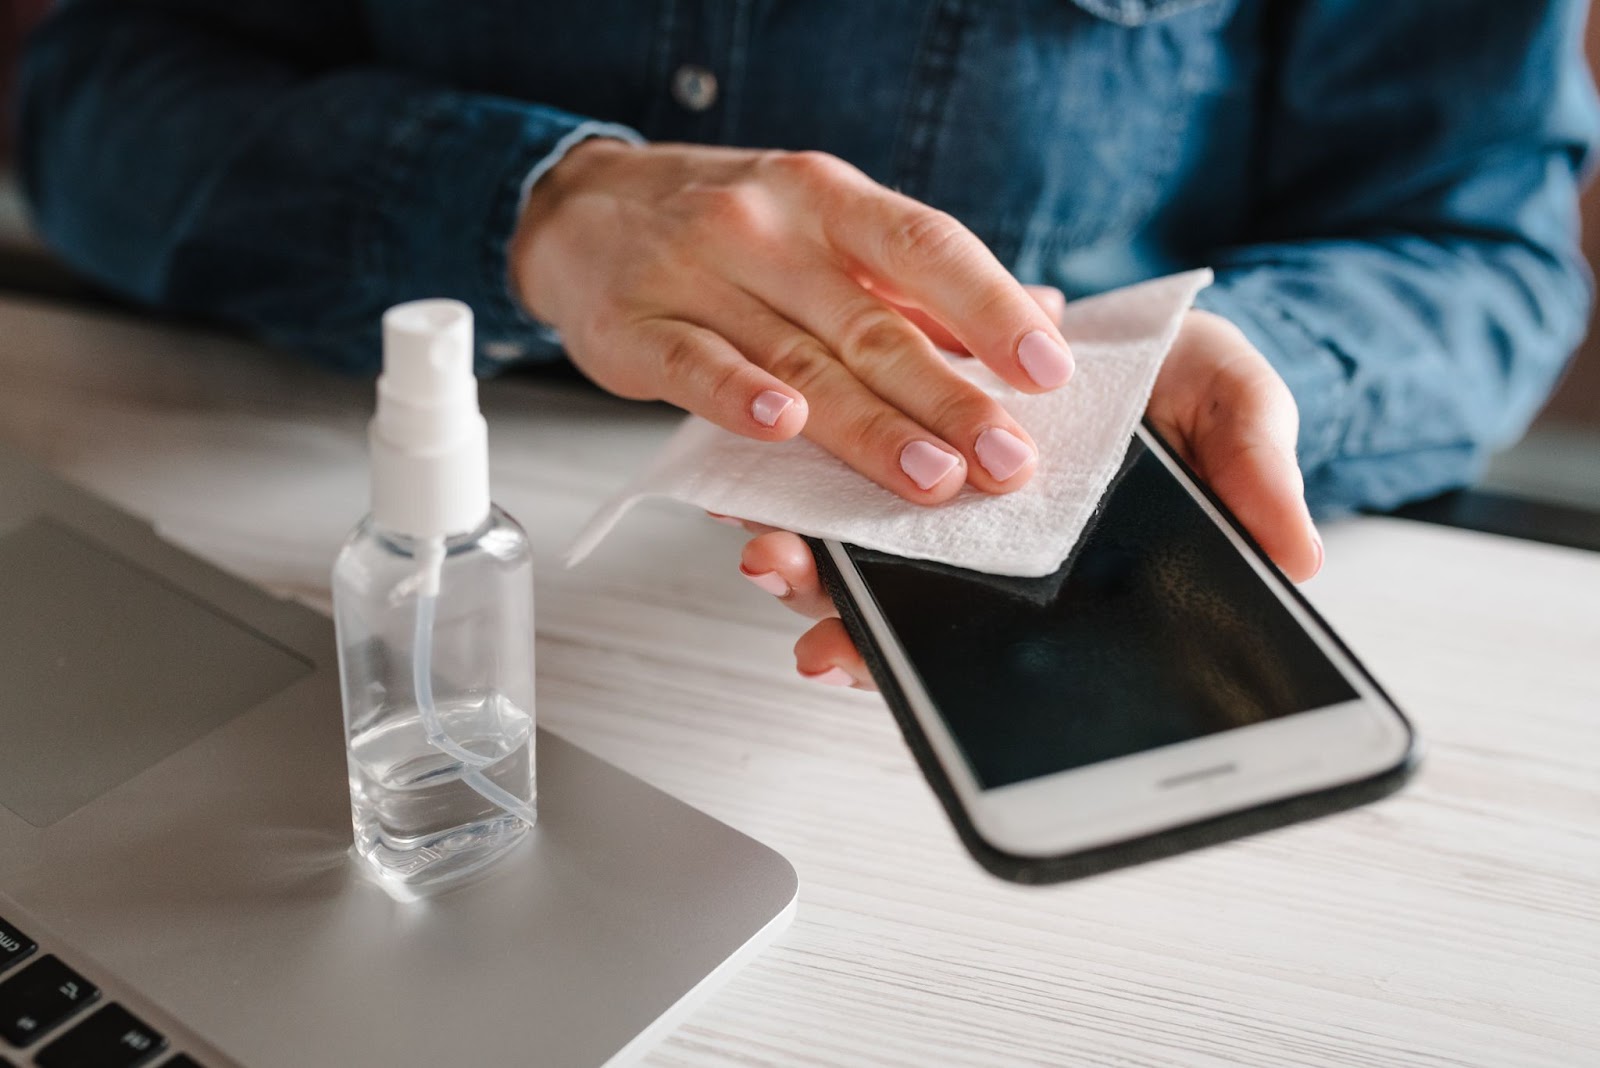
Credit: saharacase.com

Credit: www.reddit.com
Frequently Asked Questions
How Do I Remove Bubbles From A Screen Protector?
To remove bubbles, gently lift the protector from the edge. Use a credit card to push bubbles toward the edge. Clean the screen before applying for better adhesion and fewer bubbles.
Why Do Bubbles Form Under Screen Protectors?
Bubbles form due to dust, dirt, or trapped air during application. Uneven application or moisture can also cause bubbles under the screen protector.
Can I Fix Bubbles Without Removing The Screen Protector?
Yes, you can push bubbles out with a soft card or cloth. For stubborn bubbles, carefully lift the protector slightly and reapply slowly to avoid trapping air.
How To Prevent Bubbles When Applying A Screen Protector?
Clean your screen thoroughly before application. Apply in a dust-free environment and align the protector carefully. Use a card to smooth out air pockets immediately.
Conclusion
Bubbles on a screen protector can be annoying but easy to fix. Gently push them out with a card or your finger. Take your time and work from the center to the edges. Clean your screen well before applying the protector next time.
Small bubbles usually disappear after a day or two. A smooth screen makes your device look better and work well. Keep these tips in mind for a clear, bubble-free protector every time. Simple steps lead to great results.