
Are you frustrated by those annoying bubbles trapped under your screen protector? You’re not alone.
Bubbles can ruin the smooth look and feel of your device’s screen, making it hard to see and ruining your experience. But don’t worry—fixing this problem is easier than you think. You’ll discover simple, effective ways to get rid of bubbles and enjoy a flawless screen once again.
Keep reading, and say goodbye to those pesky bubbles for good!
Credit: saharacase.com
Common Causes Of Bubbles
Bubbles under your screen protector can be frustrating, especially after carefully applying it. Understanding why these bubbles appear helps you avoid them in the future. Let’s look at the common causes that lead to these annoying air pockets.
Dust And Dirt Traps
Even the smallest speck of dust can trap air beneath your screen protector. If you don’t clean your device’s screen thoroughly before application, dust particles will create bubbles that are hard to remove. Have you ever noticed a tiny bubble that refuses to disappear? That’s usually dirt hiding under the protector.
Try using a microfiber cloth and a little screen cleaner before applying the protector. Applying in a dust-free environment, like a bathroom after a hot shower, can reduce airborne particles.
Improper Installation
Applying the screen protector too quickly or at the wrong angle often causes bubbles to form. If the protector isn’t aligned properly, you might trap air along the edges or middle. Have you ever rushed the process and ended up with bubbles everywhere?
Take your time aligning the protector with the screen edges. Slowly press from the center outwards to push air out evenly. Patience during installation is key to a bubble-free finish.
Screen Protector Quality
Not all screen protectors are made the same. Lower-quality protectors may lack the right adhesive or flexibility, causing bubbles to form even if you apply them correctly. Have you noticed how some protectors lift or bubble after a few days?
Invest in a reputable brand with good reviews. A high-quality protector offers better adhesion and often includes tools or instructions to help you apply it bubble-free.
Tools Needed For Bubble Removal
Removing bubbles from a screen protector can feel tricky, but having the right tools makes the job much easier. You don’t need a lot of fancy equipment—just a few simple items that you probably already have at home. These tools help you smooth out the protector without damaging your device or the screen.
Soft Cloth Or Microfiber
A soft cloth or microfiber is essential for cleaning and wiping down your screen before and after applying the protector. It removes dust and fingerprints that cause bubbles to form in the first place. Using a microfiber cloth also prevents scratches, unlike rough fabrics or paper towels.
I once tried using a regular towel to clean my phone screen, and it left tiny scratches that made the protector stick unevenly. A microfiber cloth is gentle and effective, so keep one handy for this step.
Credit Card Or Squeegee
A credit card or a small squeegee works perfectly to push out bubbles from under the screen protector. The flat, firm edge helps you apply even pressure and smooth out air pockets. Wrap the card in the soft cloth to avoid scratching the protector or screen.
Have you noticed how air bubbles sometimes gather near the edges? Using a credit card lets you gently guide those bubbles towards the edge to release trapped air. It’s a simple trick that gives your screen a flawless finish.
Tape And Cleaning Solution
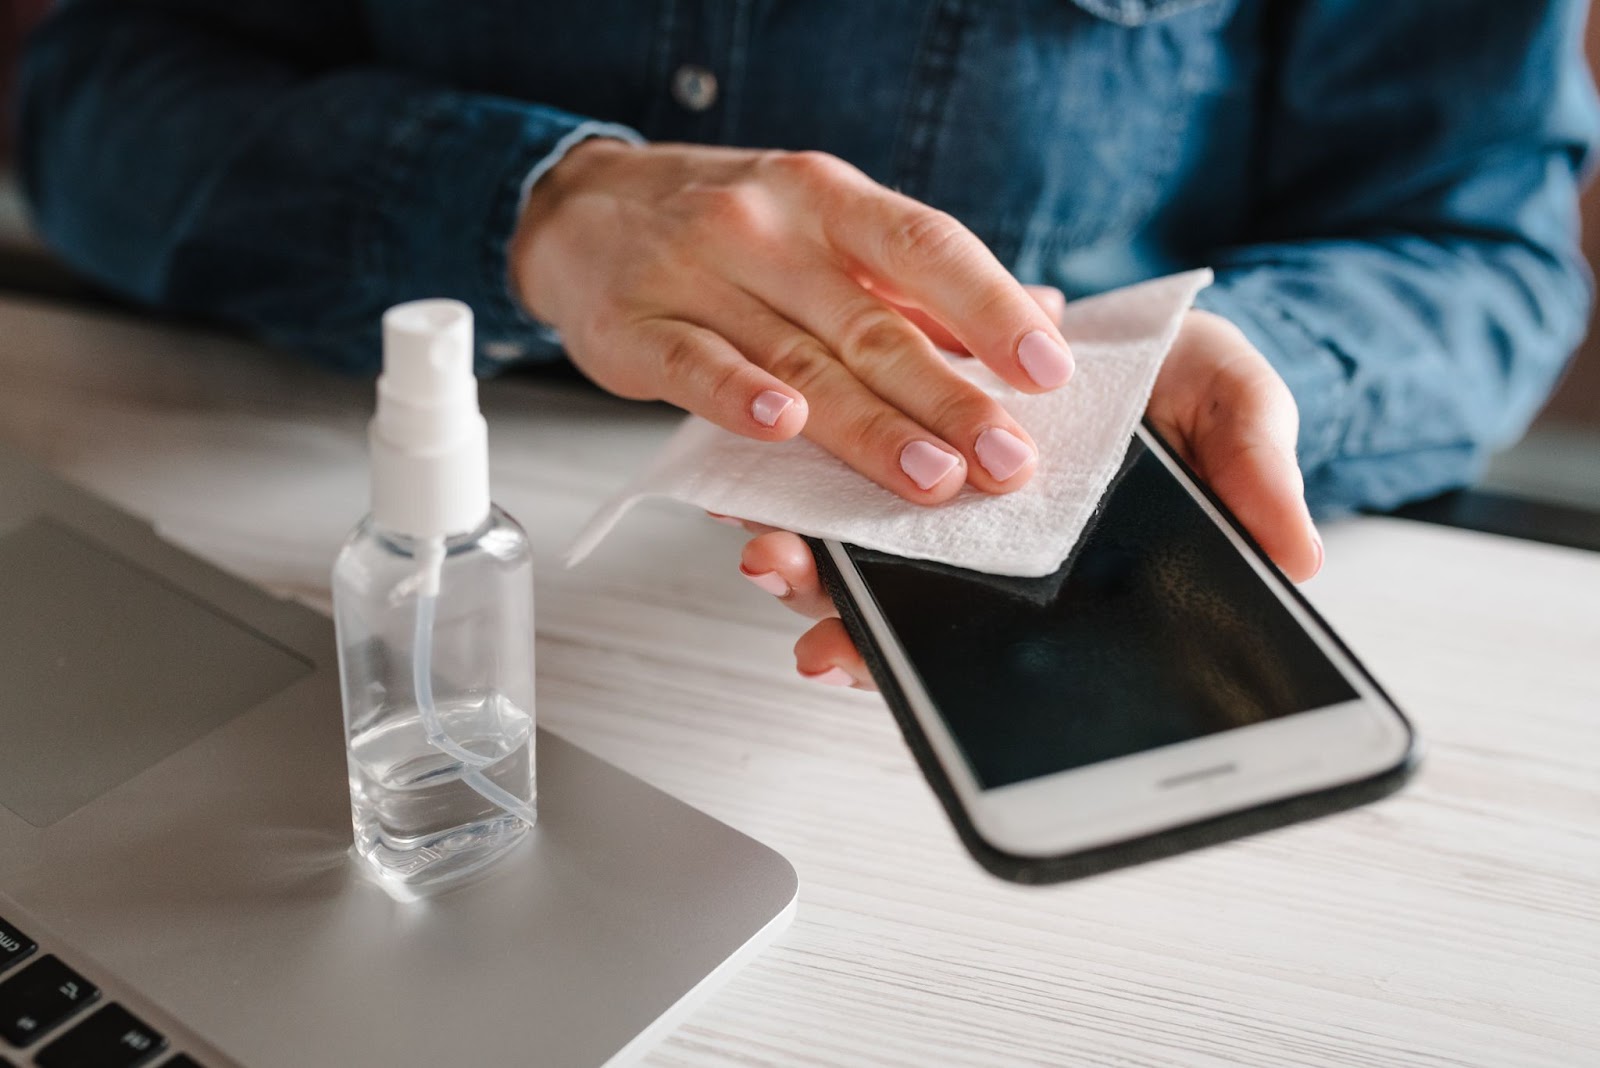
Tape is a handy tool for lifting the protector gently if you need to reposition it or remove stubborn bubbles. Clear, low-tack tape works best because it won’t leave residue. Pair this with a small bottle of cleaning solution—preferably one made for electronics—to wipe away dust before reapplying.
When I faced persistent bubbles, using tape to lift the screen protector bit by bit helped me realign it perfectly. Then, a quick spray of cleaning solution ensured no dust trapped beneath. This combo saved me from peeling off the protector completely.
Step-by-step Bubble Removal Methods
Bubbles under a screen protector can be annoying and distracting. Removing them carefully helps keep your screen clear and smooth. Follow these simple steps to get rid of bubbles quickly and safely. Each method uses common tools or simple techniques to restore your screen’s perfect look.
Using A Credit Card To Push Bubbles Out
Take a clean credit card or similar plastic card. Hold the card at an angle against the screen. Gently push the bubbles toward the edges of the protector. Apply steady, even pressure to avoid damaging the film. Work slowly to smooth out all trapped air pockets. This method is best for small or medium bubbles.
Lifting And Reapplying The Protector
Carefully lift the screen protector from one corner. Do not remove it completely. Peel back just enough to release the air trapped underneath. Slowly lay the protector back down while pressing out bubbles. Use your fingers to smooth it as you go. This method works well for large bubbles or areas with dust.
Applying Heat To Soften Adhesive
Warm the screen protector slightly using a hairdryer on low heat. Keep the dryer about 6 inches away from the screen. Heat softens the adhesive, making it easier to push out bubbles. Use a credit card or your fingers to smooth the protector while warm. Allow the screen to cool before using your device.
Credit: saharacase.com
Preventing Bubbles During Installation
Preventing bubbles during screen protector installation saves you time and frustration. Bubbles not only look bad but can affect touchscreen sensitivity. Taking a few careful steps can make your installation smooth and bubble-free.
Cleaning The Screen Thoroughly
Start with a spotless screen. Even tiny dust particles or fingerprints can cause bubbles. Use a microfiber cloth and a screen-safe cleaner to wipe your device carefully.
Pay attention to the edges and corners where dust tends to settle. Don’t rush this step—your patience here will pay off. Have you ever tried applying a screen protector without cleaning and ended up peeling it off multiple times?
Aligning Protector Carefully
Proper alignment is key to avoiding trapped air pockets. Before peeling off the backing, hold the protector over your screen to check the fit. Make slight adjustments until it sits perfectly on the edges.
Once aligned, apply from one edge and slowly lay it down. This gradual approach allows air to escape naturally. Imagine pressing down all at once—you’ll likely trap bubbles that are harder to remove later.
Applying In Dust-free Environment
Dust in the air can ruin your installation, no matter how clean your screen is. Choose a room with minimal airflow and low dust. Bathrooms after a hot shower work well because steam reduces airborne particles.
Turn off fans and close windows to keep dust from settling. If possible, wipe down surfaces around you to minimize contaminants. Have you noticed how a tiny speck of dust can create a bubble that ruins your whole effort?
When To Replace Your Screen Protector
Bubbles under a screen protector can be smoothed out by gently pushing them toward the edges. Replace the protector if bubbles remain or if it gets damaged. Clear vision and touch sensitivity depend on a clean, bubble-free screen.
When it comes to maintaining the pristine condition of your smartphone screen, a screen protector can be your best ally. However, even the most diligent care can lead to a situation where you need to replace it. Knowing when to swap out your screen protector can save you time, effort, and potentially your device. Let’s dive into the key signs that indicate it’s time for a replacement.Persistent Bubbles
While small bubbles can often be smoothed out, persistent ones that refuse to budge might be a red flag. These bubbles can distort your view and disrupt your interaction with the screen. If you’ve tried smoothing them out with a credit card or other tools to no avail, it might be time to consider a fresh screen protector.Cracks And Peeling
Cracks or peeling edges are more than just cosmetic issues. They can compromise the protective layer, leaving your screen vulnerable to scratches and damage. If your protector is starting to peel or crack, don’t wait until it’s too late. A damaged screen protector won’t offer the protection your device needs.Reduced Touch Sensitivity
Have you noticed a lag or reduced responsiveness when tapping or swiping? A worn-out screen protector can affect touch sensitivity, making it frustrating to use your device. If your phone feels less responsive, it might be the protector’s fault. Replacing it can restore your device’s touch functionality and improve your user experience. Are these issues affecting your phone? Taking the time to regularly assess your screen protector can ensure you’re always getting the best performance from your device.
Credit: www.androidauthority.com
Frequently Asked Questions
How Can I Remove Bubbles From My Screen Protector?
To remove bubbles, lift the protector gently from the edge. Use a credit card to push bubbles toward the edge. Clean the screen before application to avoid dust. Work slowly for best results and ensure a smooth finish.
Why Do Bubbles Form Under Screen Protectors?
Bubbles form due to dust, dirt, or moisture trapped under the protector. Improper alignment or quick application can also cause bubbles. Cleaning the screen thoroughly before applying prevents most bubbles. Proper technique ensures smooth adhesion.
Can I Fix Bubbles Without Removing The Screen Protector?
Yes, you can fix bubbles by gently pushing them toward the edges with a card. Small bubbles often disappear after a day or two as the adhesive settles. Avoid lifting the protector too much to prevent dust entry.
What Tools Help Remove Bubbles From Screen Protectors?
A credit card or plastic squeegee works best to push out bubbles. Use a microfiber cloth to clean dust before application. Some kits include dust removal stickers, which help avoid bubbles. Proper tools make application easier and bubble-free.
Conclusion
Bubbles on screen protectors can be annoying and distracting. Using simple tools like a card or cloth helps push bubbles out fast. Take your time to lift and smooth the edges gently. Clean the screen well before applying the protector to avoid dust.
Small bubbles often disappear after a day or two. With patience and care, you can enjoy a clear, smooth screen. Keep these tips handy for the next time you apply a protector. Clear screens make using your device much more enjoyable.