
Are you struggling to connect your Arzopa portable monitor to your laptop? You’re not alone.
Many people find the setup confusing at first, but once you get it right, it can boost your productivity and make your workspace much more flexible. In this guide, you’ll discover simple, step-by-step instructions to get your monitor up and running quickly.
By the end, you’ll know exactly how to connect your Arzopa portable monitor without any hassle. Keep reading, and turn your laptop into a powerful dual-screen machine!
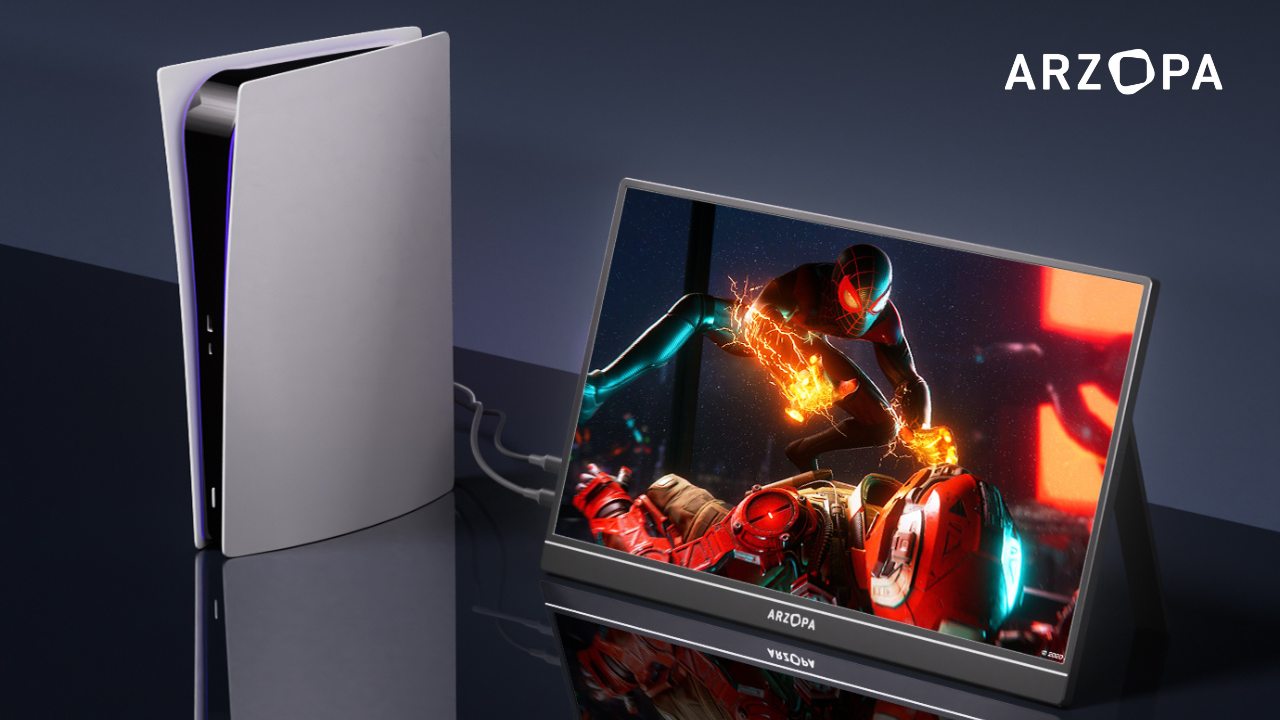
Credit: www.arzopa.com
Check Compatibility
Before connecting your Arzopa Portable Monitor to your laptop, it’s crucial to check compatibility. This step ensures a smooth setup and helps avoid frustrating connection issues. Understanding which ports your laptop supports and how the monitor can connect will save you time and hassle.
Supported Ports On Laptop
Most laptops come with a variety of ports, but not all of them will work with your Arzopa Portable Monitor. Common ports you should look for include:
- USB-C:Many newer laptops feature USB-C ports that support video output.
- HDMI:A widely used port for connecting external displays.
- Mini DisplayPort or DisplayPort:Found on some laptops, especially business models.
- Thunderbolt 3 or 4:These ports use the USB-C shape but offer faster data transfer and video support.
Noticing which ports your laptop has will guide you in choosing the right cable or adapter. Have you checked your laptop’s specifications or physically inspected the ports yet? This simple step often uncovers hidden capabilities.
Monitor Connection Options
The Arzopa Portable Monitor offers multiple connection types, making it flexible but also requiring you to pick the right one for your laptop. It typically supports:
- USB-C:This is the easiest and most straightforward connection if your laptop supports it.
- HDMI:A reliable option, especially for laptops without USB-C video output.
- USB-A with DisplayLink:Some models allow USB-A connection but may require additional drivers.
Choosing the right connection depends on what ports your laptop has and whether you want a plug-and-play experience or don’t mind installing extra software. Have you thought about which connection method fits your typical workflow best?
Gather Necessary Cables
Before connecting your Arzopa portable monitor to your laptop, gathering the right cables is crucial. Without the proper cables, the setup can become frustrating and time-consuming. Ensuring you have all the necessary connections ready will save you from interruptions and help you get your monitor up and running quickly.
Hdmi Cable
An HDMI cable is one of the most common ways to connect your Arzopa portable monitor to a laptop. It carries both video and audio signals, making it a convenient choice. Check if your laptop has a full-sized HDMI port or if it uses a mini or micro HDMI variant.
Having a high-quality HDMI cable can improve the display clarity and reduce flickering. If you’ve ever experienced a blurry or unstable connection, it might be due to a cheap or damaged HDMI cable. Wouldn’t you want your portable monitor to look its best every time you use it?
Usb-c Cable
Many modern laptops support video output through USB-C ports. Your Arzopa portable monitor might also accept USB-C, simplifying your connection process. A single USB-C cable can transmit power, video, and audio, cutting down on clutter.
However, not all USB-C cables support video transfer. Look for cables labeled as USB 3.1 Gen 2 or Thunderbolt 3/4 for guaranteed performance. Have you checked your laptop’s specs to ensure your USB-C port supports video output?
Adapters And Dongles
If your laptop lacks a compatible port for your Arzopa monitor, adapters and dongles come in handy. For instance, you might need a USB-C to HDMI adapter or a DisplayPort to HDMI converter. These small devices bridge the gap between different port types effectively.
Investing in quality adapters prevents signal loss and connection issues. It’s frustrating to have the right cables but miss the right adapter. What adapters do you currently have, and could they support your portable monitor setup?
Prepare Your Devices
Before diving into the exciting world of dual screens, let’s make sure you’re all set to get your Arzopa portable monitor up and running smoothly. Preparing your devices is key to a seamless connection. It’s a bit like setting the stage for a perfect performance; both the monitor and laptop need to be powered and ready. Let’s ensure everything is in place so you can enjoy an enhanced computing experience.
Power On The Monitor
Start by powering on your Arzopa portable monitor. Most models have a power button located on the side or top edge. Press it firmly and wait for the screen to light up. You’ll usually see a logo or a quick boot-up screen as it gets ready. If the monitor doesn’t turn on, check the connection to the power source or try a different outlet.
Make sure the monitor is charged or connected to a reliable power source, especially if you’re planning to use it for extended periods. This helps prevent interruptions during your work or gaming sessions. A charged monitor is a happy monitor!
Turn On The Laptop
Next, turn on your laptop. Simply press the power button and allow it to boot up. Ensure your laptop is well-charged or connected to a power source to avoid any sudden shutdowns. A stable power connection keeps your laptop running smoothly without hiccups.
Once your laptop is on, check that all necessary software updates are installed. Updated drivers and software can make the connection process smoother and more efficient. A little time spent on updates can save you a lot of hassle later.
Are you ready to enjoy the advantages of a dual monitor setup? With both devices powered and ready, you’re just a few steps away from a more productive and enjoyable experience!

Credit: www.arzopa.com
Connect The Monitor To Laptop
Connecting your Arzopa portable monitor to a laptop is simple. This step lets you extend or mirror your laptop screen. Choosing the right connection type depends on your laptop’s ports and the monitor’s input options. Follow the instructions below to connect using HDMI or USB-C.
Using Hdmi Connection
Locate the HDMI port on your laptop and the monitor. Use a standard HDMI cable to link them.
- Plug one end of the HDMI cable into the laptop’s HDMI port.
- Connect the other end to the HDMI input on the Arzopa monitor.
- Turn on the monitor and the laptop.
- Press the monitor’s input button to select HDMI if needed.
- Adjust display settings on your laptop for extended or duplicate screen.
HDMI provides clear video and audio. It is the most common way to connect external displays.
Using Usb-c Connection
Check if your laptop supports video output via USB-C. The Arzopa monitor also needs a USB-C port that supports video.
- Use a USB-C to USB-C cable to connect the laptop and monitor.
- Insert one end into the laptop’s USB-C port.
- Plug the other end into the monitor’s USB-C port.
- Power on both devices.
- Choose USB-C as the input source on the monitor if necessary.
USB-C can carry power, video, and audio through one cable. It reduces cable clutter.
Configure Display Settings
Configuring the display settings is essential after connecting your Arzopa portable monitor. Proper settings improve screen clarity and usability. Adjusting resolution, display modes, and arrangement ensures a smooth workflow. This section guides you through these settings for the best experience.
Adjust Screen Resolution
Screen resolution defines the clarity of images and text. Select a resolution that matches your Arzopa monitor’s native display. Too high or too low resolution can cause blurry visuals.
To change resolution on Windows:
- Right-click on the desktop and choose “Display settings.”
- Scroll to “Display resolution.”
- Select the recommended resolution for your monitor.
- Click “Apply” to save changes.
Mac users can:
- Open “System Preferences.”
- Click “Displays.”
- Choose “Scaled” and pick the best resolution.
Set Display Mode
Display modes control how your laptop and portable monitor work together. You can duplicate, extend, or use only the second screen.
- Duplicate:Shows the same content on both screens.
- Extend:Adds extra space by spreading your desktop across both screens.
- Second screen only:Turns off the laptop display and uses only the portable monitor.
Change display mode by pressing Windows + Pon Windows or by configuring “Arrangement” in Mac’s display settings.
Arrange Multiple Displays
Arrange your screens to match their physical positions. This makes moving the mouse and windows between screens smooth.
In Windows:
- Open “Display settings.”
- Drag the screen icons to match your setup.
- Click “Apply” to confirm.
On Mac:
- Go to “System Preferences” > “Displays.”
- Select the “Arrangement” tab.
- Drag the display icons to align correctly.

Credit: www.instagram.com
Troubleshooting Tips
Troubleshooting connection issues with your Arzopa portable monitor can be quick with the right steps. Understanding common problems helps fix them faster. Here are simple tips to solve frequent issues.
No Signal On Monitor
- Check the cable connection between the monitor and laptop. Ensure it is firmly plugged in.
- Try using a different cable or port to rule out a faulty connection.
- Restart both your laptop and the monitor to refresh the connection.
- Make sure the monitor is set to the correct input source.
- Update your laptop’s graphics drivers for better compatibility.
Display Not Detected
- Open your laptop’s display settings and select “Detect” to find the monitor.
- Confirm the monitor is powered on and has enough battery if it’s portable.
- Disconnect and reconnect the monitor to reset the connection.
- Try connecting the monitor to another device to check if it works.
- Check for any pending system updates on your laptop.
Flickering Or Blurry Screen
- Adjust the screen resolution in your laptop’s display settings to match the monitor.
- Use a high-quality cable to avoid signal interference.
- Lower the refresh rate in display settings if flickering continues.
- Ensure the monitor’s drivers and firmware are up to date.
- Keep the monitor away from strong electrical devices that may cause interference.
Optimize Monitor Performance
Optimizing your Arzopa portable monitor boosts clarity and comfort. It helps you see colors better and reduces eye strain. Small tweaks improve your overall experience. Follow easy steps to get the best display quality from your monitor.
Adjust Brightness And Contrast
Set brightness to match your environment. Too bright causes glare; too dark hides details. Adjust contrast to make images sharp and clear. Use the monitor’s built-in menu buttons to change these settings. Find a balance that feels good for your eyes.
Update Drivers
Keep your monitor’s drivers up to date. Drivers help your laptop and monitor work smoothly together. Check the Arzopa website for the latest driver versions. Install updates regularly to fix bugs and improve performance. Updated drivers ensure better color accuracy and faster response.
Use Monitor For Different Tasks
Customize settings based on what you do. For reading or writing, lower brightness and soft contrast help. For watching videos or editing photos, increase brightness and color vibrancy. Adjust resolution in your laptop’s display settings for sharper images. Tailoring settings enhances comfort and productivity.
Frequently Asked Questions
How Do I Connect Arzopa Monitor To My Laptop?
Use a USB-C or HDMI cable to connect the Arzopa monitor to your laptop. Ensure both devices are powered on and select the correct input source on the monitor for display.
What Cables Are Needed For Arzopa Portable Monitor?
You need a USB-C to USB-C cable or an HDMI to HDMI cable. Some models also support USB-C to HDMI adapters for flexible connectivity options.
Can Arzopa Monitor Work With Any Laptop?
Yes, the Arzopa portable monitor works with most laptops that support USB-C or HDMI output. Compatibility depends on your laptop’s video output ports.
How To Troubleshoot Connection Issues With Arzopa Monitor?
Check cable connections, restart both devices, and update your laptop’s display drivers. Also, confirm the monitor input source matches the connected cable type.
Conclusion
Connecting your Arzopa portable monitor to a laptop is simple and quick. Use the right cable and ports for a smooth setup. Adjust the display settings to fit your needs. This extra screen helps improve work and entertainment. Keep your monitor charged or plugged in for best use.
Follow these easy steps for a better viewing experience. Enjoy the flexibility of a second screen anywhere you go.