Have you ever wondered if your circuit breaker is working properly but didn’t know where to start? Checking a circuit breaker with a multimeter is easier than you might think—and it can save you time, money, and even prevent electrical hazards.
In this guide, you’ll learn simple, step-by-step instructions to test your circuit breaker safely and accurately. By the end, you’ll feel confident handling this crucial task on your own. Keep reading, because understanding how to check your circuit breaker could protect your home and peace of mind.
Tools Needed
Before you begin checking a circuit breaker with a multimeter, it’s important to gather the right tools. Having everything ready will make your work safer and more efficient. The tools you choose can also affect how accurately you diagnose electrical issues.
Imagine starting a project only to realize you’re missing a key tool. Frustrating, right? That’s why preparing your toolkit ahead of time saves you from unnecessary delays.
Multimeter
A multimeter is the main tool you’ll need. It measures voltage, current, and resistance, helping you test if the circuit breaker is working properly. Choose a digital multimeter for clearer readings and easier use, especially if you’re new to electrical testing.
Insulated Screwdriver
An insulated screwdriver is essential for safely removing the panel cover or adjusting screws without risking electric shock. Safety should always be your top priority when working with electrical components.
Protective Gloves
Wear protective gloves designed for electrical work. They help reduce the risk of electric shock and protect your hands from sharp edges inside the breaker panel.
Flashlight
Electric panels are often located in dimly lit spaces. A flashlight ensures you can clearly see the breaker and multimeter readings without straining your eyes.
Safety Glasses
Safety glasses shield your eyes from sparks or debris that might occur during testing. Protecting your eyes is a simple step that prevents serious injuries.
Voltage Tester (optional)
A voltage tester can give you a quick indication of live circuits before using the multimeter. It’s a handy extra tool that adds another layer of safety.
Do you have all these tools ready? Missing even one can slow down your work or put you at risk. Gathering the right equipment first lets you focus on the task confidently and safely.
Safety Precautions
Safety is the top priority when checking a circuit breaker with a multimeter. Electricity can cause serious injury or damage if handled carelessly. Taking the right precautions helps protect you and your home.
Before starting, make sure you understand the risks. Avoid rushing and keep your workspace organized. Use tools that are in good condition and rated for electrical work.
Wear Protective Gear
Always wear insulated gloves and safety goggles. These protect your hands and eyes from sparks or accidental shocks. Avoid loose clothing or jewelry that can catch on equipment.
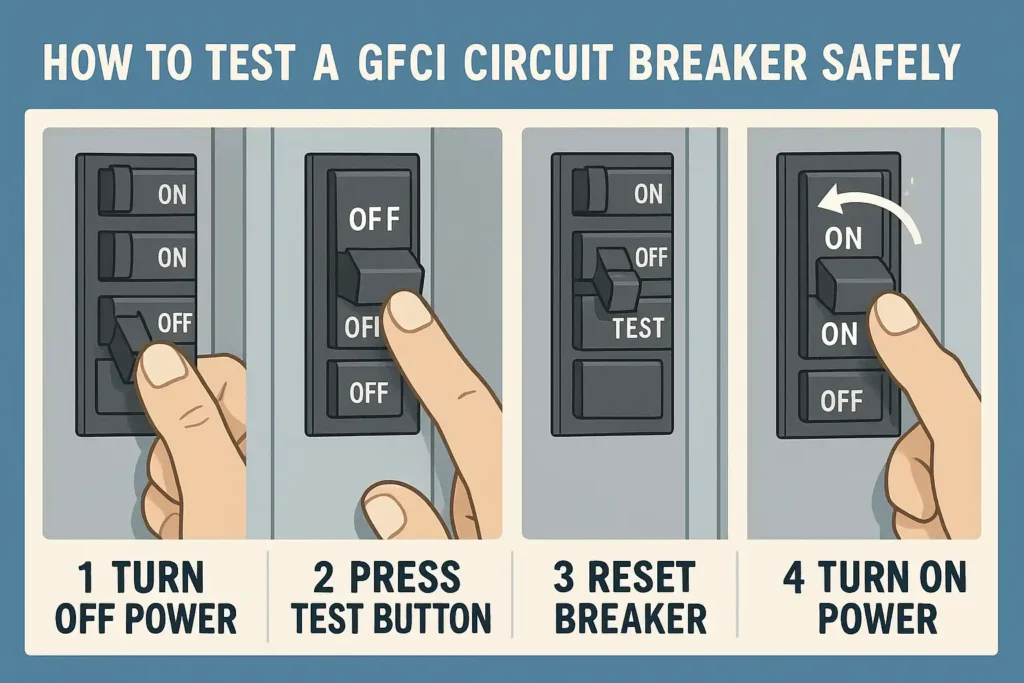
Turn Off The Main Power
Switch off the main breaker before testing any circuit. This cuts off electricity flow and reduces shock risk. Confirm the power is off by testing the circuit with your multimeter.
Use A Multimeter Rated For Electrical Testing
Select a multimeter designed for electrical circuits. Check that its voltage and current ratings match your breaker. A proper tool ensures accurate readings and safety.
Inspect The Multimeter And Leads
Check your multimeter and test leads for damage. Look for cracks, exposed wires, or worn insulation. Replace faulty equipment before starting any test.
Keep One Hand Free
Use one hand to hold the multimeter probe and keep the other away. This reduces the chance of a current passing through your chest. Stand on an insulated surface for added safety.
Work In A Dry Environment
Make sure the area is dry and free from water. Wet conditions increase the risk of electric shock. Avoid standing on wet floors or touching wet objects.
Preparing The Multimeter
Preparing the multimeter is a crucial step before checking a circuit breaker. This ensures accurate readings and helps avoid any damage to the device or harm to yourself. Proper setup makes the testing process smooth and reliable.
Start by understanding your multimeter’s functions. Most digital multimeters have clear settings for voltage, resistance, and current. For circuit breaker testing, focus on the voltage setting. Confirm the multimeter works correctly before using it on live circuits.
Setting The Multimeter To Voltage
Turn the dial on the multimeter to the voltage setting. Choose AC voltage (often marked as V~) since household circuits use alternating current. Select a range that covers your circuit’s voltage, usually 200V or higher. This setting helps the multimeter detect the voltage safely and accurately.
Testing The Multimeter Functionality
Check the multimeter’s battery and display first. A weak battery can give wrong results. Test the probes by touching them together. The multimeter should show zero or near zero voltage. If it does not, replace the battery or probes before proceeding.
Credit: www.onesto-ep.com
Locating The Circuit Breaker
Finding the circuit breaker is the first step before you can check it with a multimeter. Without knowing where it is, you can’t safely test or reset it. Many people overlook this simple task, but knowing exactly where your circuit breaker panel is can save you a lot of time and frustration.
Where To Look For Your Circuit Breaker Panel
Most homes have their circuit breaker panel located in specific areas like basements, garages, or utility rooms. Check near your electrical meter or fuse box as well. If your home has multiple levels, sometimes the panel is on the main floor or near the entrance.
Identifying The Main Panel And Subpanels
Once you find the electrical panel, you might see a large box with a door. Inside, you will find rows of switches or breakers. Some homes have subpanels, smaller boxes that control circuits in specific areas, like a workshop or an addition. Knowing this helps you test the correct breaker for your issue.
Signs That Help You Spot The Right Breaker
Look for labels next to the breakers that indicate which part of the home they control. Even if the labels are faded or missing, you can usually guess by the number of switches and their positions. If you’re unsure, flipping a breaker off and seeing which lights or outlets go dead can clarify things quickly.
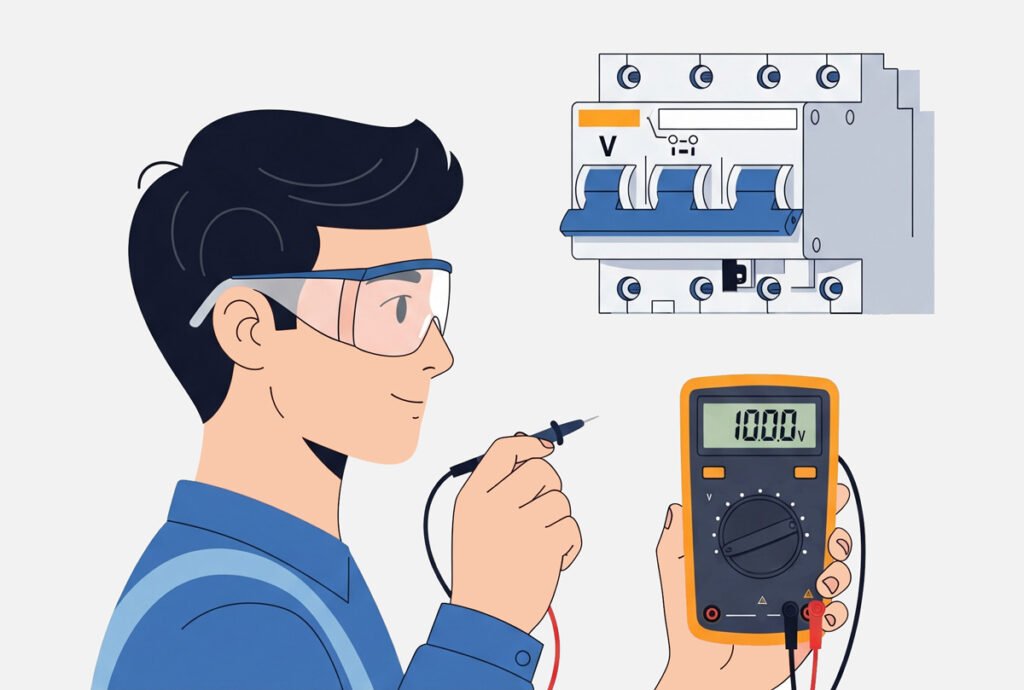
Testing For Voltage
Testing for voltage is an essential step to ensure your circuit breaker is functioning correctly. Whether you’re troubleshooting a faulty breaker or just performing routine maintenance, understanding how to measure voltage with a multimeter can save you from electrical mishaps. This process not only helps in identifying issues but also gives you peace of mind knowing your electrical system is safe.
Testing The Breaker Output
Start by turning off the power to your circuit breaker panel for safety. Once you’re sure it’s safe, turn the multimeter on and set it to measure AC voltage. Place the multimeter’s probes on the breaker’s terminals. You’re looking for a voltage reading that matches your breaker’s rating. For a standard home breaker, this is usually 120 or 240 volts.
What happens if you find a reading that is significantly lower than expected? This could indicate a problem with the breaker itself or the wiring connected to it. A quick check here can prevent bigger issues down the line.
Interpreting Voltage Readings
Reading your multimeter correctly is crucial. If you notice a zero or fluctuating reading, it might mean the breaker is faulty or there’s a connection issue. Consistent voltage readings that match the breaker’s specifications are what you’re hoping to see.
Why does this matter? Because consistent voltage ensures that your appliances and devices receive the proper power to operate safely and efficiently. Have you ever wondered why your appliances sometimes malfunction? It might be due to inconsistent voltage.
It’s important to address any discrepancies right away. Can you imagine the potential damage a malfunctioning breaker could cause? Always prioritize your safety and electrical efficiency by regularly checking your circuit breakers.
Credit: reversepcb.com
Checking For Continuity
Checking for continuity in a circuit breaker helps you determine if the electrical path is complete and unbroken. This test is essential to confirm whether the breaker switch is functioning properly or if it needs replacement. Using a multimeter for this task provides a quick and accurate way to identify faults without dismantling your entire electrical system.
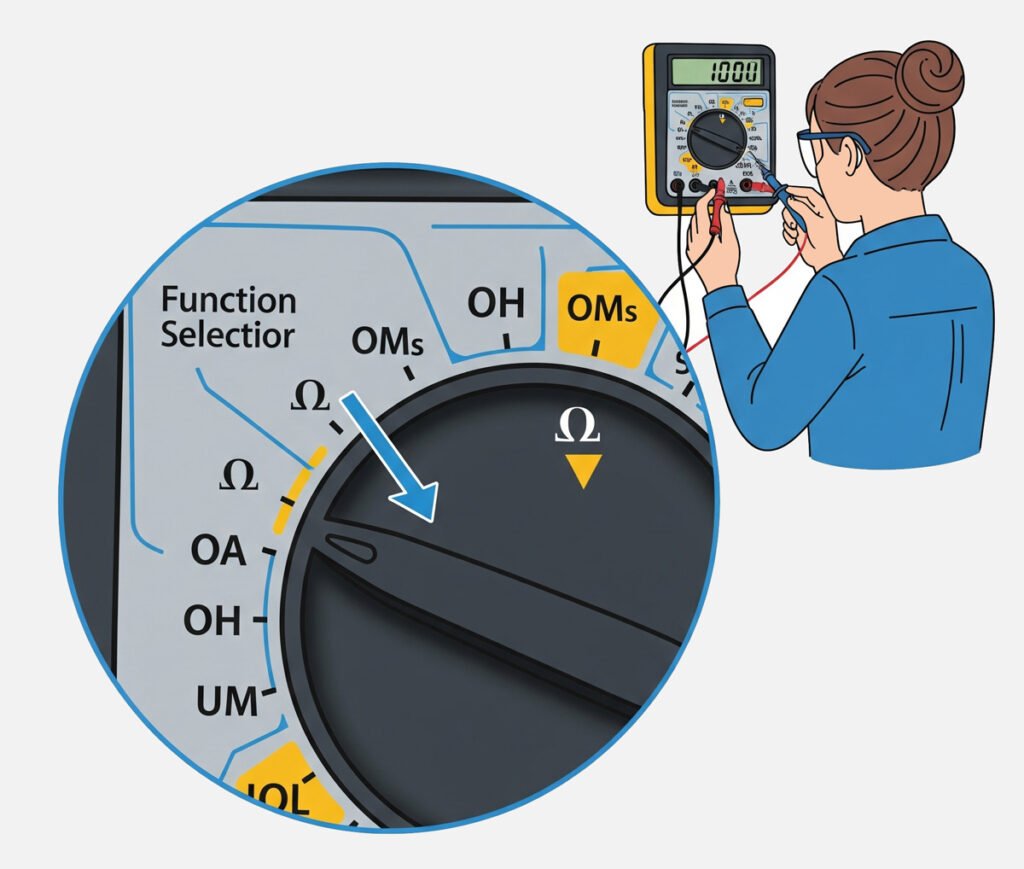
Setting Multimeter To Continuity Mode
First, turn on your multimeter and set it to the continuity mode, usually indicated by a sound wave or diode symbol. This mode allows the device to beep when there is a complete electrical path between the probes.
Ensure the multimeter’s probes are connected correctly: the black probe should go into the common (COM) port, and the red probe into the voltage or continuity port. Before testing the breaker, touch the two probes together to hear a beep, confirming the multimeter is ready.
Testing Breaker Switch
With the breaker switch in the OFF position, place one probe on the breaker’s terminal screw and the other on the opposite terminal. If the multimeter beeps, the breaker is allowing current to pass even when off, indicating a possible fault.
Switch the breaker to the ON position and test again. This time, the multimeter should beep, confirming the circuit is complete. If there’s no beep, the breaker could be damaged or worn out.
Have you noticed your breaker trips frequently? Checking continuity can reveal hidden problems before they become expensive repairs. This simple test can save you time and ensure your home’s electrical safety.
Identifying A Faulty Breaker
Identifying a faulty circuit breaker is key to keeping your home’s electrical system safe and functional. A breaker that doesn’t work properly can cause frequent power outages or even pose fire risks. Knowing how to spot these issues early can save you from costly repairs and dangerous situations.
Signs That Point To A Faulty Breaker
Have you noticed your lights flickering or outlets suddenly losing power? These are common clues that a breaker might be failing. Other signs include breakers that trip often, won’t reset, or feel warm to the touch.
- Frequent tripping without an obvious cause
- Burning smell or scorch marks near the breaker
- Visible corrosion or damage on the breaker
- Breaker handle feels loose or doesn’t stay in the “on” position
Watch out for these symptoms because they usually mean your breaker can’t handle the electrical load properly.
Using A Multimeter To Test Breaker Functionality
Once you suspect a breaker is faulty, a multimeter helps confirm it. Set your multimeter to measure voltage and test across the breaker terminals. A healthy breaker should show a voltage reading close to your home’s supply voltage, usually around 120 or 240 volts.
Zero or very low voltage readings indicate the breaker is not passing current correctly, which means it’s faulty. Testing continuity with the breaker turned off can also reveal if the internal mechanism is broken.
Understanding The Difference Between Breaker And Circuit Issues
Sometimes the problem isn’t the breaker but the circuit itself. A loose wire or a short circuit can cause similar symptoms. Use your multimeter to check wiring continuity and look for shorts in the circuit.
This helps you avoid replacing a breaker unnecessarily. Ask yourself: Is the breaker the weak link, or is the wiring to blame? Identifying the true cause ensures you fix the right problem.
When To Replace The Breaker
A circuit breaker should be replaced if it fails a multimeter test or shows no continuity. Signs include frequent tripping or burning smell. Testing with a multimeter helps spot faults early and keeps your electrical system safe.
When to Replace the Breaker A circuit breaker plays a vital role in any electrical system. It protects against overloads and short circuits. Knowing when to replace a breaker can prevent electrical hazards. Regular checks ensure your home’s safety. Using a multimeter helps identify issues.Signs Of Frequent Tripping
Frequent tripping is a warning sign. It indicates the breaker may be faulty. It happens when the breaker cannot handle the current. Replacing the breaker may solve the issue.Old Age Of The Breaker
Breakers have a lifespan. Older breakers may malfunction. They can become less effective over time. Replacement ensures reliable protection. Check the age to decide on replacement.Physical Damage
Inspect the breaker for damage. Cracks or burns are signs of a problem. Damaged breakers are unsafe. They need immediate replacement to prevent danger.Inconsistent Voltage Readings
Use a multimeter to check voltage. Inconsistent readings may mean a faulty breaker. Reliable voltage is crucial for safe operation. Replace the breaker if readings vary too much.Burning Smell
A burning smell is alarming. It could mean the breaker is overheating. Overheating can lead to fires. Replacing the breaker can eliminate this risk.Breaker Does Not Reset
If a breaker won’t reset, it may be defective. Try resetting it multiple times. If it fails, consider replacement. A breaker must reset to function correctly.Unusual Noises
Listen for buzzing or humming sounds. These noises indicate a problem. A healthy breaker should be silent. Replace it if you hear unusual sounds.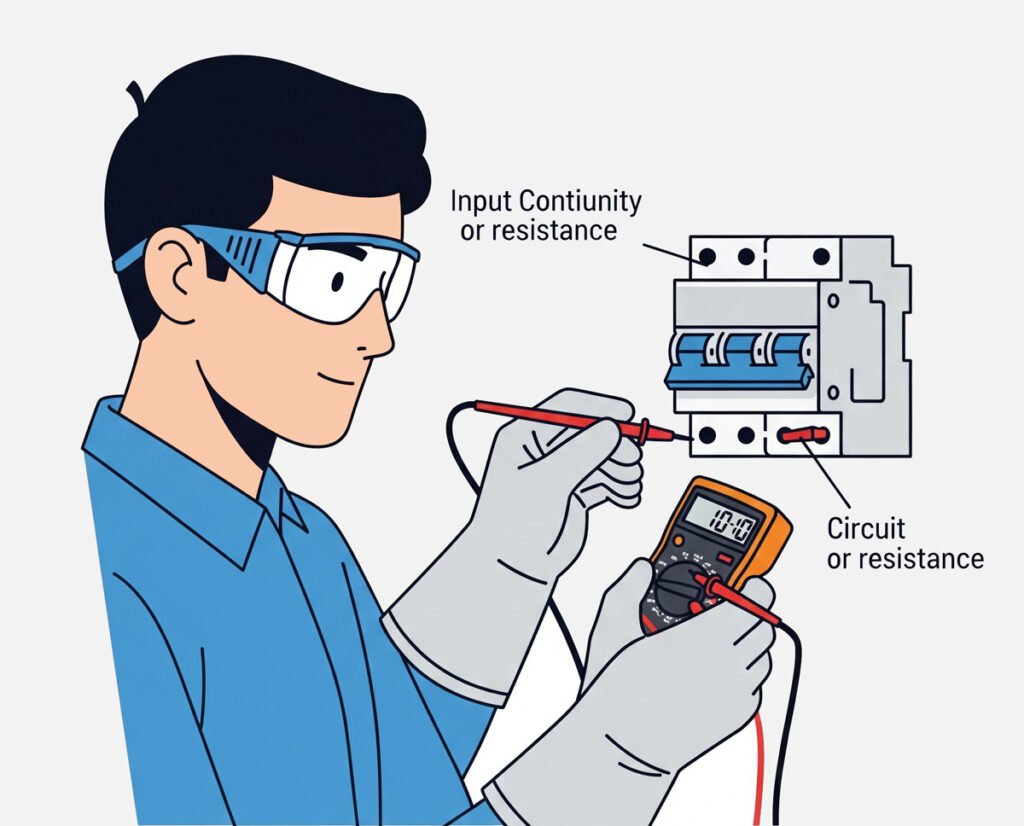
Credit: reversepcb.com
Frequently Asked Questions
How Do I Test A Circuit Breaker With A Multimeter?
Set your multimeter to the continuity or resistance mode. Turn off power and remove the breaker. Place probes on the breaker terminals. A reading near zero means the breaker is good; infinite or no reading indicates a faulty breaker.
Can A Multimeter Detect A Tripped Circuit Breaker?
No, a multimeter alone cannot detect a tripped breaker. You must visually check the breaker switch position. If it’s in the middle or off position, it’s tripped. Then use the multimeter to test continuity or voltage for further diagnosis.
What Multimeter Setting Is Best For Breaker Testing?
Use the continuity or resistance (ohms) setting on your multimeter. Continuity mode beeps if the circuit is complete. Resistance mode shows low values for good breakers. This helps determine if the breaker allows current flow or is faulty.
Is It Safe To Test Circuit Breakers With A Multimeter?
Yes, if you turn off the main power first. Always ensure the breaker and panel are de-energized before testing. Use insulated tools and follow safety precautions to prevent shocks or damage during multimeter testing.
Conclusion
Checking a circuit breaker with a multimeter is safe and simple. Follow the steps carefully to avoid mistakes. Always turn off the power before testing. Use the multimeter to check for voltage or continuity. This helps find faulty breakers quickly.
Regular checks keep your electrical system working well. Stay cautious and take your time during the process. Understanding these basics saves time and money. Keep practicing to feel more confident. Safety first, always.