Are you unsure if your battery is still good or needs replacing? Knowing how to measure a battery with a multimeter can save you time and money.
You don’t need to be an expert or have fancy tools. With just a simple device and a few easy steps, you can quickly check your battery’s health. Keep reading, and you’ll discover how to get accurate results fast—so you never have to guess if your battery is working right again.

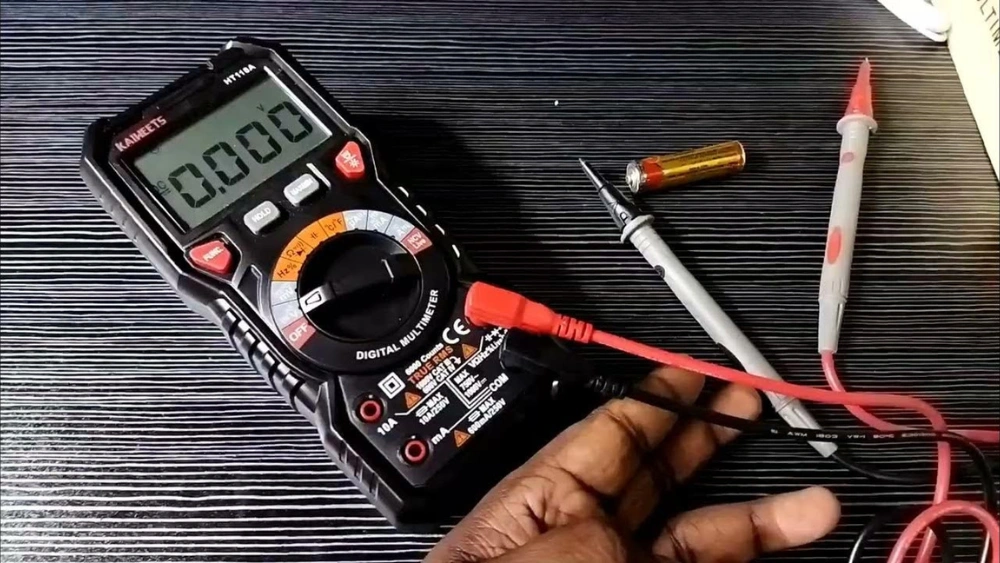
Credit: www.redodopower.com
Choosing The Right Multimeter
Choosing the right multimeter is important for accurate battery measurement. The right tool ensures safety and precision. Multimeters come in many types and features. Understanding these helps you pick the best fit for your needs.
Types Of Multimeters
Multimeters mainly come in two types: analog and digital. Analog multimeters have a needle that moves to show readings. Digital multimeters display numbers on a screen, making them easier to read.
Digital multimeters are popular for battery testing. They offer better accuracy and clear readings. Some models also include extra functions like auto-ranging and data hold.
Key Features To Look For
- Auto-ranging:Automatically selects the correct measurement range.
- Battery test mode:A special setting to check battery health quickly.
- Clear display:Large, bright screens help read values easily.
- Safety ratings:Look for meters rated for voltage and current limits.
- Durability:Strong casing protects the meter during use.
- Easy probes:Comfortable and secure probes improve measurement accuracy.

Credit: www.youtube.com
Preparing For Measurement
Before you start measuring a battery with a multimeter, it’s important to prepare properly. This preparation not only ensures accurate readings but also keeps you safe throughout the process. Taking a few moments to get ready can save you from frustration and potential hazards.
Safety Precautions
Working with batteries can be risky if you overlook safety. Always wear protective gloves and safety glasses to shield yourself from acid leaks or sparks. Avoid touching the battery terminals with bare hands or metal objects to prevent short circuits.
Make sure you work in a well-ventilated area, especially if the battery shows signs of damage or leaks. Have a dry cloth nearby to wipe off any corrosion or moisture on the battery terminals before you start measuring. Do you have a fire extinguisher close by? It’s a smart move in case anything unexpected happens.
Setting Up The Multimeter
First, check your multimeter’s battery and functionality. Turn it on and set it to measure DC voltage, usually marked as “V” with a straight line. Selecting the correct range is crucial; if your meter has auto-range, it will handle this for you.
Next, connect the test leads: red to the positive terminal and black to the negative terminal of the multimeter. Keep the probes steady and avoid letting them touch each other during the test. Have you ever experienced unstable readings? Holding the probes firmly against the battery terminals helps prevent that.
Measuring Battery Voltage
Measuring the voltage of a battery is a simple yet crucial task to understand its health and charge level. With just a multimeter, you can quickly check if a battery is still good or needs replacement. Let’s break down how you can accurately measure battery voltage using your multimeter.
Selecting The Voltage Mode
Start by turning on your multimeter and setting it to measure voltage. Look for the symbol Vwith a straight line above it, which stands for DC voltage—this is important because batteries provide direct current.
If your multimeter has multiple voltage ranges, choose one slightly higher than your battery’s rated voltage. For instance, for a 9V battery, select the 20V setting to get an accurate reading without damaging the meter.
Connecting Multimeter Probes
Next, take the red probe and touch it to the battery’s positive terminal. The black probe goes to the negative terminal. Make sure you have a steady connection; slipping probes can give you fluctuating readings that confuse you.
Here’s a tip: hold the probes firmly or use probe clips to keep your hands free and avoid accidental shorts. If you’re measuring a small battery, be gentle to avoid damaging the terminals.
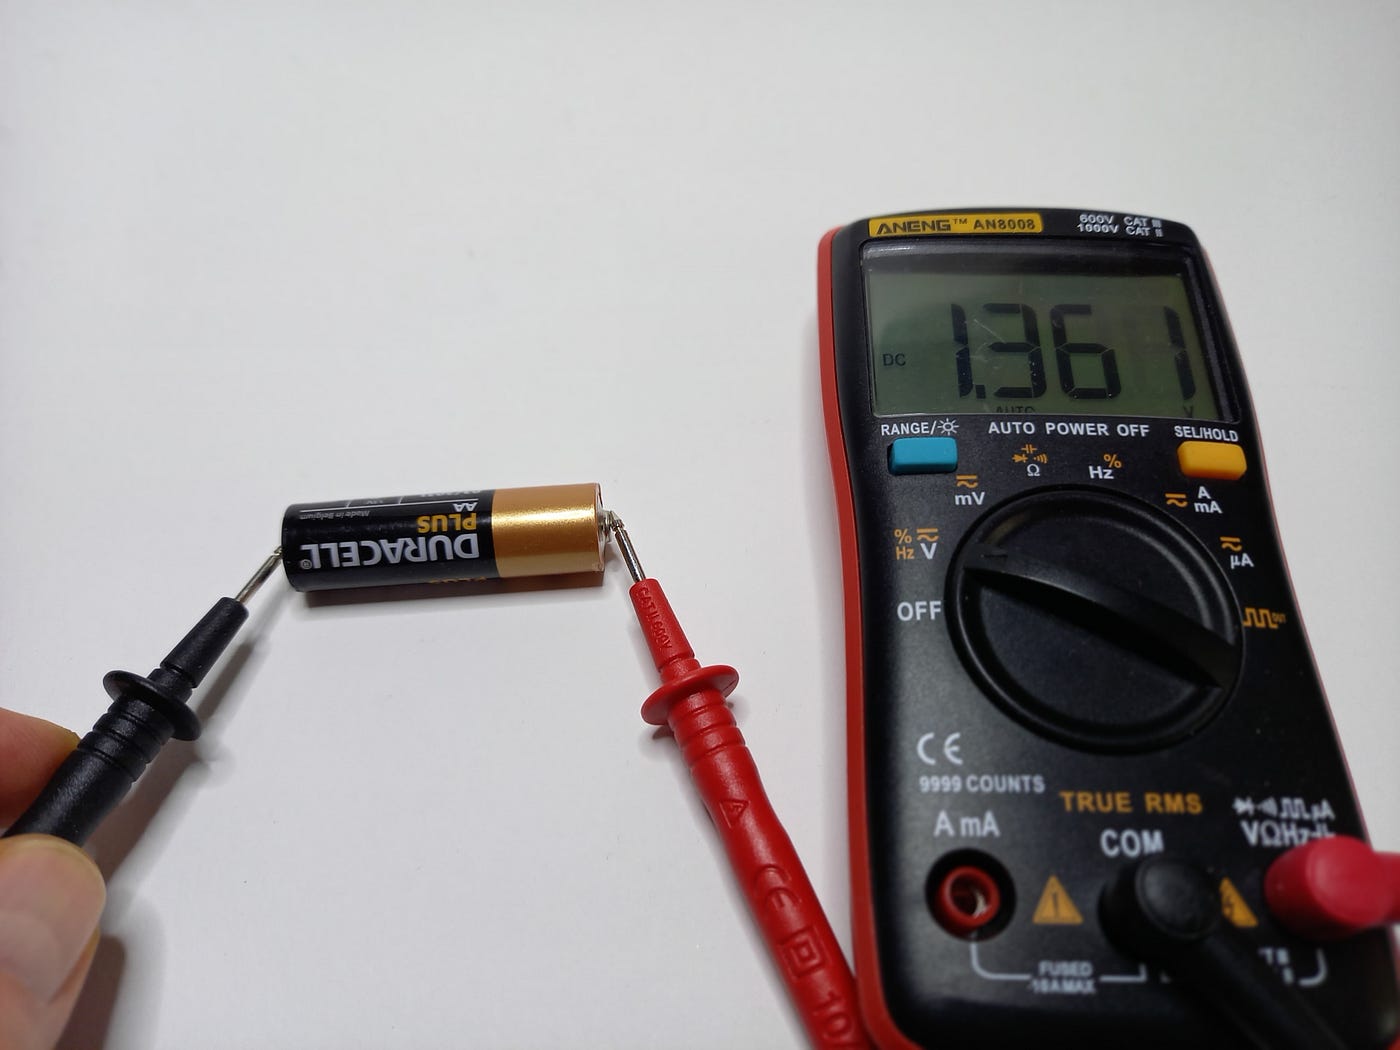
Reading The Voltage Display
Once connected, look at the multimeter’s display for the voltage reading. A healthy AA battery, for example, should show about 1.5 volts if fully charged. If the reading is much lower, it’s a clear sign the battery is weak or dead.
Keep in mind that some voltage drop is normal under load, so don’t rely solely on this number if the battery powers a device. Still, this quick check tells you enough to decide if the battery is worth keeping.
Testing Battery Health
Testing battery health with a multimeter is a simple way to understand how well your battery is performing. It helps you decide if the battery can still hold a charge or if it needs replacing. Knowing how to read and interpret the voltage can save you time and money, especially when troubleshooting devices.
Interpreting Voltage Levels
After measuring the battery voltage, you need to understand what the number means. A fully charged standard AA battery, for example, typically shows around 1.5 volts. If your multimeter reads significantly less, say 1.2 volts or below, the battery is likely weak or near the end of its life.
Keep in mind that some batteries, like rechargeable NiMH or Li-ion types, have different nominal voltages. For instance, a NiMH cell usually runs around 1.2 volts when fully charged. So, comparing your reading to the expected voltage is essential for accurate assessment.
Comparing With Battery Specifications
Always check the battery’s label or manufacturer datasheet for its nominal voltage and recommended operating range. This gives you a clear benchmark to compare your multimeter reading against. If your voltage reading falls outside this range, it signals potential issues.
For example, a 12V car battery should read about 12.6 volts when fully charged. If your reading is below 12 volts, your battery might be discharged or damaged. Have you noticed your devices losing power faster than usual? This simple check can explain why.
Measuring Battery Current
Ensure the multimeter is set to measure current. Connect the probes to the battery terminals. Read the displayed current value to understand battery performance.
Measuring battery current is essential for understanding battery health. It helps diagnose issues and ensures efficiency. Using a multimeter, you can accurately gauge the current flowing through a battery. This process involves setting the multimeter correctly and following precise steps.When To Measure Current
Knowing the right time to measure battery current is crucial. Measure current if your device performs poorly or drains quickly. Regular checks can prevent unexpected failures. It ensures your battery operates optimally. Testing during regular maintenance schedules can help avoid sudden issues.Proper Multimeter Settings
Correct multimeter settings are vital for accurate readings. Set the multimeter to the ampere mode. Ensure the probes are connected properly. Use the correct range based on your battery’s specifications. This prevents incorrect readings and possible damage to the multimeter.Step-by-step Current Measurement
Follow these steps for precise measurement:- Turn off the device connected to the battery.
- Set the multimeter to measure current.
- Connect the black probe to the battery’s negative terminal.
- Attach the red probe to the positive terminal.
- Read the current displayed on the multimeter.
- Ensure the connection is stable during measurement.
Common Measurement Mistakes
Measuring a battery with a multimeter seems simple but common mistakes can lead to wrong readings. These errors often cause frustration and confusion. Understanding typical errors helps improve accuracy and safety.
Incorrect Settings
Choosing the wrong multimeter setting is a frequent error. Always set the multimeter to DC voltage for battery measurement. Using AC voltage or resistance mode will give false or zero readings. Check the voltage range to match the battery type. For example, use a 20V range for a 12V battery. Setting too high or too low affects the precision of results.
Probe Placement Errors
Proper probe placement is crucial for accurate readings. Touch the red probe to the positive terminal and the black probe to the negative terminal. Reversing probes may show a negative value or no reading. Ensure probes make firm contact with battery terminals. Loose connections cause unstable and fluctuating values. Clean terminals if they are dirty or corroded before measuring.
Avoiding Short Circuits
Short circuits can damage both the battery and multimeter. Avoid letting the probes touch each other while connected to the battery. Never measure current unless you know how to set the multimeter safely. Use insulated probes and handle them carefully. Always disconnect the battery before changing multimeter settings or probes. Awareness of short circuits protects your tools and prevents accidents.
Tips For Accurate Readings
Getting accurate readings from your multimeter is key to correctly measuring a battery’s health. Small errors can lead to wrong conclusions and possibly damage your device. Here are some practical tips to help you get the most reliable results every time you measure a battery.
Calibrating Your Multimeter
Before you start testing, make sure your multimeter is properly calibrated. Calibration ensures the meter’s readings are precise and consistent.
Check your multimeter’s manual to see how often it needs calibration. Some models let you adjust calibration manually, while others require professional service.
Try testing a known voltage source, like a fresh AA battery, to see if your multimeter shows the expected reading. If it’s off, recalibrate or consider servicing the device.
Maintaining Probe Contact
Good contact between the multimeter probes and the battery terminals is crucial. Loose or dirty contacts can cause fluctuating or inaccurate readings.
Clean the battery terminals and probe tips with a soft cloth or rubbing alcohol before testing. This removes any dirt or corrosion that blocks the electrical flow.
Hold the probes firmly and steadily on the terminals. Avoid moving them around during measurement to keep the reading stable.
Environmental Factors
Temperature and humidity can affect battery performance and your multimeter readings. Cold batteries often show lower voltage, while high humidity might cause condensation on contacts.
Try to test batteries at room temperature in a dry environment for the most consistent results.
Also, avoid testing near strong electrical fields or devices that can interfere with your multimeter’s accuracy.
Credit: sterepairs.medium.com
Frequently Asked Questions
How Do I Measure Battery Voltage With A Multimeter?
To measure battery voltage, set the multimeter to DC voltage. Connect the red probe to the positive terminal and black to the negative. Read the voltage value on the display. This shows the battery’s current charge level.
What Multimeter Setting Is Best For Testing Batteries?
Use the DC voltage setting on your multimeter. It accurately measures the battery’s voltage output. Select a range higher than your battery’s voltage for precise readings.
Can A Multimeter Check Battery Health Effectively?
Yes, a multimeter can check battery health by measuring voltage. A fully charged battery shows voltage near its rated value. Lower voltage indicates the battery may need replacement.
Why Is The Battery Voltage Lower Than Expected?
Lower voltage may mean the battery is partially drained or faulty. It can also indicate poor contact between probes and terminals. Ensure correct settings and connections for accurate results.
Conclusion
Measuring a battery with a multimeter is simple and useful. You just need to know how to set the device and where to place the probes. This helps you check the battery’s health and decide if it needs replacing. Practice a few times, and you will feel more confident.
A multimeter saves time and money by avoiding guesswork. Keep your tools ready and follow safety steps always. Now, you can easily test batteries at home or work. Try it today and see the difference yourself.