Are you unsure if a wire is live and want to stay safe before starting any electrical work? Knowing how to test for a live wire with a multimeter is a simple skill that can protect you from shocks and accidents.
In this guide, you’ll learn clear, step-by-step instructions to check wires quickly and confidently. By the end, you’ll feel more secure handling electrical tasks and avoid costly mistakes. Let’s get started and make sure your next project is both safe and successful.
Tools Needed
Before you begin testing for a live wire with a multimeter, it’s crucial to gather the right tools. Having the proper equipment not only ensures accurate readings but also protects you from potential hazards. Let’s look closely at what you need to get started safely and effectively.
Choosing The Right Multimeter
Not all multimeters are designed equally for testing live wires. You want a multimeter that can measure AC voltage accurately and has a clear digital display for easy reading. Look for one with a voltage range that covers at least 0 to 600 volts to handle most household circuits.
Consider models with built-in safety features like overload protection and a non-contact voltage detection mode. These features add extra layers of security, especially if you’re new to electrical work. Have you checked if your multimeter is rated CAT III or higher? This rating indicates it’s safe to use on building wiring.
Safety Gear Essentials
Testing live wires requires more than just a multimeter; your safety gear is equally important. Start with insulated gloves rated for electrical work to prevent shocks. These gloves act as your first line of defense against accidental contact with live circuits.
Eye protection is often overlooked but essential—wear safety goggles to shield against sparks or debris. Additionally, use insulated tools and wear shoes with rubber soles to minimize electrical conduction through your body. Would you risk skipping these protections for a quick test?
Credit: www.contractors.com
Preparing The Multimeter
Preparing your multimeter correctly is crucial before testing for a live wire. Skipping this step can lead to inaccurate readings or even damage your device. Taking a moment to set it up properly ensures your safety and boosts your confidence during the test.
Setting The Correct Mode
Your multimeter has multiple settings, but for detecting a live wire, you need to select the right one. Usually, this is the AC voltage (V~) mode since household wiring carries alternating current. Make sure the dial points exactly to the AC voltage range that matches or exceeds the expected voltage of the circuit you’re testing.
For example, if you are testing standard home outlets, set the multimeter to 200V AC or higher. Picking a too-low range can damage the meter or show incorrect values. Have you ever tried using the wrong mode and ended up confused by the numbers? Avoid that by double-checking your setting before proceeding.
Checking Multimeter Functionality
Before you touch any wires, test if your multimeter is working properly. This quick check saves you from unreliable readings and potential hazards. Simply turn the multimeter on, and touch the two probes together.
- If the display shows zero or a very low reading, your device is ready.
- If it doesn’t respond or shows erratic values, replace the batteries or inspect the probes for damage.
Don’t rely on your multimeter without this simple verification. I once wasted time troubleshooting a circuit only to find my meter’s battery was dead—don’t let that happen to you.
Safety Precautions
Testing for a live wire requires careful attention to safety. Electrical work can be dangerous without proper precautions. Taking steps to protect yourself reduces the risk of injury or damage. Always respect electricity and prepare before using a multimeter.
Power Off Vs. Power On Testing
Testing a wire can happen with power off or power on. Each has safety rules. Testing with power off is safer for continuity or resistance checks. Always turn off the circuit breaker or unplug the device first. Confirm no voltage is present before touching wires.
Power on testing checks for live voltage. Use this only if needed and with great care. Wear insulated gloves and stand on a dry surface. Keep fingers behind probe guards. Use the multimeter’s voltage setting to avoid damage or shock.
Avoiding Electrical Hazards
- Inspect your multimeter and probes for damage before use.
- Use a multimeter rated for the voltage you expect to test.
- Keep your hands dry and avoid working in wet areas.
- Never touch exposed wires or terminals without proper insulation.
- Stand on non-conductive mats or wear rubber-soled shoes.
- Work in a well-lit area to see clearly what you are doing.
- Do not rush—move slowly and carefully during testing.

Credit: www.abelectricians.com.au
Testing Procedure
Testing a live wire with a multimeter requires care and precision. This procedure helps you check if the wire carries electricity safely. Follow these steps carefully to avoid mistakes and ensure accurate results.
Identifying The Wire To Test
Look for the wire that may be live. It is usually connected to a power source. Use protective gloves to avoid shocks. Ensure the wire insulation is intact. Identify wires by their color codes if possible. Turn off power before handling wires unless testing for live current.
Using Probes Correctly
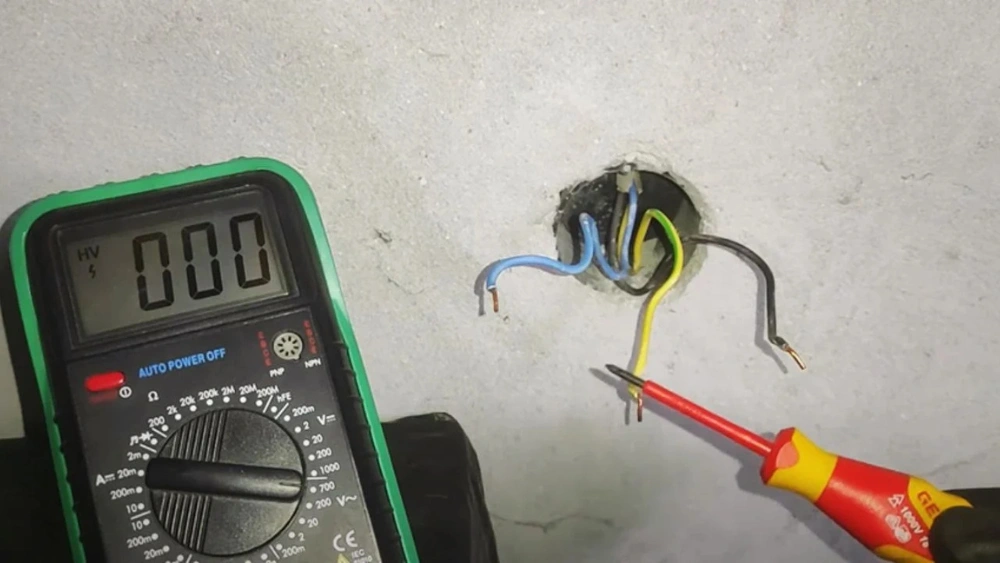
Hold the multimeter probes firmly by the insulated handles. Touch the black probe to a ground or neutral wire. Touch the red probe to the wire you want to test. Keep fingers away from metal parts of the probes. Do not let probes touch each other during testing. Maintain steady contact for accurate readings.
Reading The Multimeter Display
Set the multimeter to the AC voltage setting. Watch the display carefully after touching the probes. A live wire shows voltage, usually between 110 to 240 volts. Zero or near zero means no live current. If the reading flickers, the wire may be faulty or loose. Always double-check readings for safety.
Interpreting Results
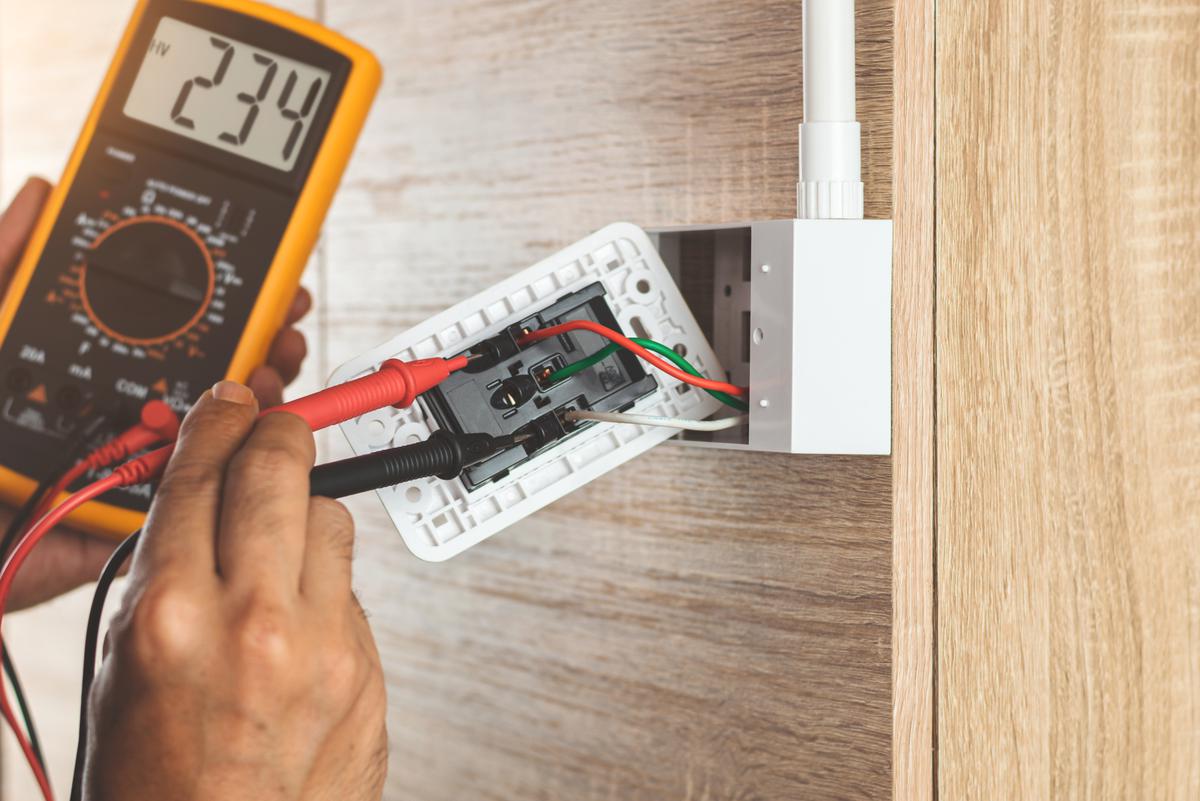
Testing for a live wire with a multimeter involves setting the device to AC voltage mode. Place the probes on the wire ends, observing the reading. A higher voltage indicates a live wire, ensuring safety during electrical work.
Interpreting Results Using a multimeter to test for a live wire is just the beginning. Understanding the readings is crucial to ensure safety and accuracy. Once you have your measurements, the next step is to interpret them correctly. This might sound daunting, but it’s simpler than you think. With a little guidance, you’ll be able to decipher what your multimeter is telling you.Voltage Levels And What They Mean
Voltage levels are a key indicator of whether a wire is live. A typical household circuit should read around 120 volts in the US or 230 volts in Europe. If your multimeter shows a reading close to these values, the wire is likely live. But what if the reading is zero or significantly lower? It might mean the wire is not live, or there could be an issue with the circuit. Are you sure the power source is active? Double-check the breaker or power switch to rule out any simple mistakes.Confirming Live Wire Presence
Getting a consistent voltage reading is essential to confirming a live wire. If your multimeter fluctuates or reads abnormally high, there might be interference or a malfunction. It’s also wise to test multiple points along the wire. This can help confirm continuity and ensure the wire is truly live throughout. Have you considered retesting after adjusting the multimeter settings? Sometimes, a simple recalibration can make all the difference. Remember, safety first. Always approach testing with caution and never assume a wire is dead until you’ve verified with your multimeter.Common Mistakes
Testing for a live wire with a multimeter might seem straightforward, but small mistakes can lead to inaccurate readings or even unsafe situations. Understanding common errors helps you avoid frustration and protects you from potential hazards. Let’s look at some frequent pitfalls and how to steer clear of them.
Misreading The Multimeter
One of the most common mistakes is misunderstanding the multimeter display. You might expect a high reading on a live wire, but if the multimeter is set to the wrong mode—like resistance instead of voltage—you’ll get confusing results. Always double-check that your multimeter is set to measure AC or DC voltage, depending on your circuit.
Numbers can also be misread if the decimal point is overlooked or if the unit prefixes (mV, V, kV) are ignored. Have you ever seen a reading like 0.12 and assumed it meant 12? That small detail can make a big difference in your safety decisions.
Improper Probe Contact
Another frequent error is poor contact between the multimeter probes and the wire or terminal. If the probes aren’t firmly touching the conductor, the reading might flicker or show zero voltage even if the wire is live. Make sure the metal tips are clean and press them steadily against bare wire or exposed terminals.
Sometimes, the insulation prevents a good connection. Scraping a tiny section of the wire to expose fresh metal can improve accuracy. Have you ever struggled with shaky readings? This simple step often fixes the problem.
Additional Tips
Testing for a live wire with a multimeter is a task that demands accuracy and safety. Beyond the basic steps, there are additional tips that can enhance your confidence and ensure you get reliable results. These insights help you avoid mistakes and keep your testing process smooth.
Double Checking With Non-contact Testers
Using a non-contact voltage tester alongside your multimeter adds an extra layer of safety. These testers detect voltage without touching the wire, so you can quickly confirm if a wire is live before probing it directly.
Think of it as a quick safety scan. If the non-contact tester signals voltage but your multimeter does not, you’ll know to recheck your connections and settings. This simple step can prevent accidents and save you troubleshooting time.
Regular Maintenance Of Your Multimeter
Your multimeter is only as good as its condition. Check its batteries regularly—weak batteries can give false readings, which might mislead you during testing.
Also, inspect the test leads for cracks or wear. Damaged leads can cause inaccurate measurements or even electrical shocks. Keeping your multimeter clean and storing it properly extends its life and reliability.
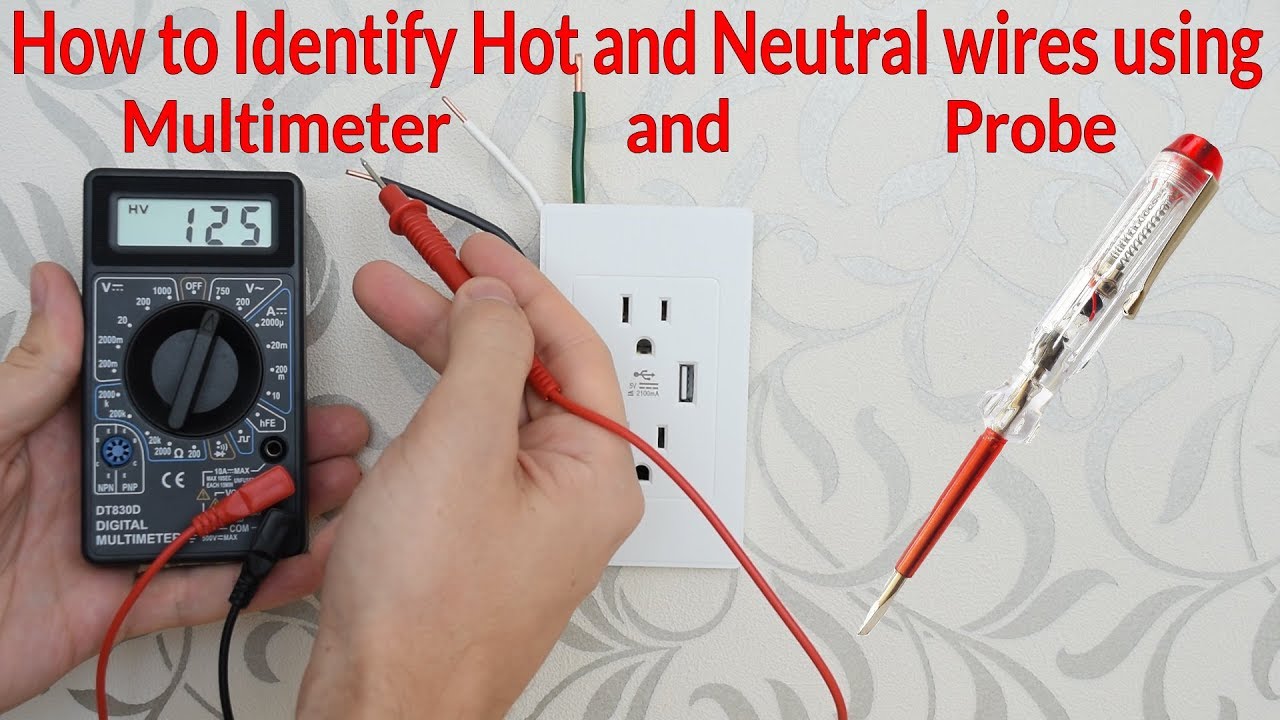
Credit: www.youtube.com
Frequently Asked Questions
How Do I Identify A Live Wire With A Multimeter?
Set your multimeter to AC voltage mode. Touch the probes to the wire and ground. A voltage reading indicates a live wire.
Can A Multimeter Detect Live Wires Safely?
Yes, a multimeter can safely detect live wires if used correctly. Always follow safety guidelines to avoid electric shock.
What Voltage Range Should I Use To Test Live Wires?
Set your multimeter to a voltage range higher than the expected voltage. For household wires, use the 200V AC setting.
How Do I Test A Live Wire Without Touching It?
Use a non-contact voltage tester instead. A multimeter requires probe contact, so it cannot test wires without touching.
Conclusion
Testing for a live wire with a multimeter is simple and safe. Always double-check your settings before starting. Hold the probes carefully to avoid shocks. Knowing how to use your multimeter protects you from accidents. Practice this skill to feel more confident.
Stay alert and take your time. Safety comes first in any electrical work. Now, you can test wires with ease and care.