
If you want to boost your Roku TV’s sound quality, connecting a soundbar with HDMI is one of the best ways to do it. But maybe you’re not sure how to set it up or which HDMI port to use.
Don’t worry—this guide will walk you through every simple step to get your soundbar and Roku TV working perfectly together. By the end, you’ll enjoy clearer, richer audio that makes every movie and show feel more immersive. Keep reading to discover how easy it is to upgrade your home entertainment experience right now.

Credit: www.youtube.com
Preparing Your Devices
Preparing your devices is the first step to connect a soundbar to your Roku TV using HDMI. Proper preparation ensures a smooth setup and clear sound. It saves time and avoids frustration during connection.
Check Soundbar Compatibility
Verify that your soundbar supports HDMI connections. Most modern soundbars have an HDMI ARC port. ARC stands for Audio Return Channel and allows audio to flow both ways. If your soundbar lacks HDMI ARC, check if it supports regular HDMI input. Confirming compatibility avoids connection issues later.
Locate Hdmi Ports On Roku Tv
Find the HDMI ports on your Roku TV. Usually, these ports are on the back or side of the TV. Look for the port labeled “HDMI ARC” or just “ARC.” This port is crucial for sending audio to the soundbar. If no ARC label is present, any HDMI port can work, but check your TV manual to be sure.
Gather Necessary Cables
Use a high-speed HDMI cable to connect the soundbar and TV. The cable must support ARC for best results. Make sure the cable is long enough to reach between devices comfortably. Avoid using damaged or low-quality cables. Having the right cable ready makes the connection process easier.
Connecting Soundbar Via Hdmi Arc
Connecting a soundbar to your Roku TV using HDMI ARC is a simple way to improve your audio experience. HDMI ARC allows both audio and control signals to travel through a single cable. This setup reduces cable clutter and ensures better sound quality from your soundbar.
Identify Hdmi Arc Port
Look at the back or side of your Roku TV for HDMI ports. One of these ports will be labeled “HDMI ARC” or just “ARC.” This port is specially designed to send audio from the TV to the soundbar. Make sure to use this port on your Roku TV for the connection.
Connect Hdmi Cable
Take an HDMI cable and plug one end into the HDMI ARC port on your Roku TV. Insert the other end into the HDMI ARC port on your soundbar. Both devices need to support HDMI ARC to work properly. Use a high-speed HDMI cable to ensure good audio quality.
Enable Hdmi Arc On Roku Tv
Turn on your Roku TV and go to the Settings menu. Select “Audio” and then choose “Audio Output.” Change the output setting to “HDMI ARC.” This step activates the ARC function and allows sound to pass to your soundbar. Your TV remote can now control the soundbar’s volume.
Configuring Audio Settings
Connecting a soundbar to a Roku TV with HDMI improves audio quality easily. Adjust audio settings on the Roku to match your soundbar for clear sound output. Select the correct HDMI input to ensure proper connection and sound performance.
Configuring audio settings is essential for an immersive sound experience with your Roku TV. Connecting your soundbar via HDMI is just the start. Fine-tuning the audio settings ensures optimal sound quality for your viewing pleasure. Here’s how you can configure audio settings on your Roku TV after connecting your soundbar.Access Roku Audio Settings
First, grab your Roku remote and press the Home button. Navigate to Settings and select Audio from the menu. This section contains all the options related to sound.Select Soundbar As Audio Output
In the Audio settings, locate the Audio Output option. Choose HDMI for your soundbar connection. This directs sound to your soundbar instead of the TV speakers.Adjust Volume And Sound Modes
Once the soundbar is set as the audio output, adjust the volume. Use the remote to fine-tune it to your liking. Explore different sound modes available, such as movie or music mode, for enhanced audio effects.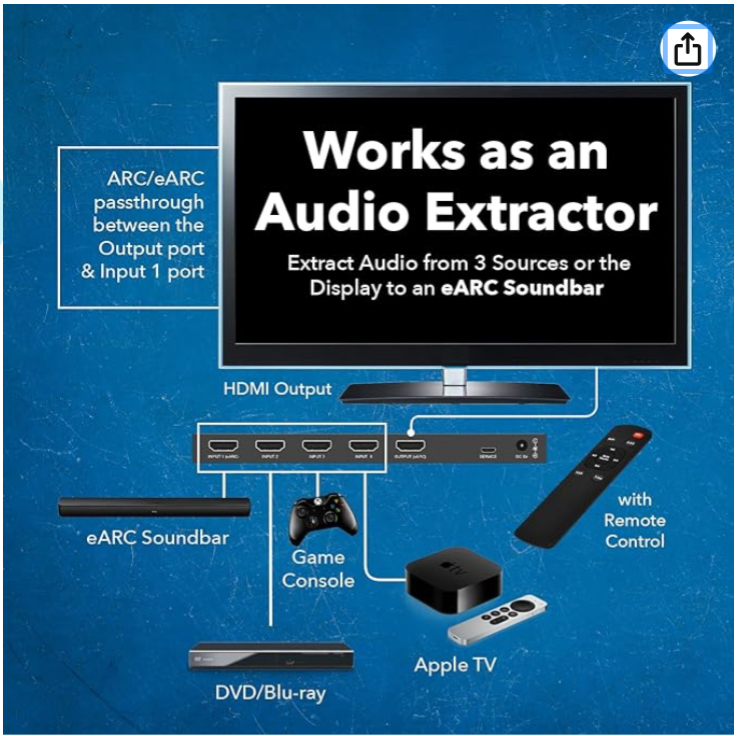
Credit: dceastleigh.org
Troubleshooting Common Issues
Connecting a soundbar to a Roku TV with HDMI usually works smoothly. Still, some common issues might arise during setup or use. Troubleshooting these problems helps restore clear sound and proper syncing quickly.
Simple checks often fix many problems. Confirm cables are firmly connected and the TV input matches the HDMI port used. Restarting devices can also resolve temporary glitches.
No Sound From Soundbar
- Check if the soundbar is powered on and the volume is up.
- Ensure the TV’s audio output is set to HDMI ARC or the correct HDMI port.
- Verify the HDMI cable supports audio (use High-Speed HDMI cables).
- Try unplugging and reconnecting the HDMI cable on both ends.
- Set the Roku TV audio settings to “Auto” or “PCM” for compatibility.
Lip Sync Problems
- Open the Roku TV audio settings and find the lip sync adjustment.
- Adjust the delay slider until the sound matches the picture.
- Restart both the Roku TV and the soundbar after changing settings.
- Check if the soundbar has its own lip sync feature and adjust it.
- Using ARC or eARC ports usually reduces lip sync delays.
Hdmi Connection Not Detected
- Confirm the HDMI cable is properly plugged into the ARC HDMI port.
- Try a different HDMI cable to rule out a faulty wire.
- Power off the TV and soundbar, then power back on.
- Check the TV’s HDMI settings to ensure ARC is enabled.
- Update the Roku TV software to the latest version available.
- Reset the soundbar to factory settings if detection issues persist.
Alternative Connection Methods
Sometimes HDMI is not the best choice for connecting your soundbar to a Roku TV. Other options can work well depending on your devices and setup. These alternative methods offer flexibility and can improve audio quality.
Using Optical Cable
Optical cables transmit digital audio signals using light. This connection avoids electrical interference. Connect one end of the optical cable to the TV’s optical out port. Plug the other end into the soundbar’s optical input. Then, set your TV audio output to optical or digital sound. Optical cables support surround sound formats for a better experience.
Connecting Via Bluetooth
Bluetooth allows a wireless connection between your Roku TV and soundbar. Turn on Bluetooth on both devices. Put the soundbar in pairing mode. On your Roku TV, go to settings and select Bluetooth devices. Choose the soundbar from the list to pair. This method reduces cable clutter and offers easy placement of your soundbar.
Using Aux Or Rca Cables
AUX and RCA cables offer simple analog audio connections. Use a 3.5mm AUX cable or RCA cables depending on your soundbar inputs. Connect the AUX or RCA cable to the TV’s headphone or audio out jack. Plug the other end into the soundbar’s AUX or RCA input. This method works well for basic stereo sound setups.

Credit: www.youtube.com
Frequently Asked Questions
How Do I Connect A Soundbar To Roku Tv With Hdmi?
Connect one end of the HDMI cable to your soundbar’s HDMI ARC port. Plug the other end into the Roku TV’s HDMI ARC port. Then, enable HDMI ARC and CEC settings on your Roku TV for audio output.
Can I Use Hdmi Arc For Better Sound Quality?
Yes, HDMI ARC supports high-quality audio formats. It delivers superior sound compared to optical or analog connections. Using HDMI ARC ensures clear and synchronized audio from your Roku TV to the soundbar.
What If My Roku Tv Has No Hdmi Arc Port?
If your Roku TV lacks HDMI ARC, use an optical audio cable instead. Connect the soundbar to the TV’s optical port for audio output. Some soundbars also support Bluetooth as an alternative.
How To Enable Hdmi Arc On Roku Tv Settings?
Go to Roku TV’s Settings > System > Control other devices (CEC). Turn on “1-touch play” and “System audio control” to enable HDMI ARC and CEC. This allows your soundbar to receive audio and power signals.
Conclusion
Connecting your soundbar to a Roku TV with HDMI is simple and quick. Just follow the steps carefully and use the right cables. This setup improves your TV’s sound quality a lot. No need for extra devices or complex settings.
Enjoy clear, rich audio for movies, shows, and games. Now, your home entertainment feels more complete and fun. Try it today and hear the difference yourself.